Ok so here it is, my really long build from the beginning until where it stands now (Damn, it has been almost three years since taking the car apart now...).
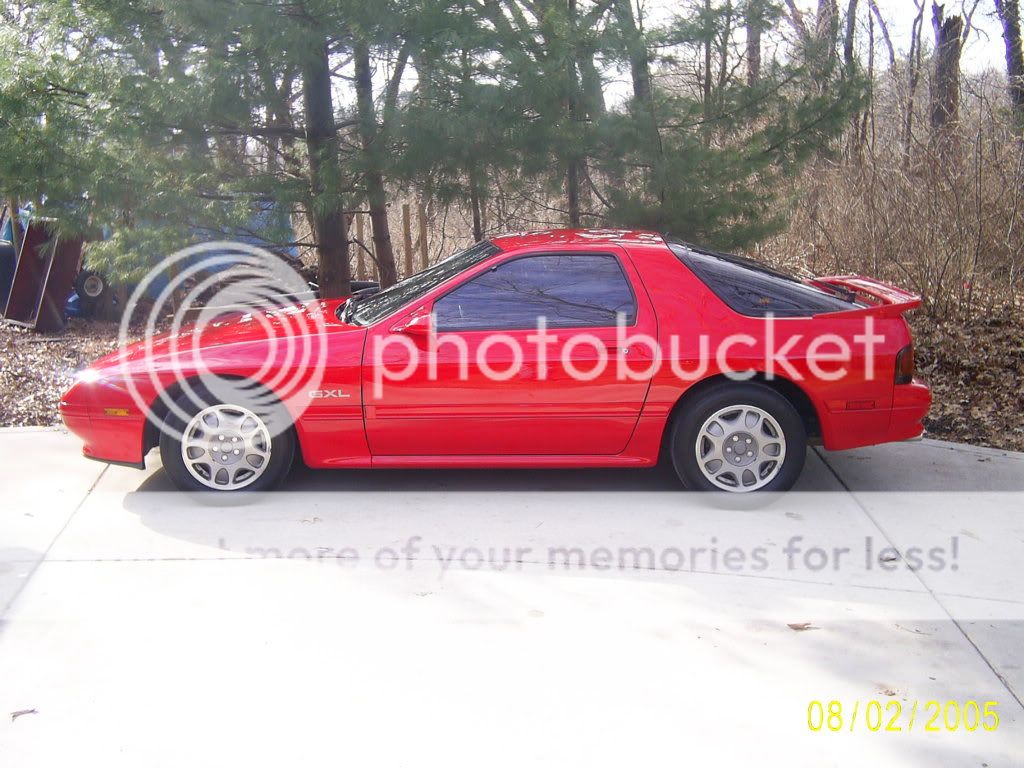
I bought the car in October of 2004. It was my daily driver for a while, I had a lot of fun with it, and it didn't give me very much trouble. I did some small modifications and general maintenance to it: front strut bar, cold air intake, short throw shifter, removed rear sway bar, de-powered steering rack, new brake pads, new clutch, new catalytic converter (to pass emissions), new speakers and subs. In September of 2005 my dad was backing out of his garage in his truck and did not see my car parked behind him, he hit it, bent up the driver side fender, dented part of the door, and broke the mirror. Luckily, he wasn't going fast enough to cause any structural damage to the car. So the car was then repainted blaze red (ended up being a really bad paint job).
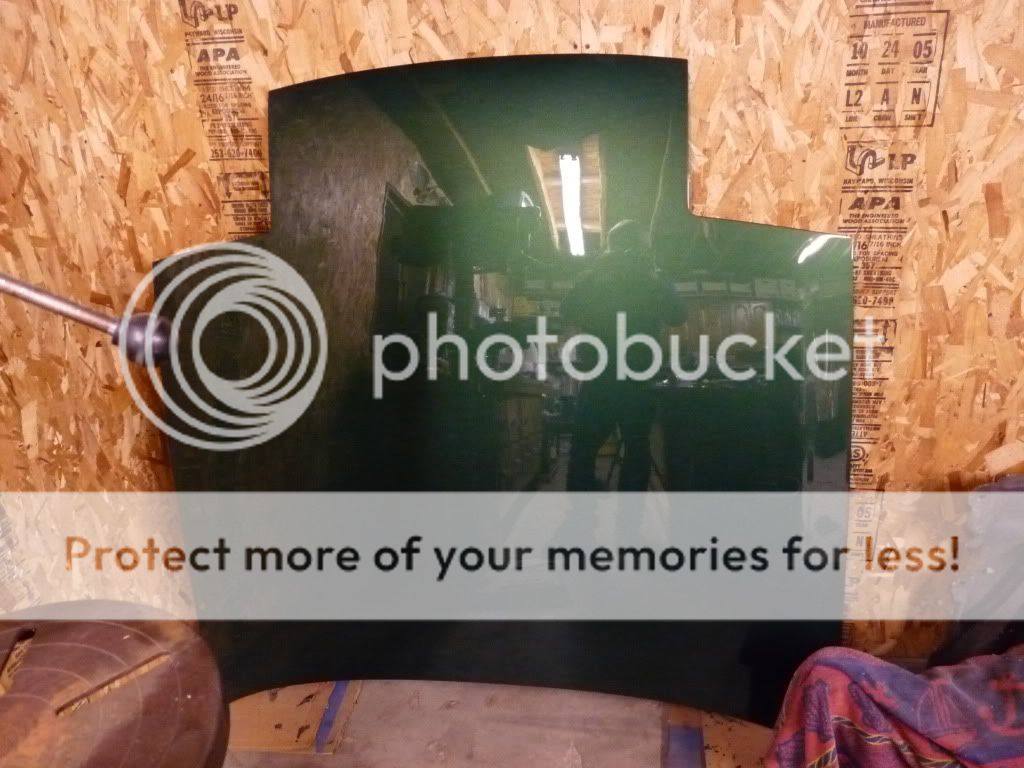
This is what the car looked like after it was repainted. BTW, don't mind the date in the pictures, they are not correct.
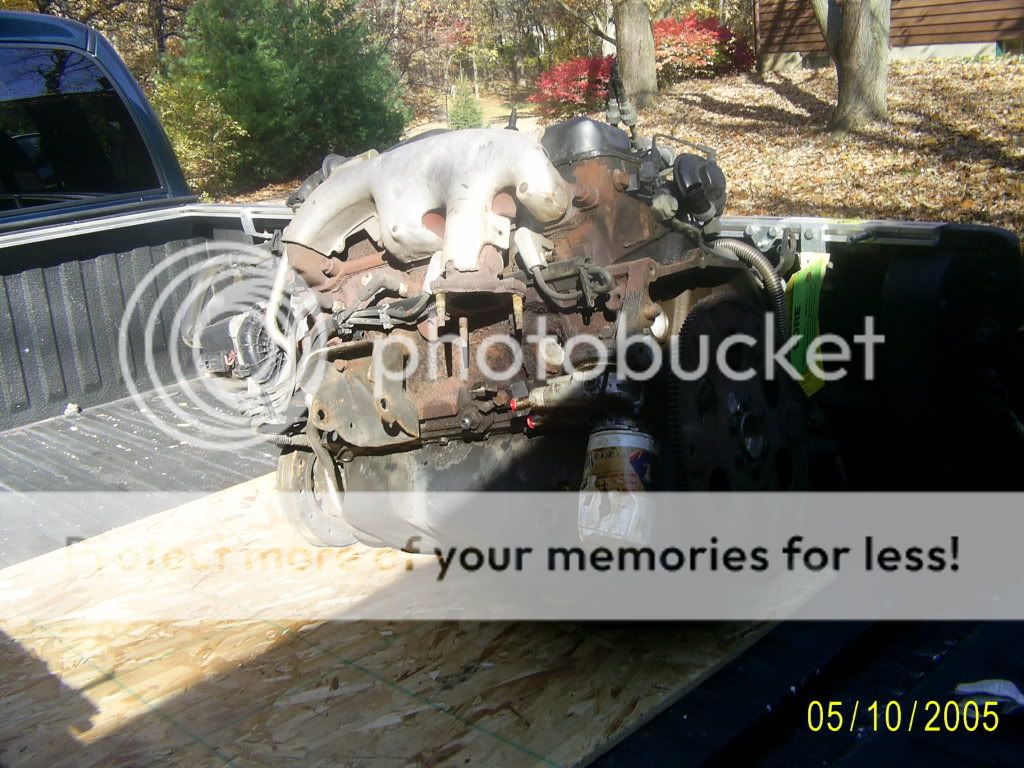
At some point after buying the car, I decided to buy a LT1 engine out of a Buick Roadmaster with 120k miles on it from a junk yard. The plans were to rebuild it for a "school project" and to educate myself more about cars. That is until I found out that these engines fit into RX7s quite well, then my focus changed.
Now that this engine was going into the RX7, I needed a transmission. I was able to source a T56 with supposedly 45k miles on it for around $750. Needless to say I thought it might be a deal too good to be true, but I bought it anyway. I had it checked out by a transmission rebuild shop, and they said everything looked good, so I was happy.

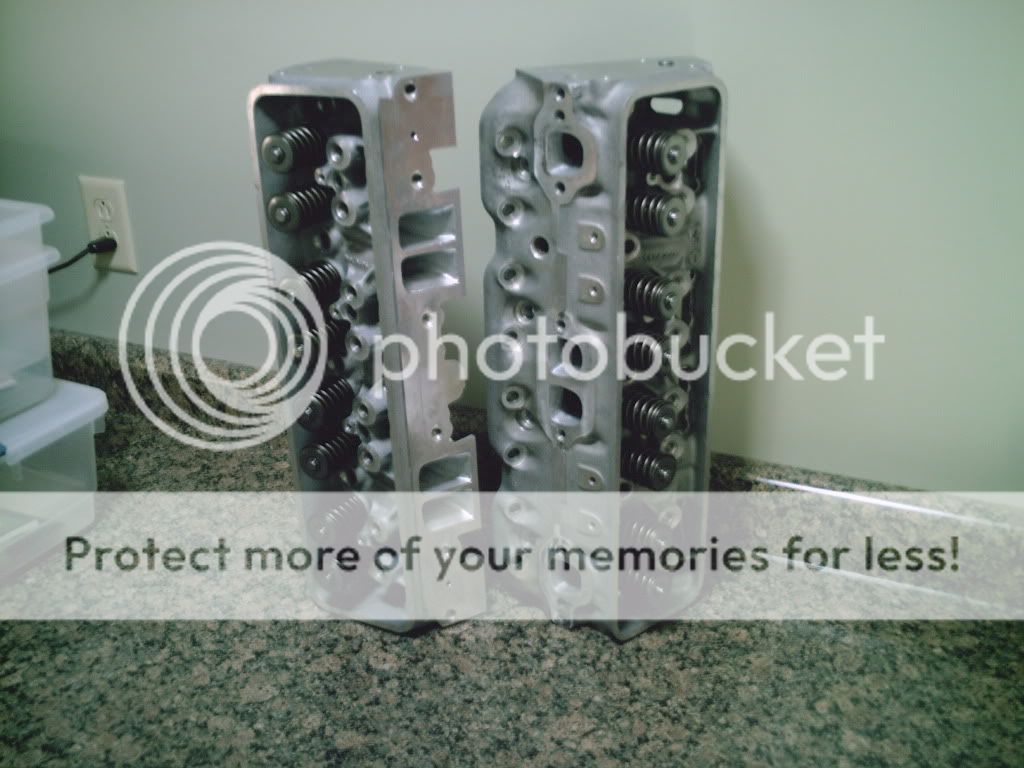
Well if I was going to put this engine into an rx7 and wanted it to still handle ok, I needed it to be as light as possible. So, I bought a set of aluminum heads from a 95 firebird off of ls1tech. I then had them rebuilt and I did my own "port job" at home. It was more just smoothing out casting and gasket matching. I then reassembled them with lt4 springs from the hotcam kit I bought.
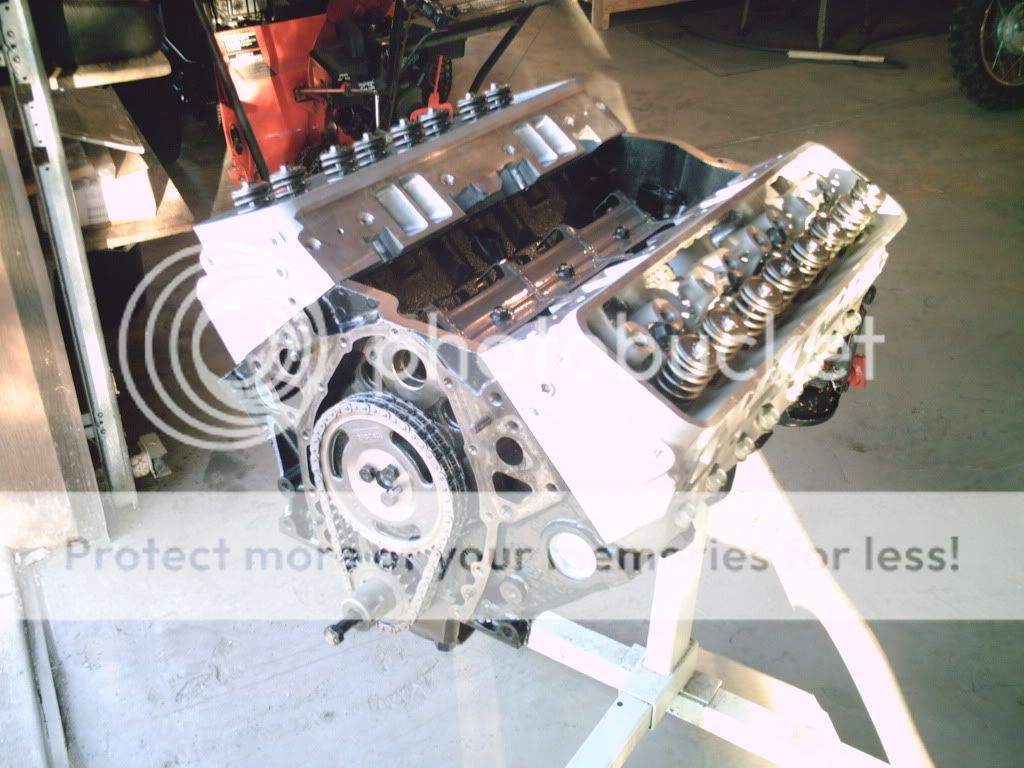
Unfortunately, I don't have any pictures of the short block rebuild. But all it really needed was a hone, turned crank, rebuilt rods, new oil pump, bearings, and gaskets. I put a Hotcam in it, aluminum 1:6 ratio roller rockers, Comp Cams hardened push rods, ARP crank and rod studs, and a Cloyes double roller timing chain. The block was also cleaned up and repainted with a couple coats of POR-15 and top coated with their engine enamel.
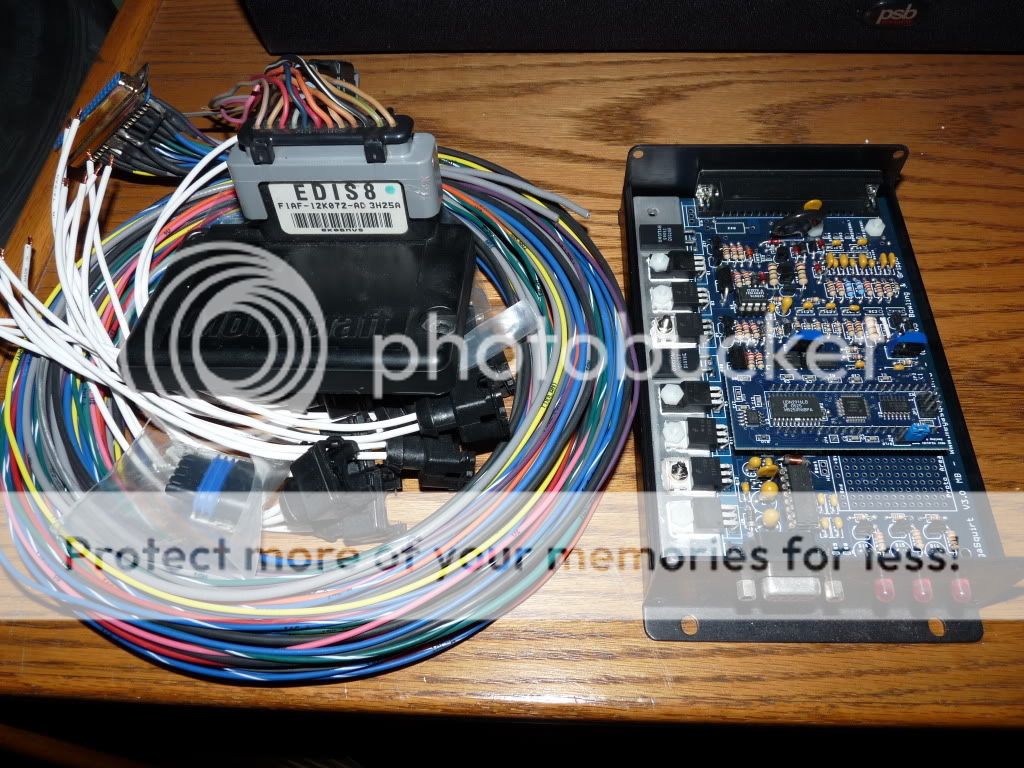
The engine did not come with a computer, so I started researching my options. I found many people were having trouble with the optispark system, so I decided to eliminate it if possible. I came across Megasquirt, it sounded really interesting, had a lot of support, and was cheap. I ended up buying the Megasquirt II v3.0 kit for fuel management and a Ford EDIS8 waste spark system for the ignition. I assembled the Megasquirt and wiring harness myself, but I don't have any pictures of the process.
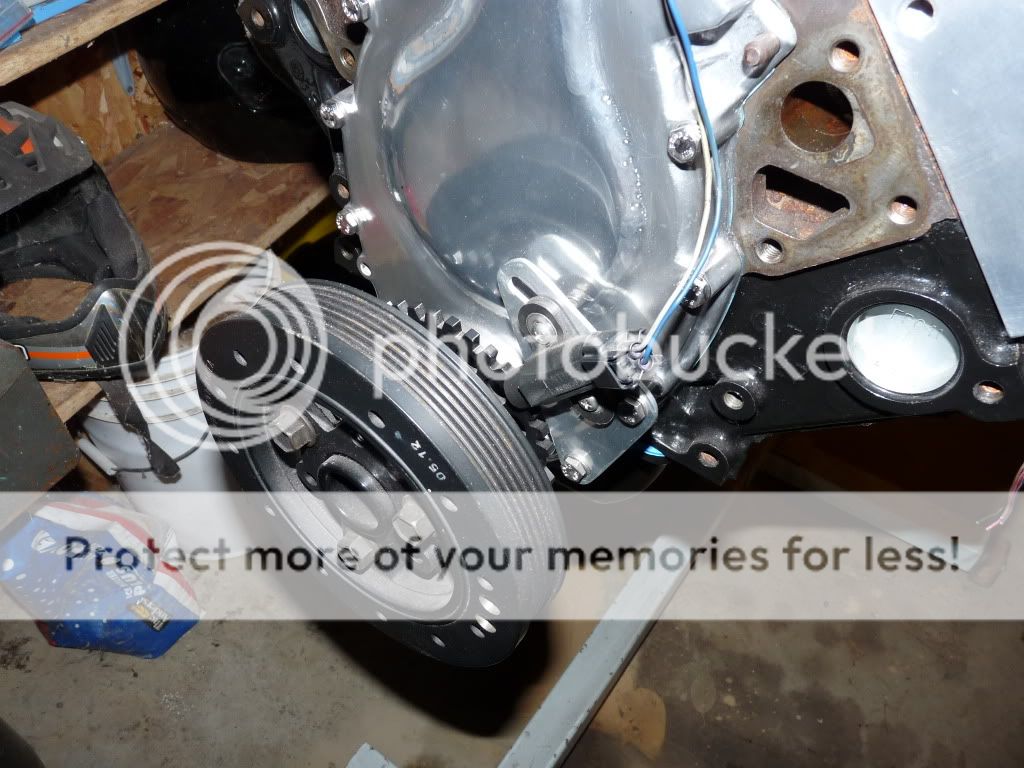
I had the LT1 harmonic balancer hub machined down and a 36-1 wheel pressed onto it.

I also had the timing chain cover welded up, and I made a bracket to mount the crank trigger sensor. I think it came out pretty good.
I polished the water pump housing up and bought a Meziere electric water pump.

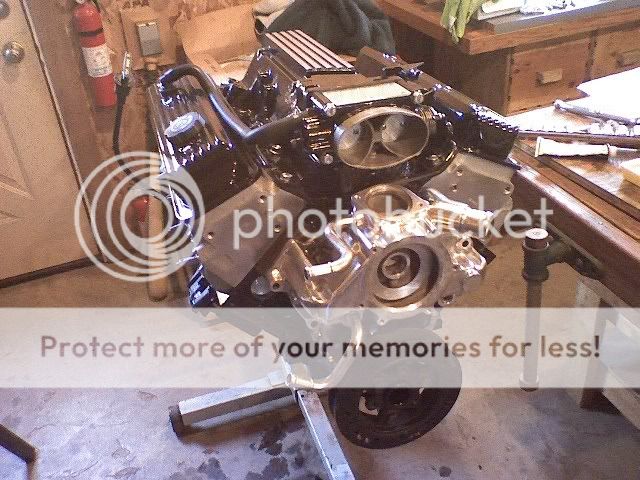
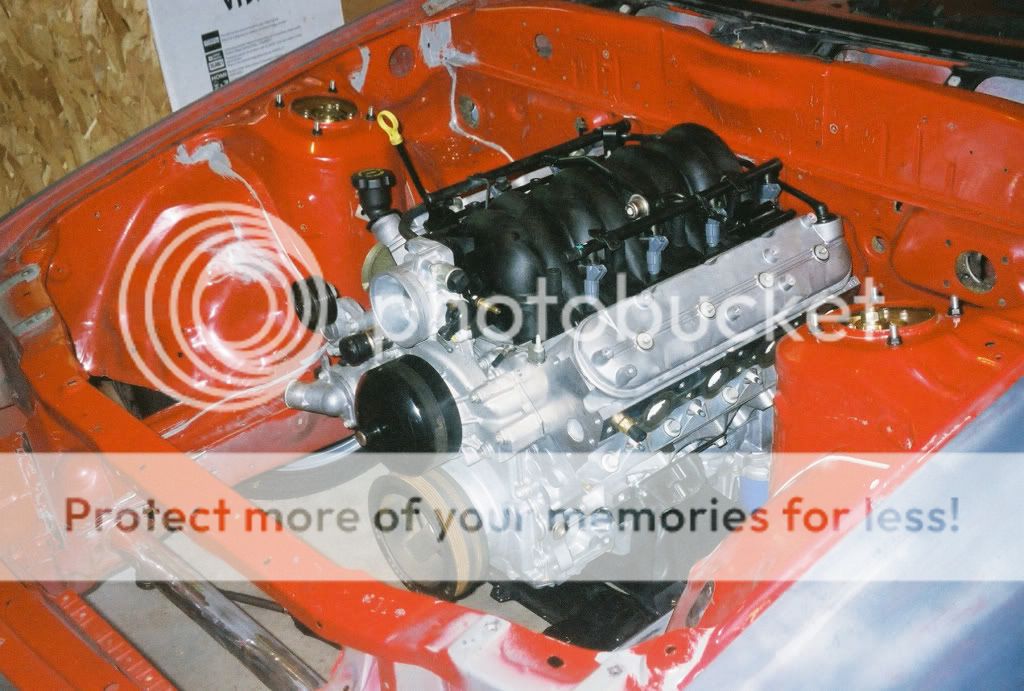
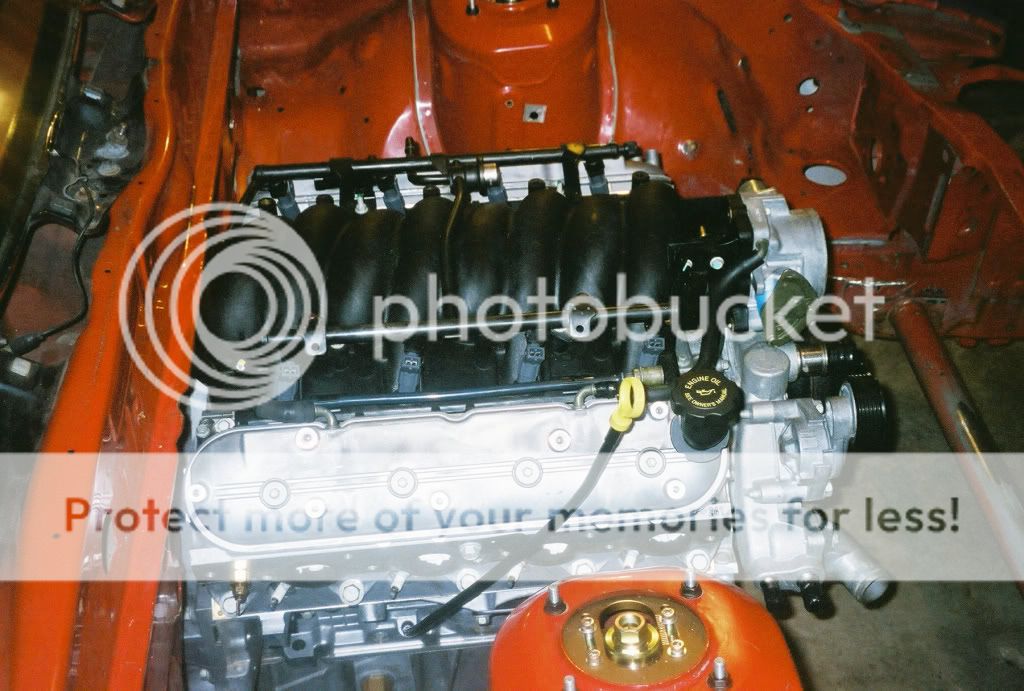
Almost completely assembled. The intake, valve covers, and throttle body was painted with a couple coats of POR-15 and their engine enamel.
Well then something bad happened... In April 2007 I hit a deer. Luckily the only damage to the car was the hood, headlight cover, broken FTP lens, and a bent bumper support. I was able to get a new hood, headlight cover, and I straightened the bumper support. After that, I decided it was time to start taking the car apart.
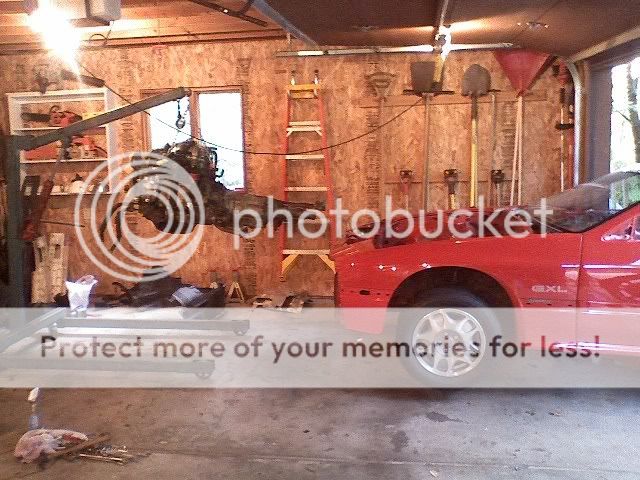
Here is a picture of the engine coming out.
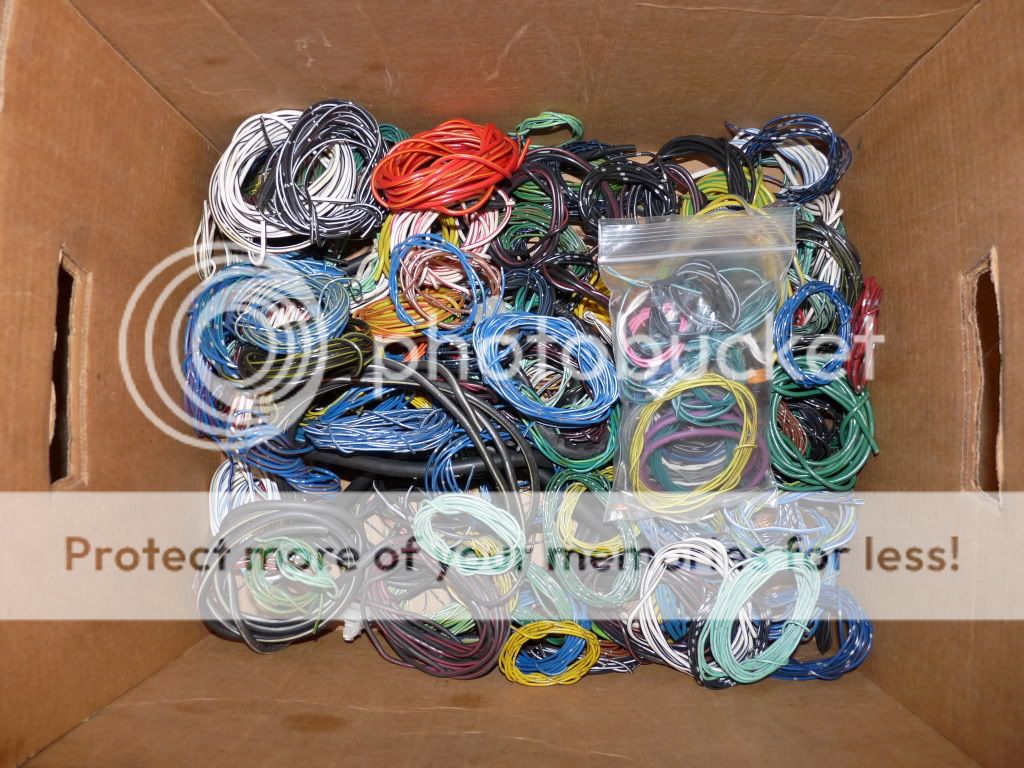
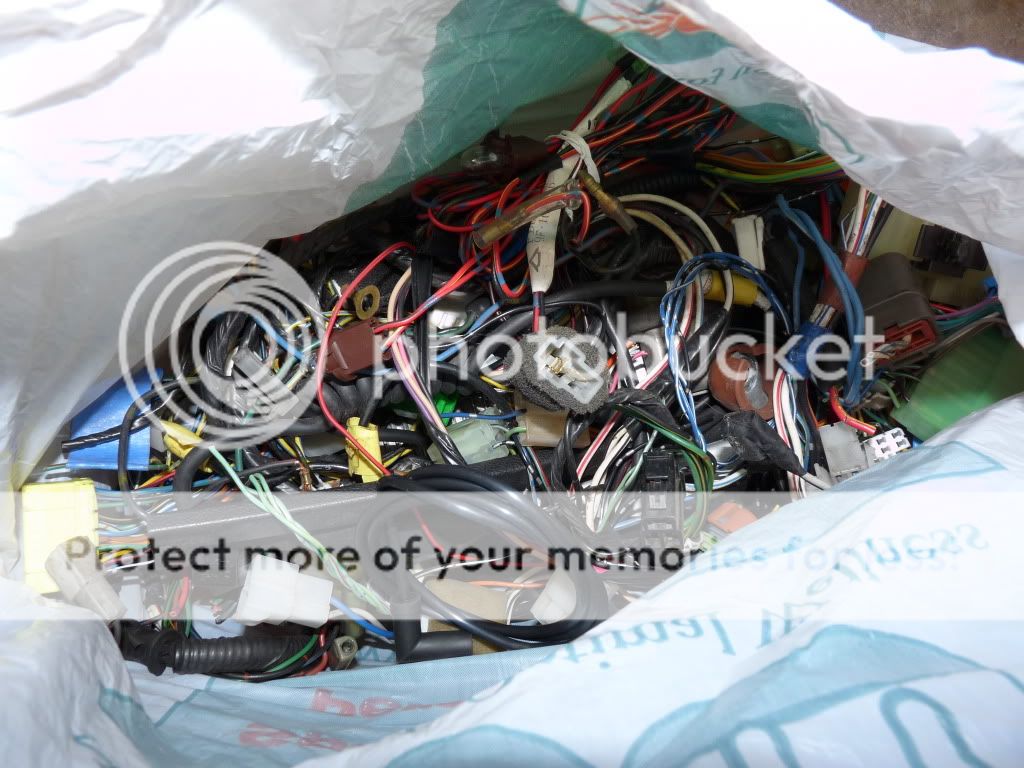
One of the first things I started on was the wiring (a little backwards I know). I simplified the front and rear harnesses by removing 20+ pounds of wire and connectors that is not needed and will not be going back on the car.
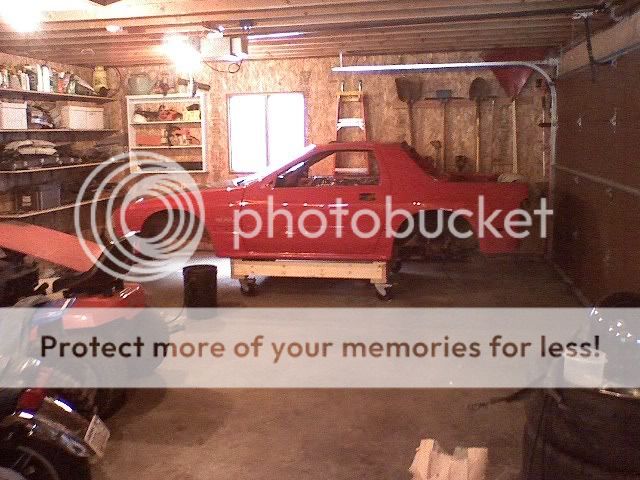
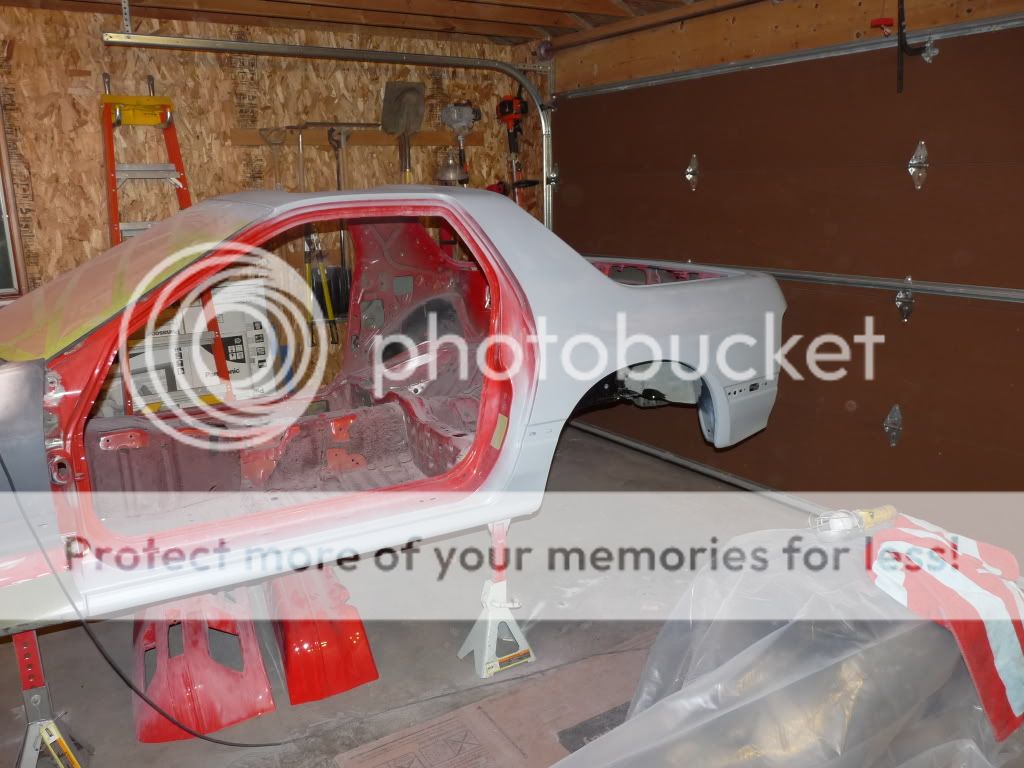
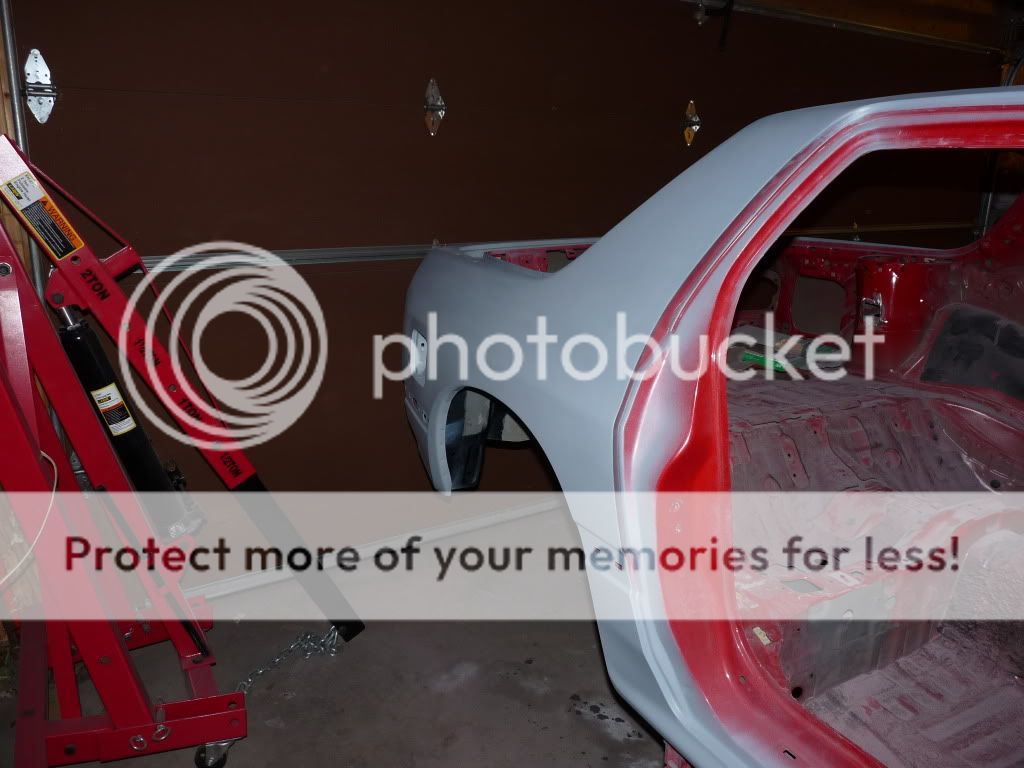
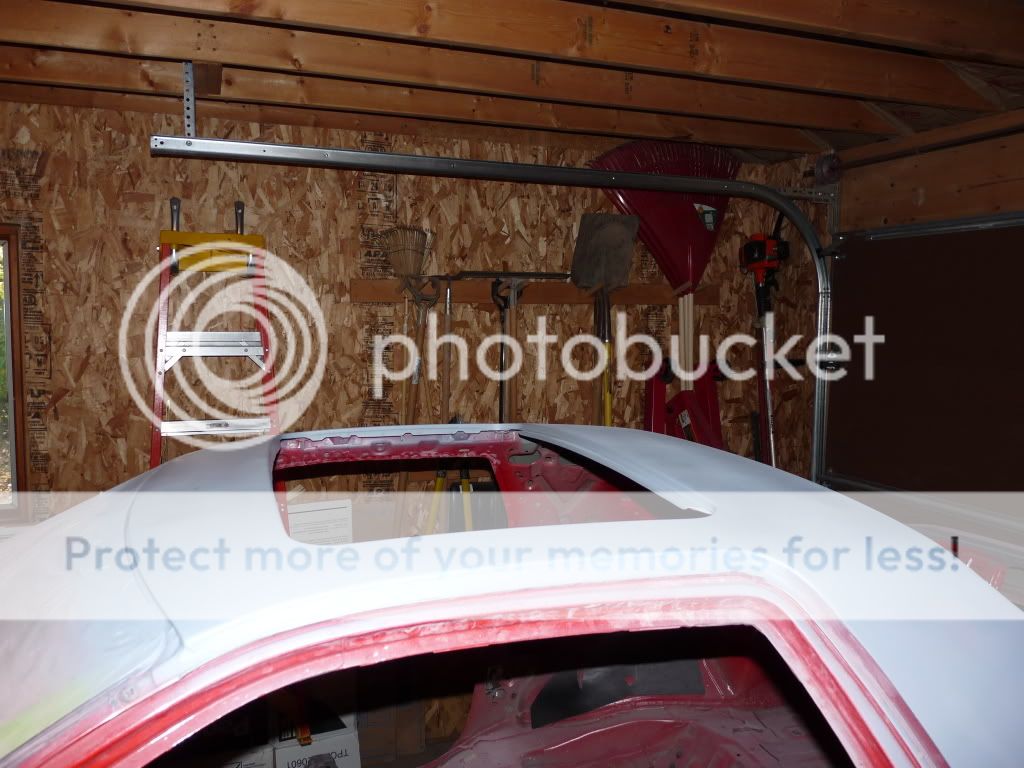
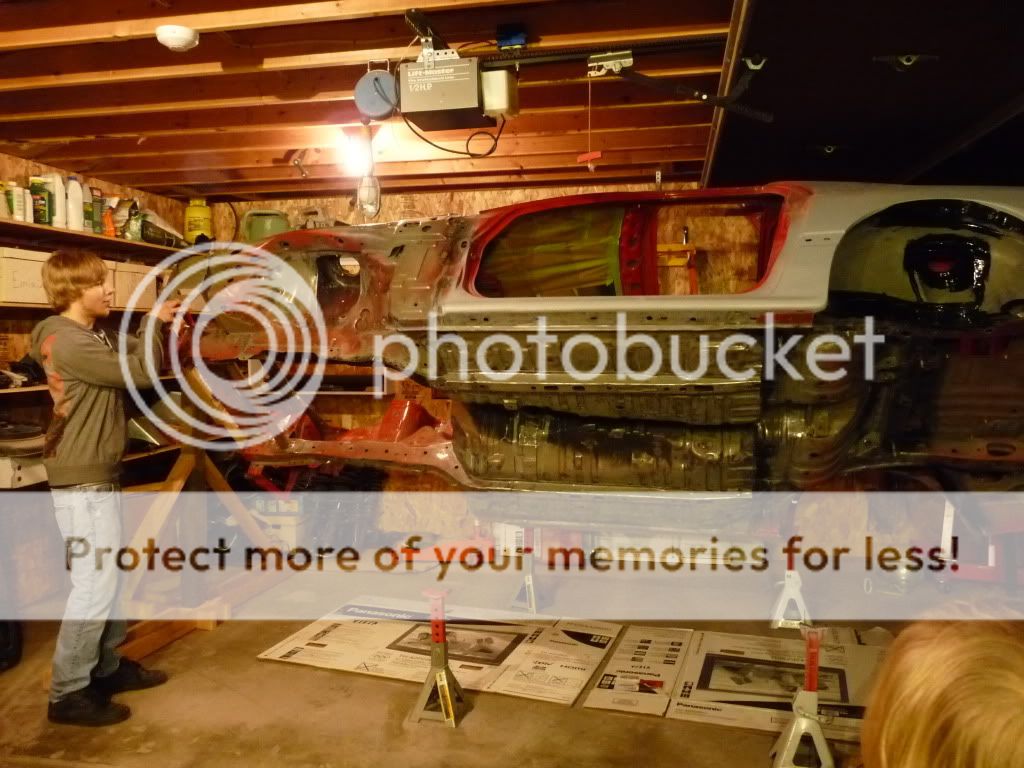
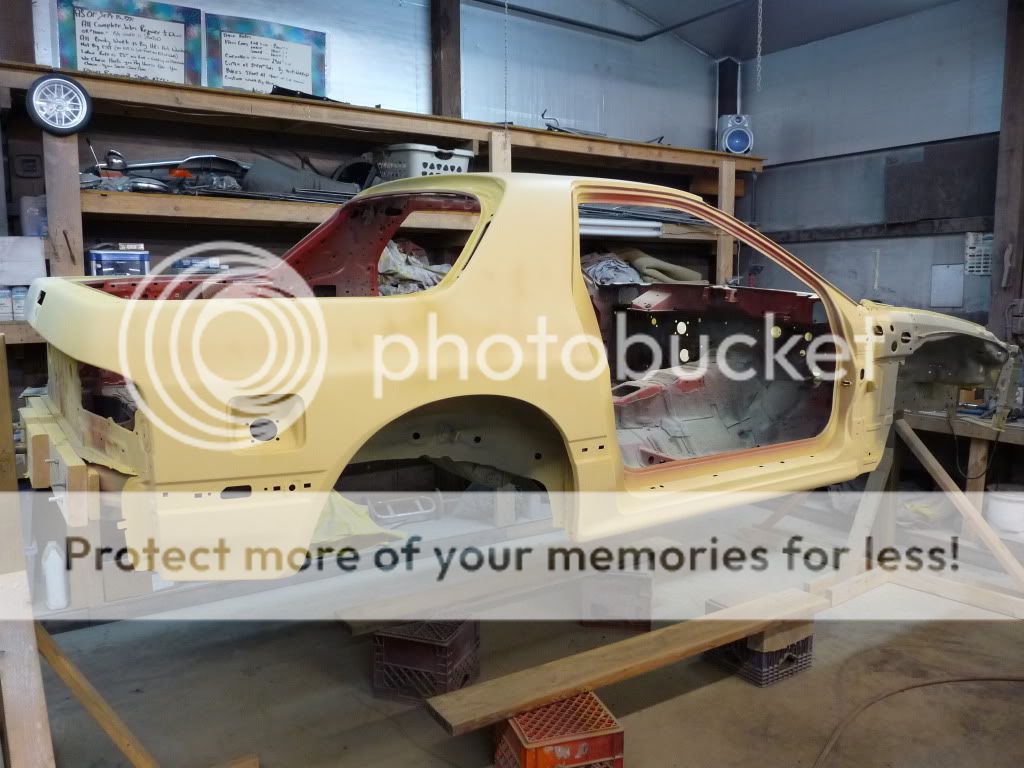
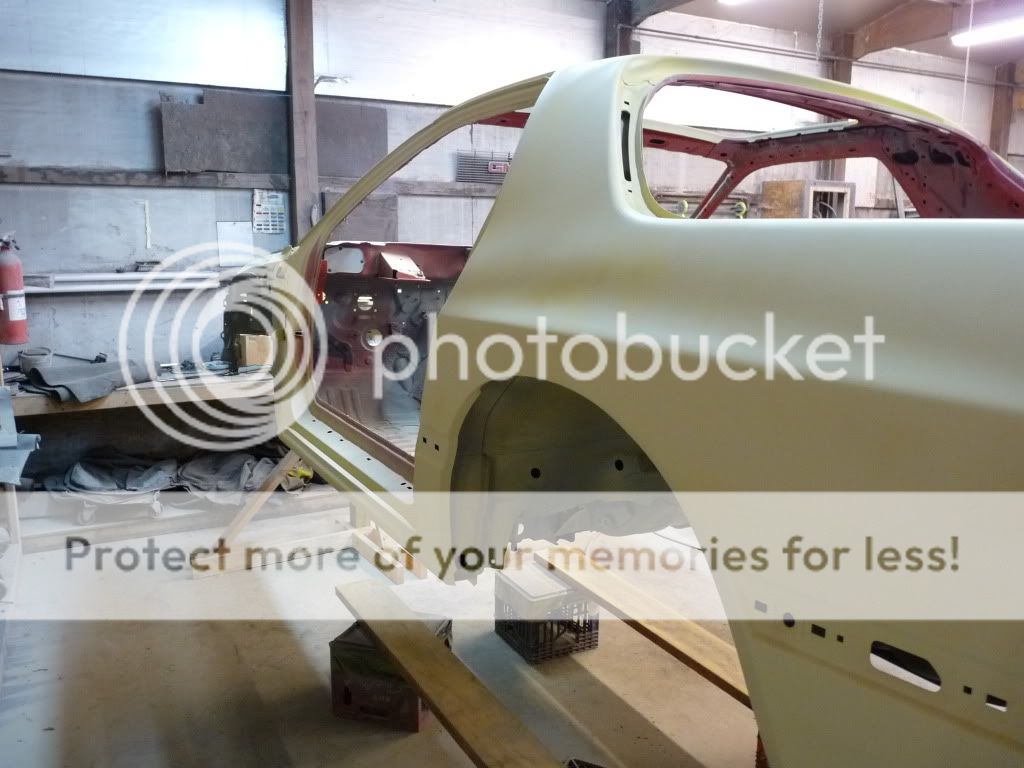
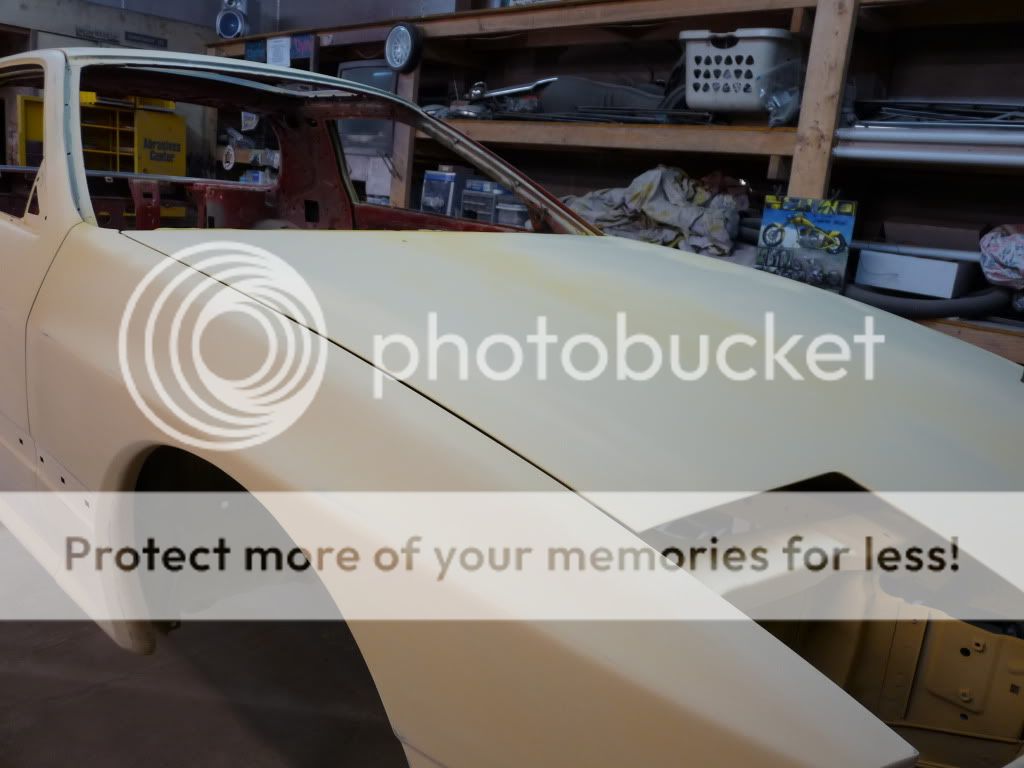
After a few months I had everything on the car removed. Being that the original paint job wasn't very good and there was damage from the deer, I decided the car was going to be repainted again. I put the body on a rolling stand so I could move it around the garage easily. At this point the fenders had been rolled, and I was ready to start sanding on it.
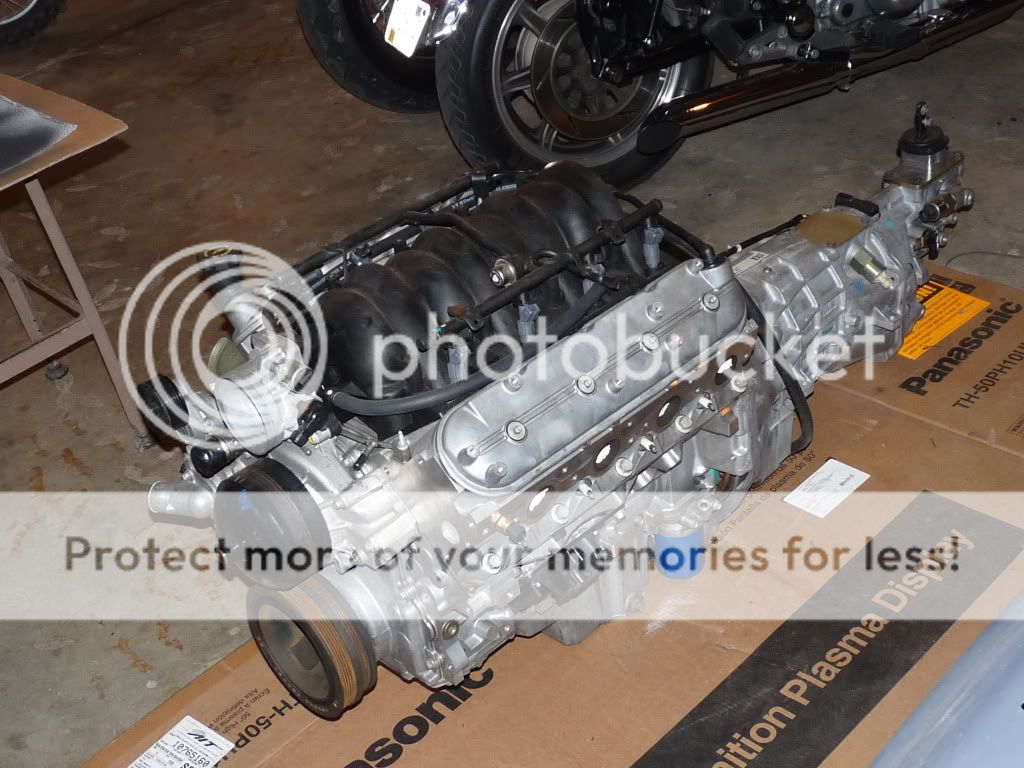
Well about a year after starting disassembly, I changed my mind with what engine I wanted to put into it. I wanted something lighter and simpler to install. I say simpler because while the wiring for the Megasquirt would be a piece of cake, it would still require a lot of tuning to get it running right. It's just something I don't want to be messing with once it's all put together, when I could be out driving it instead. So I bought a LS1/T56 pullout with 34k miles on it from a 02 firebird. BTW, I still have the LT1, I'm just saving it for another project.
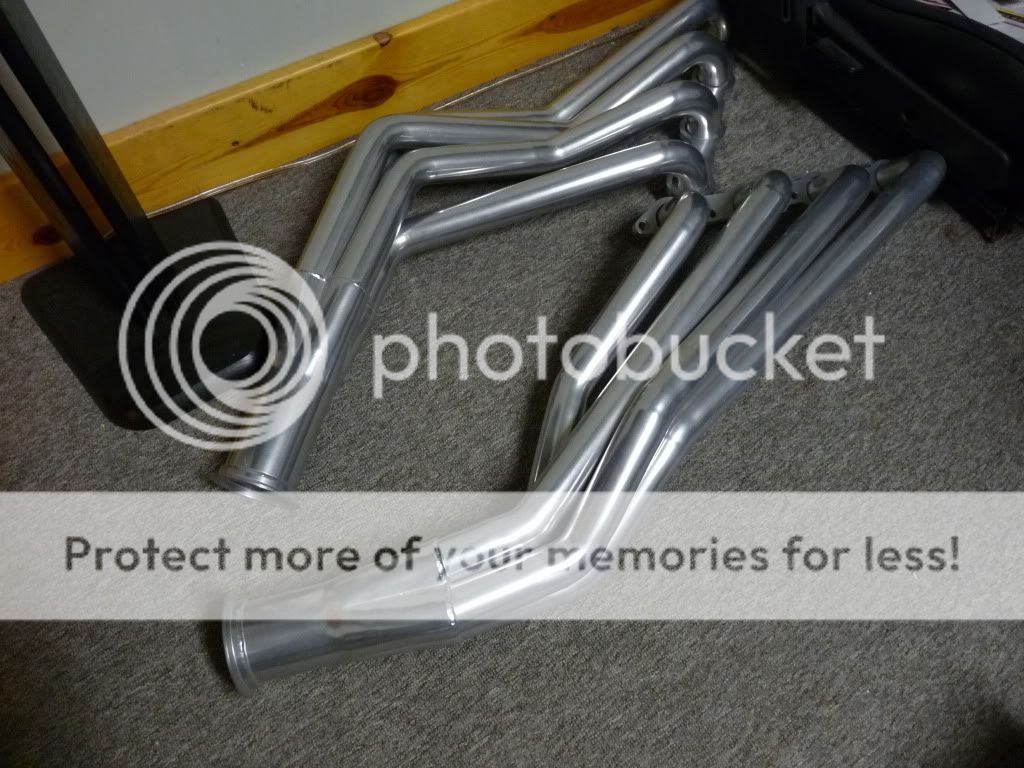
Now that I have a LS1, I bought a set of ceramic coated 1-3/4" JTR headers. The build quality on these is very nice!
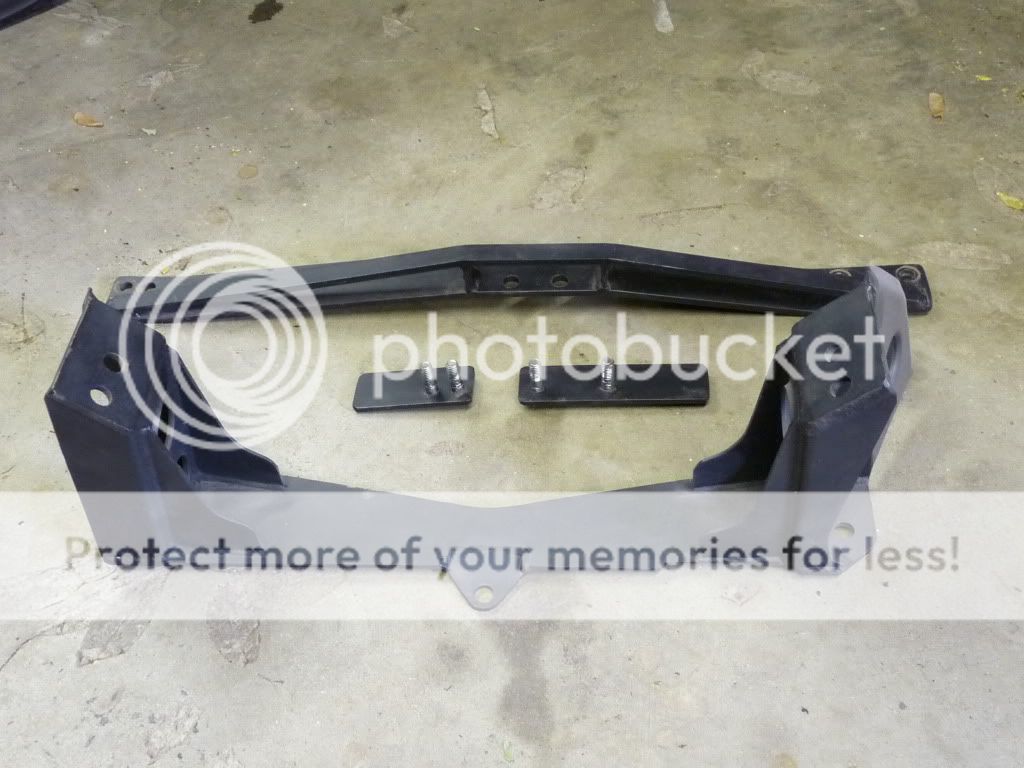
Grannys Speed Shop basic mount kit (minus the hardware). I had bought this for the lt1 before I was planning on putting the ls1 in it. To make it work with the ls1, I had to cut out the bracing in the center, repaint it, and place 3/8" spacers under it. I also bought some polyurethane engine and transmission mounts to replace the rubber ones.
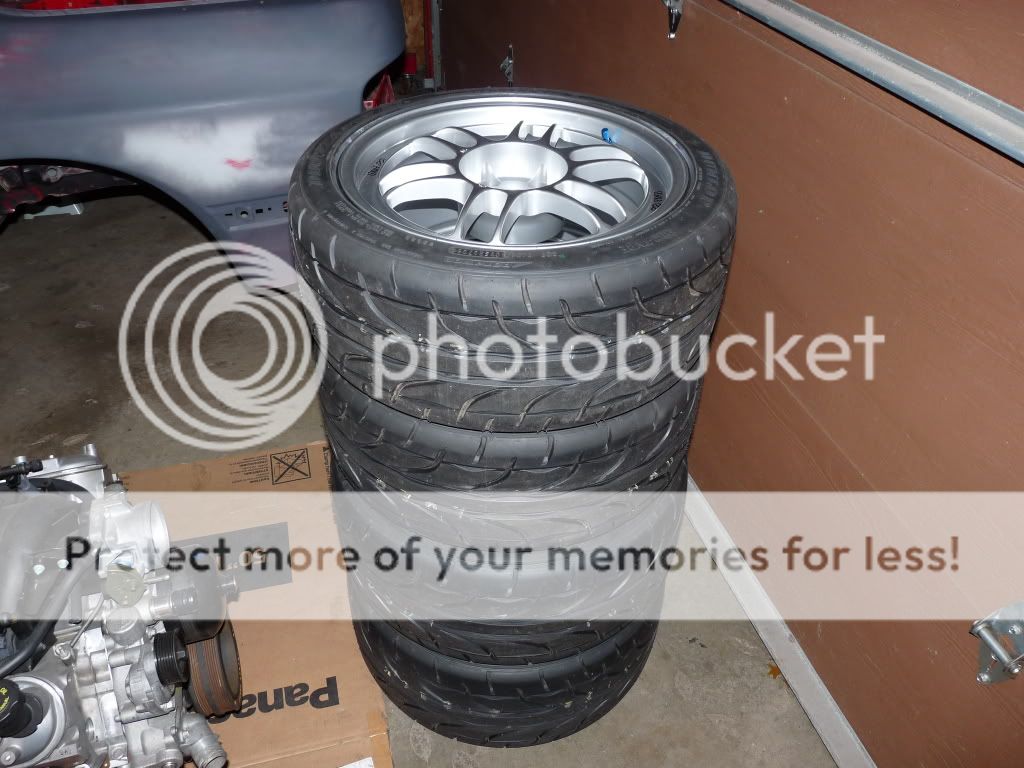
My focus was always a good handling car. I bought this car because of its good handling. So to not compromise in the handling department, I bought some Enkei RPF1 wheels 17x8.5 30mm offset front, 17x9.5 38mm offset rear. And after a lot of research I decided on Dunlop Direzza Sport Z1 Starspec for the tires. I went with 235/40/17 front and 255/40/17 rear. I wanted to play it safe for the first set of tires, but the next set will probably be 245/40/17 front and 265/40/17 rear.
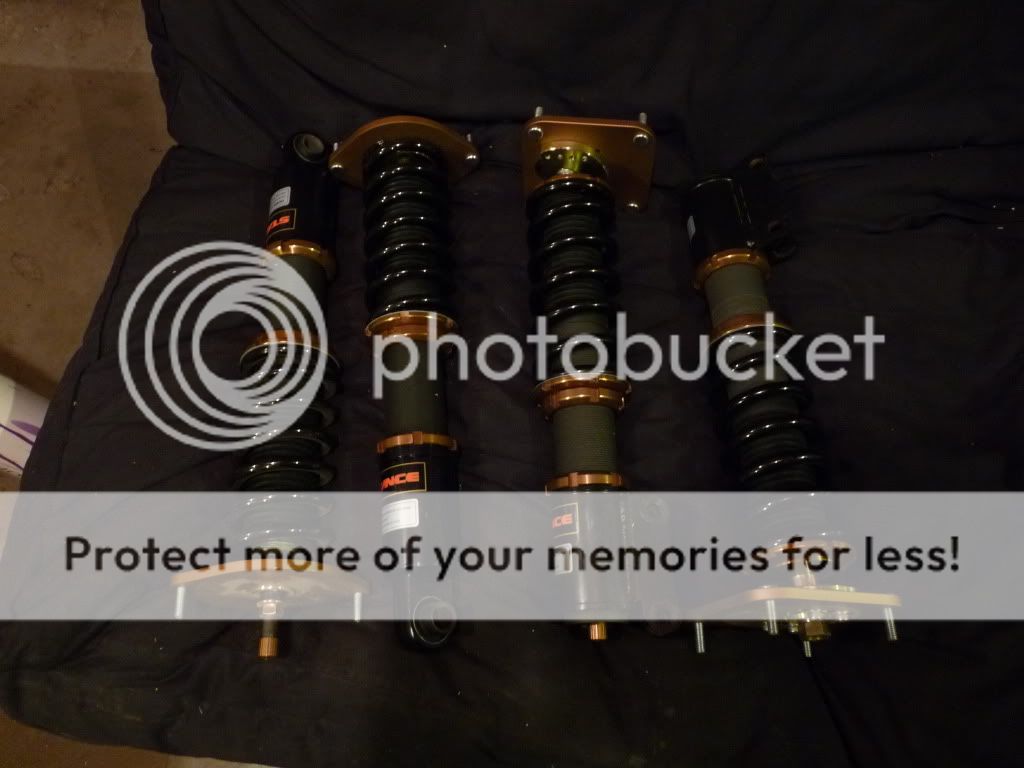
I also purchased a set of Stance GR+ coilovers with 8k/6k springs.
I picked up a Turbo II differential and axles with around 120k miles on it from a local junk yard for $150. It has a lot of miles on it; I hope the clutches still lock up. But even if it needs to be rebuilt, it was still not a bad deal. I then painted it with a couple coats of POR-15.
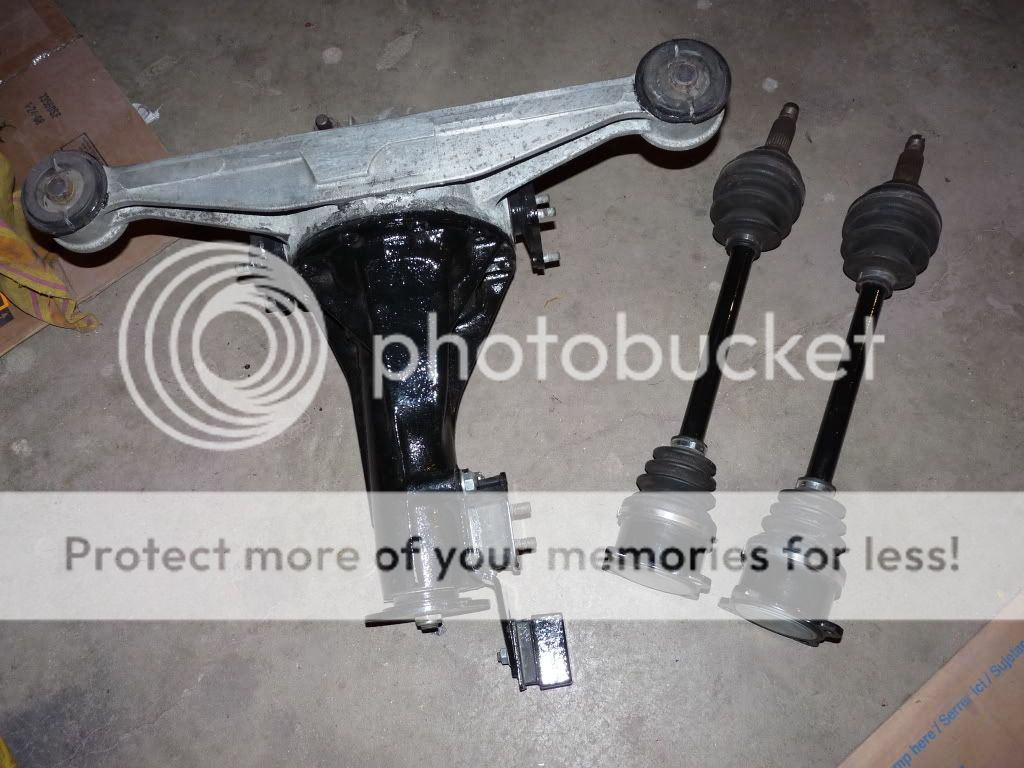
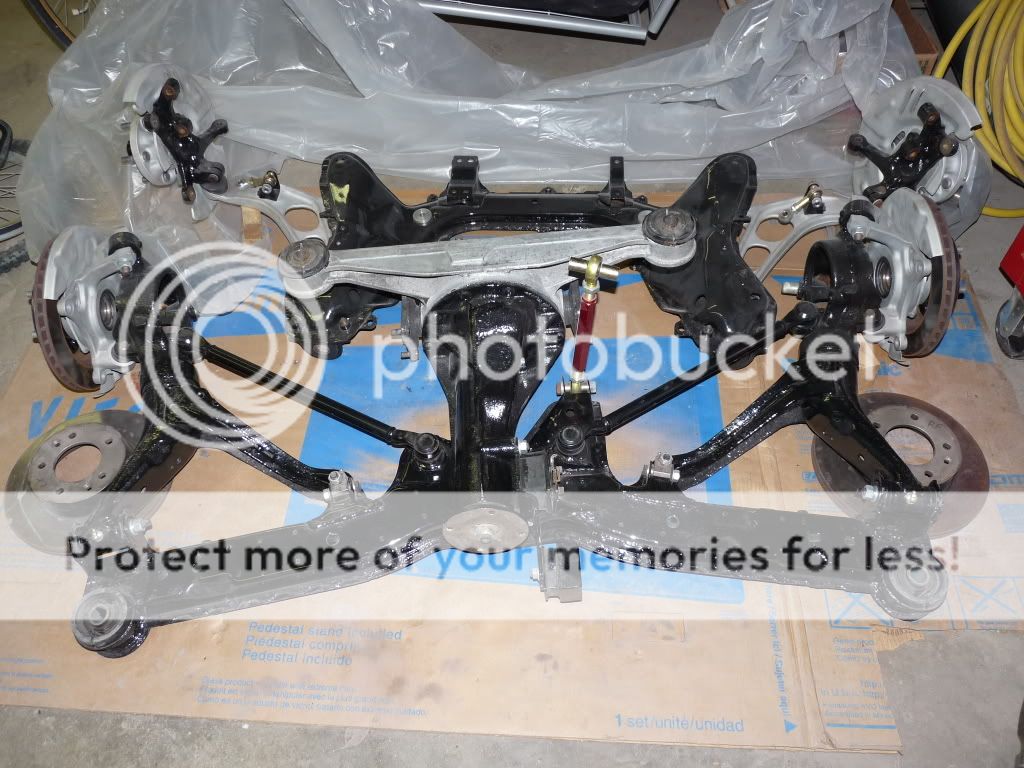
I completely disassembled the subframes, sandblasted the aluminum parts, and repainted the steel and iron parts with POR-15. I installed Energy Suspension polyurethane bushings and zerks fittings, Mazdatrix DTSS eliminators, Mazdatrix front swaybar end links, Mazdatrix control arm and center bar camber links, and new sealed rear bearings.
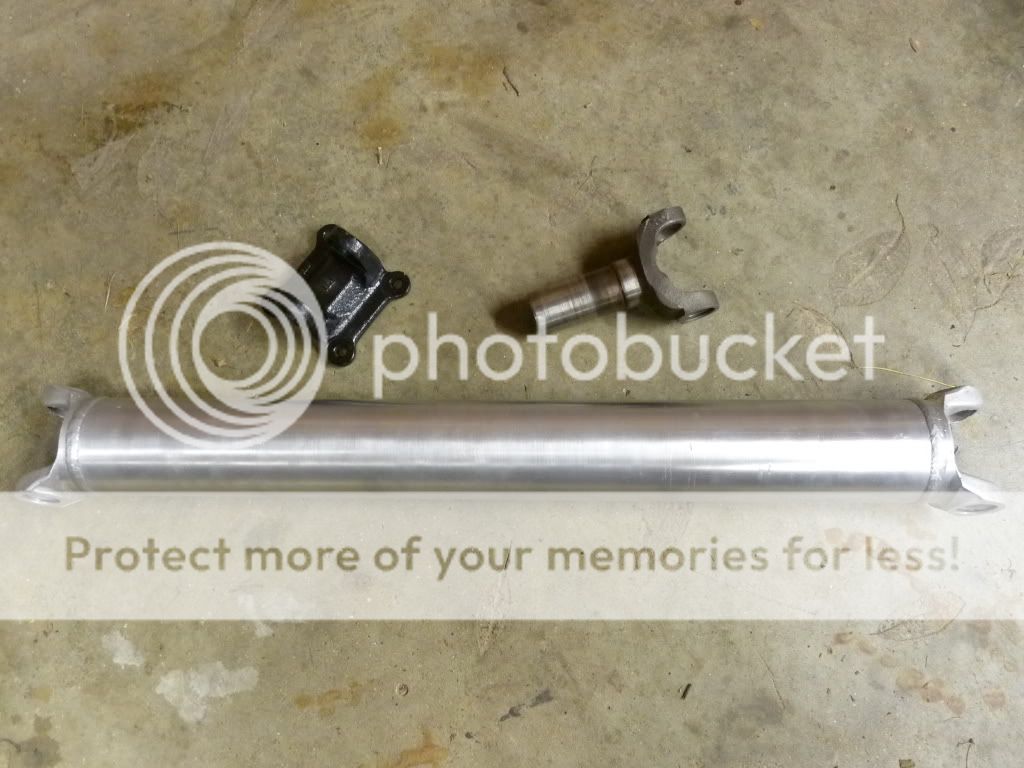
I bought an automatic C4 Corvette driveshaft (27.5" on center) off of Ebay. I also already had the TII rear flange adapter from when I bought the other Grannys parts. I will also probably end up getting a new slip yoke when I have it balanced. Thank you Mattster03 for being the first person to figure out the C4 driveshaft works!
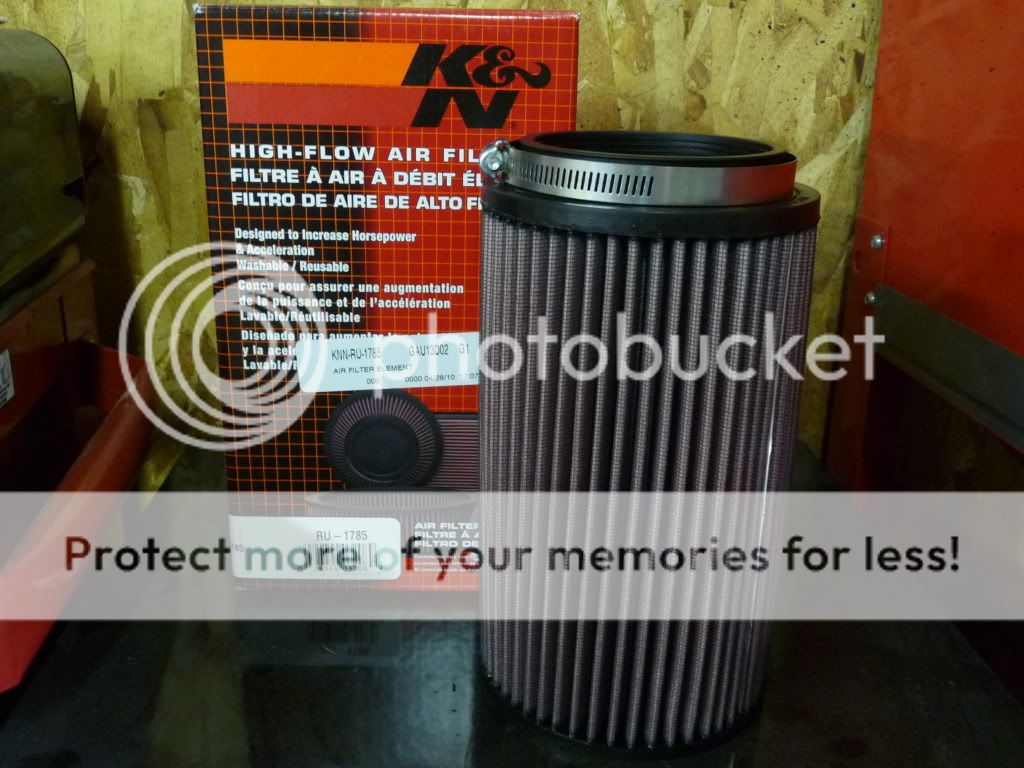
I built an air box out of aluminum. I still have to cut the hole out and paint it black though.


I bought a K&N filter to go with it. It's 8.5x5" in size with a 3.5" inlet.
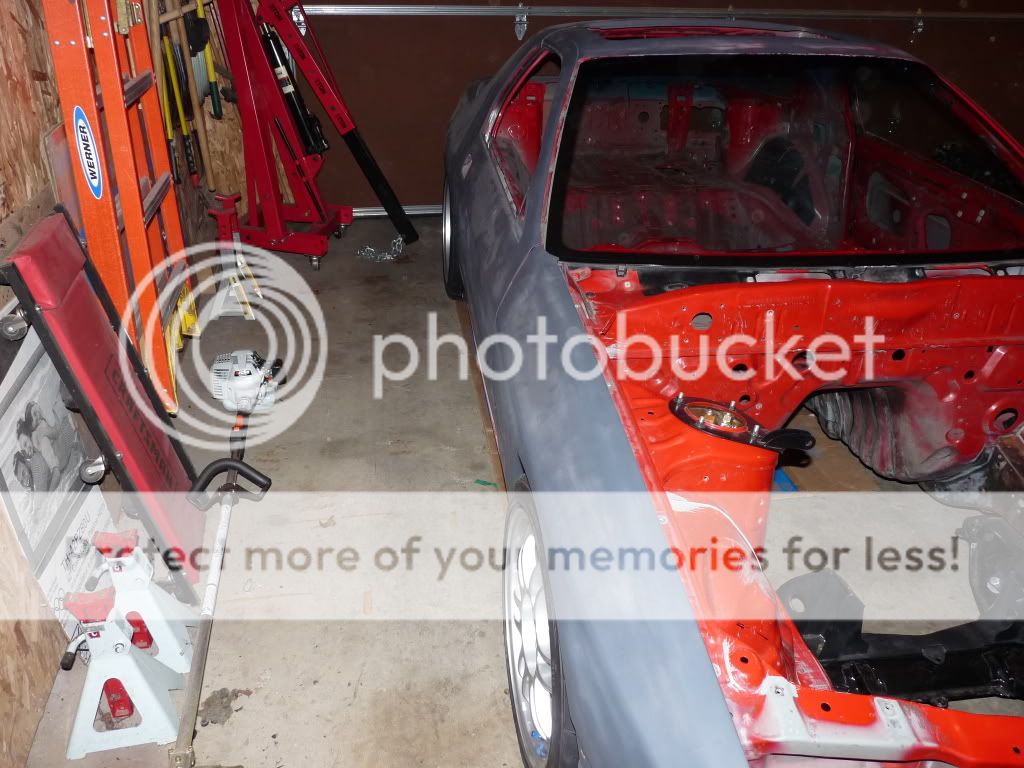
With all these parts, I decided it was time do a test fit.
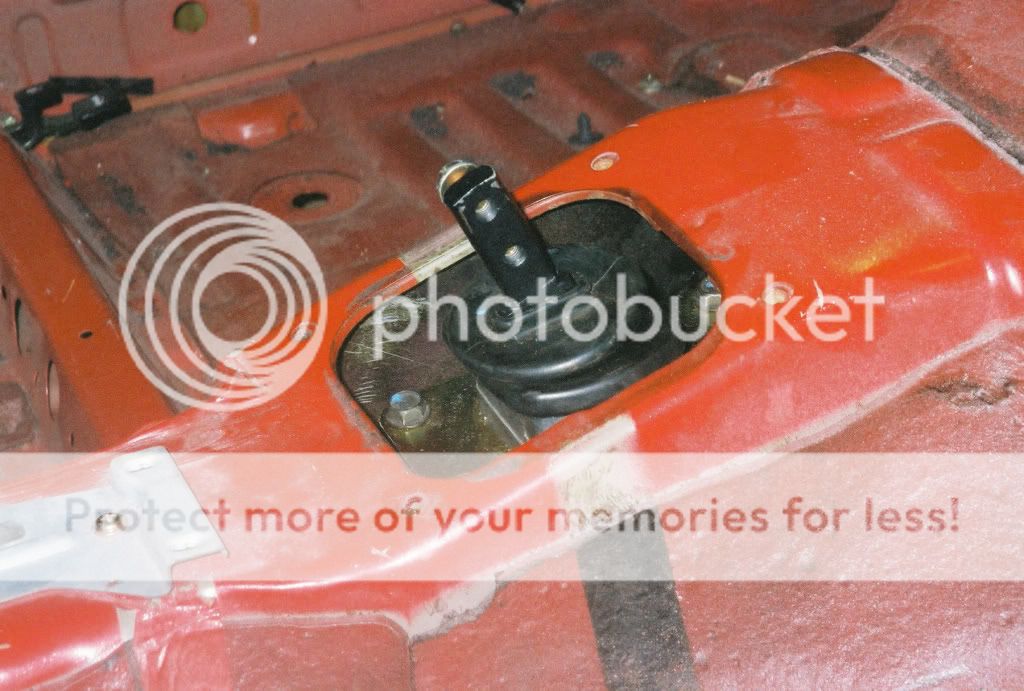
Like other people that have done these swaps, I thought it was really neat how the shifter ended up nearly perfectly center in the shift hole.
I thought the wheels turned out fitting pretty well, and I should still have enough room go up one tire size all around without rubbing.


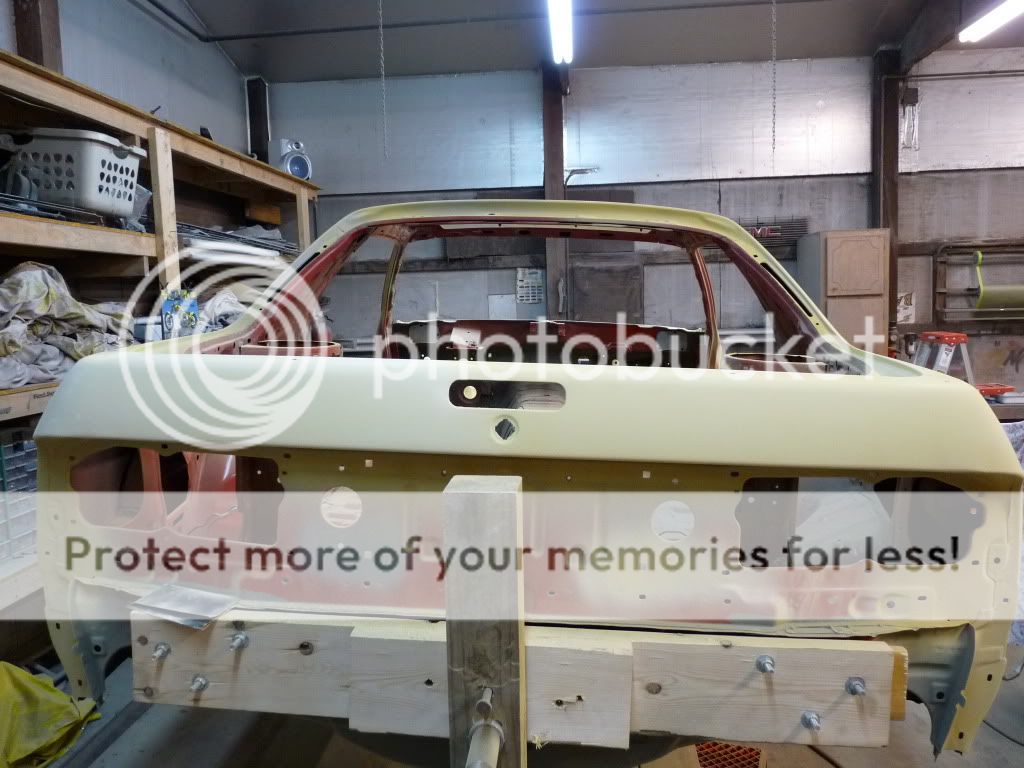
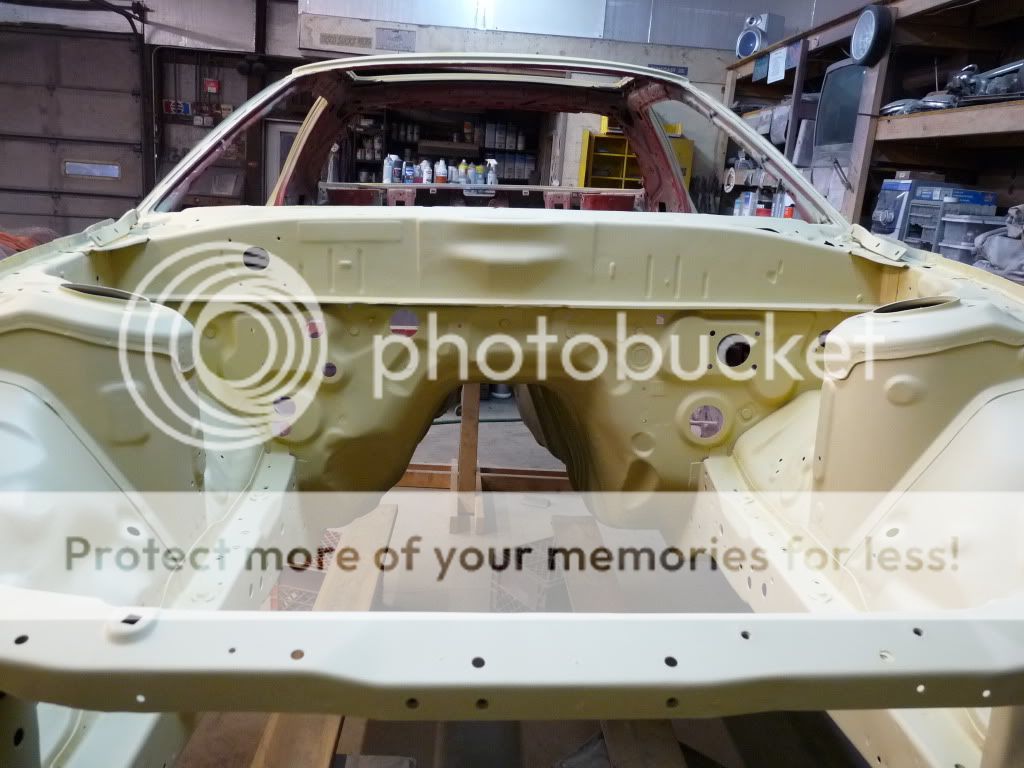
I pulled the car back apart and started stripping the rest of the crappy paint job off the car.
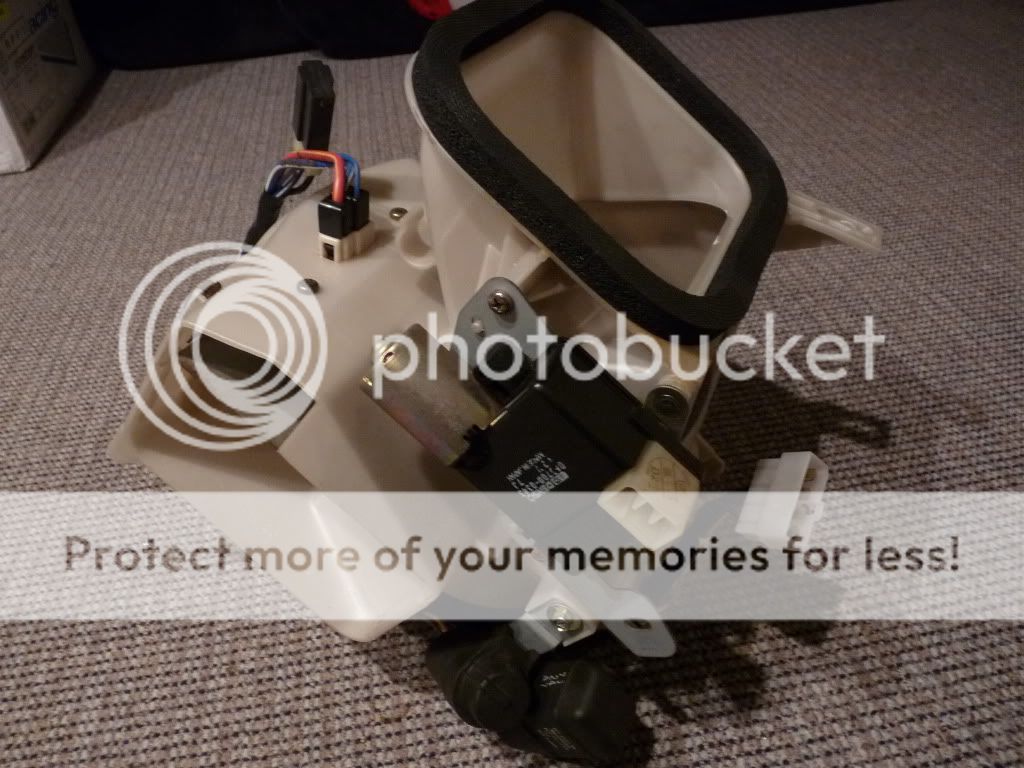
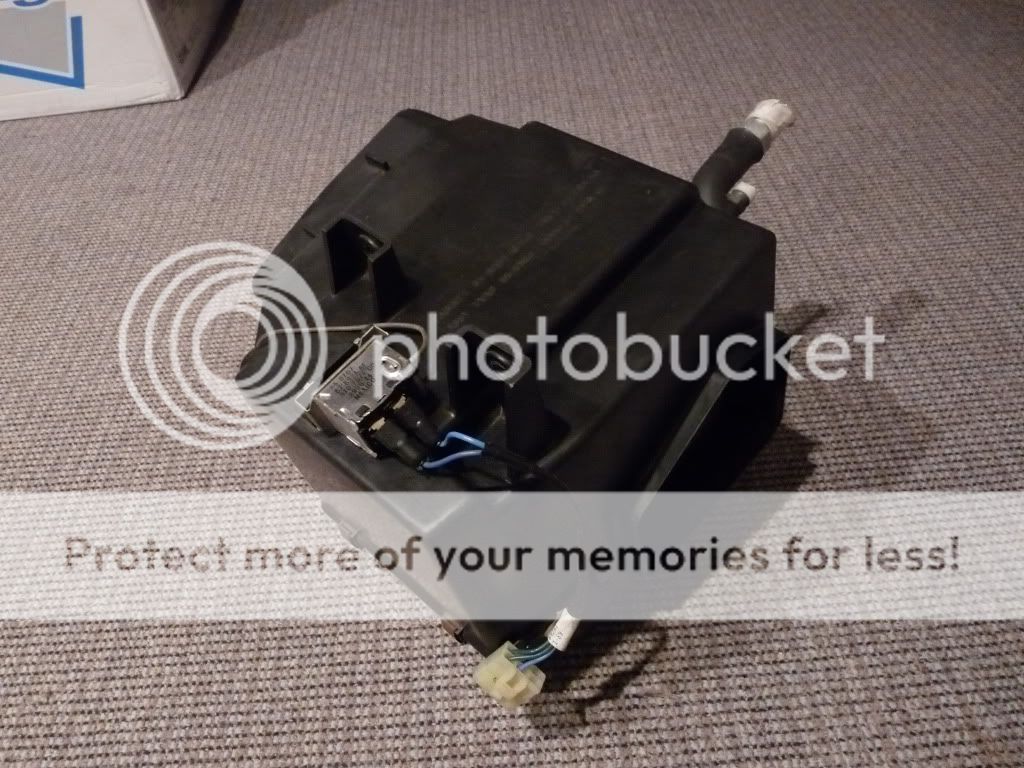
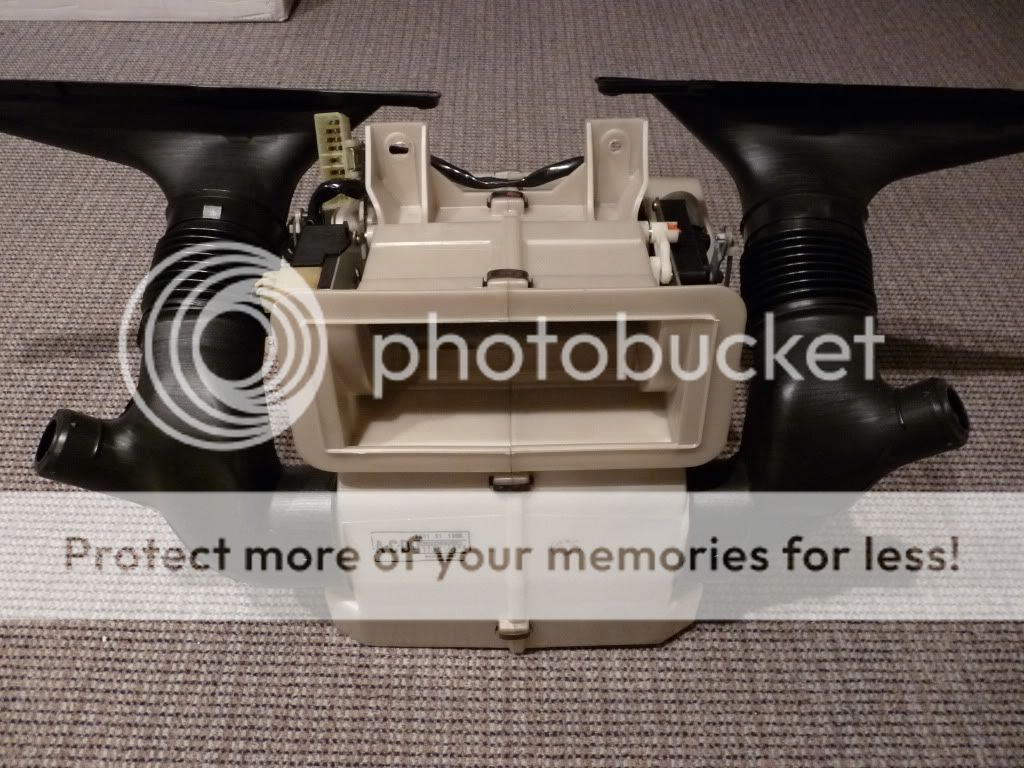
I went through all the HVAC stuff, disassembled them, cleaned them up, and replaced the foam inside.
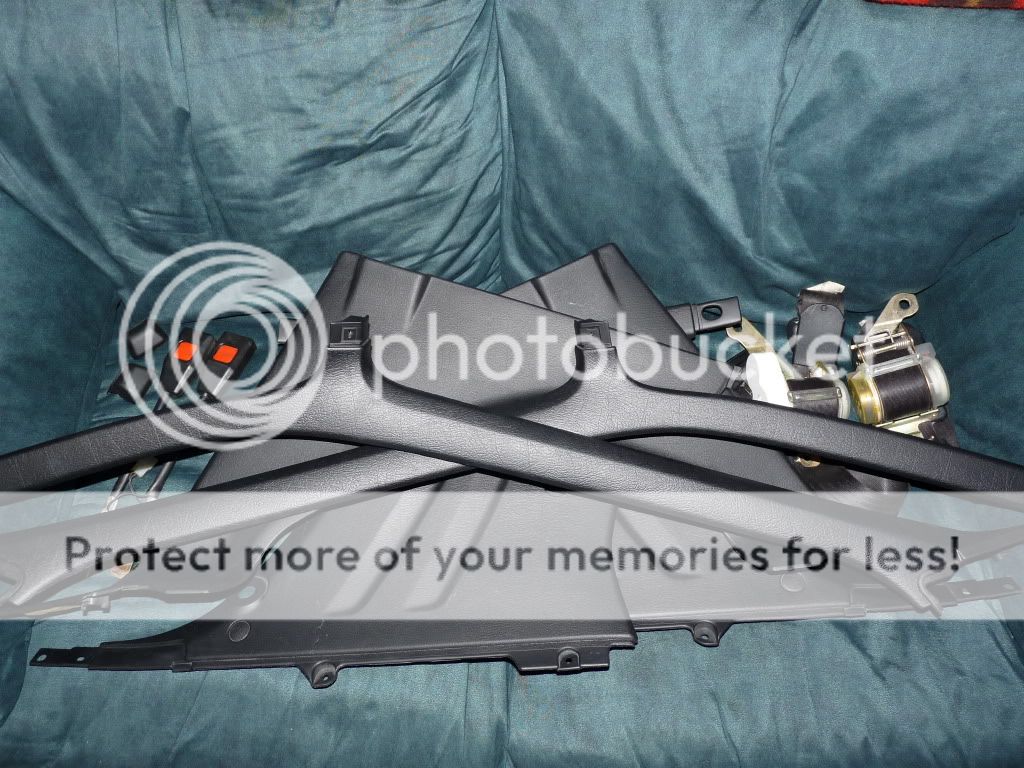
I wanted to eliminate the automatic seat belts (mostly to save weight), so instead of trying to do the near impossible and try to find 10AE interior parts, I pick up some grey A and B pillar interior panels and seat belts from a S4, I then painted the panels black. I then bought some black seat belts from a S5 convertible and swapped the belts on to the S4 retractors.
I went though all the electric motors (window, headlight, wiper, power antenna, and sunroof) cleaned them up and re-greased them.
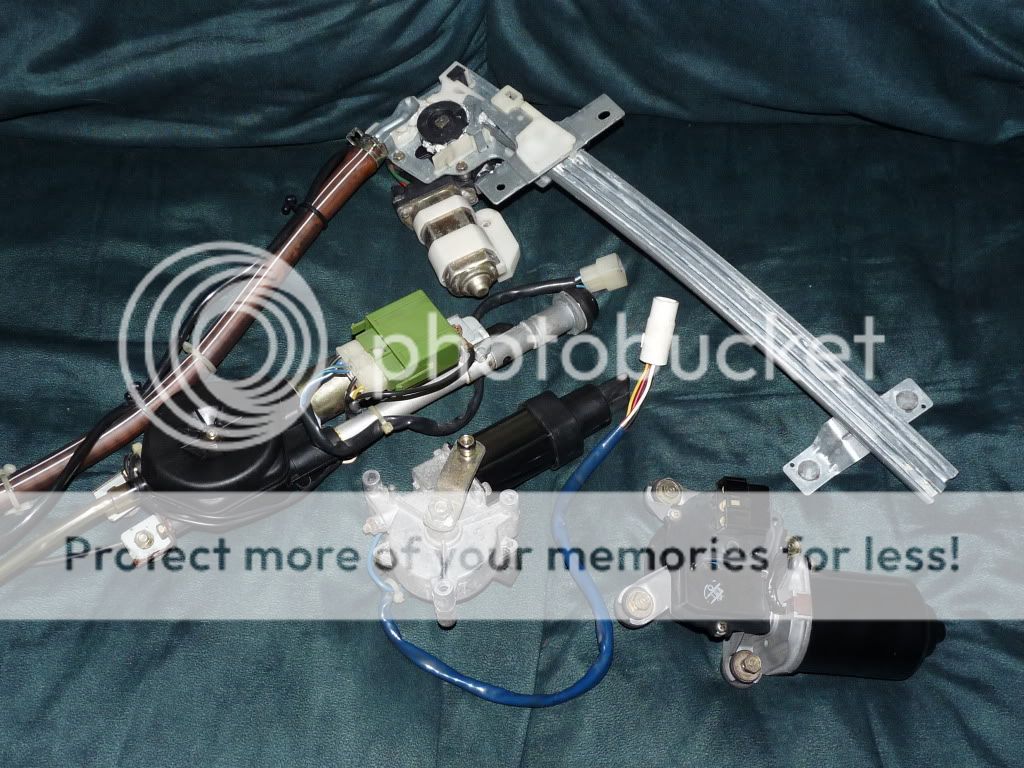
While I had de-powered the rack before I took the car apart, I didn't weld the quill when I had the rack disassembled. So I decided to disassemble the rack again, and weld it up. I also replaced the tie rods and repainted it.

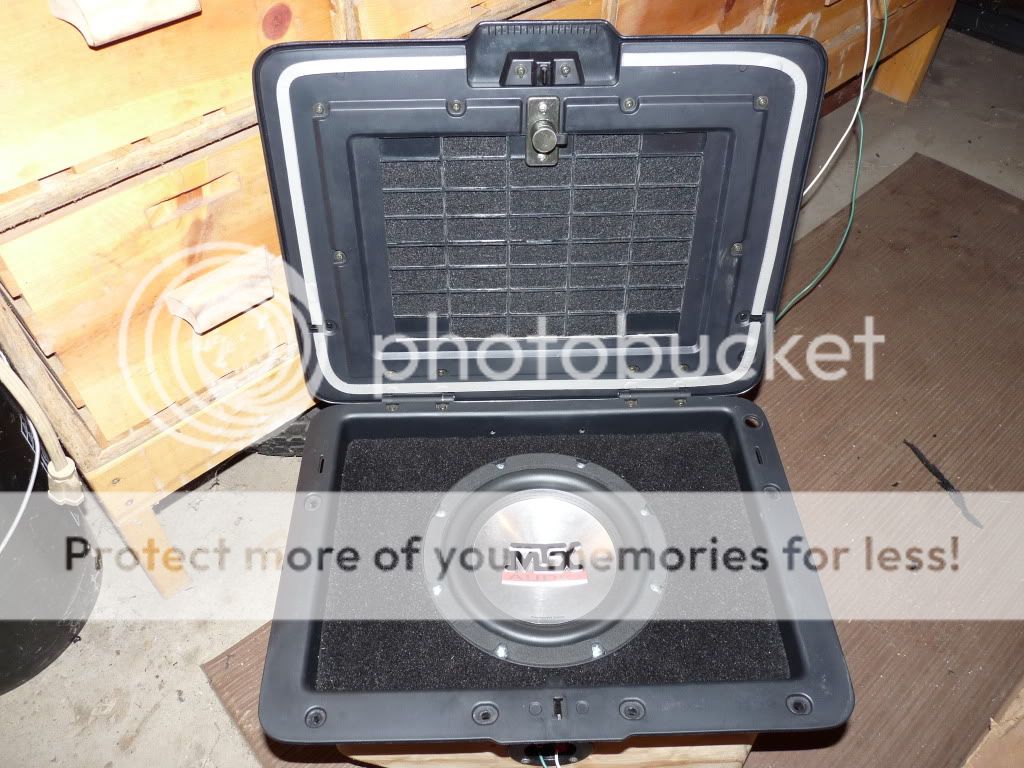
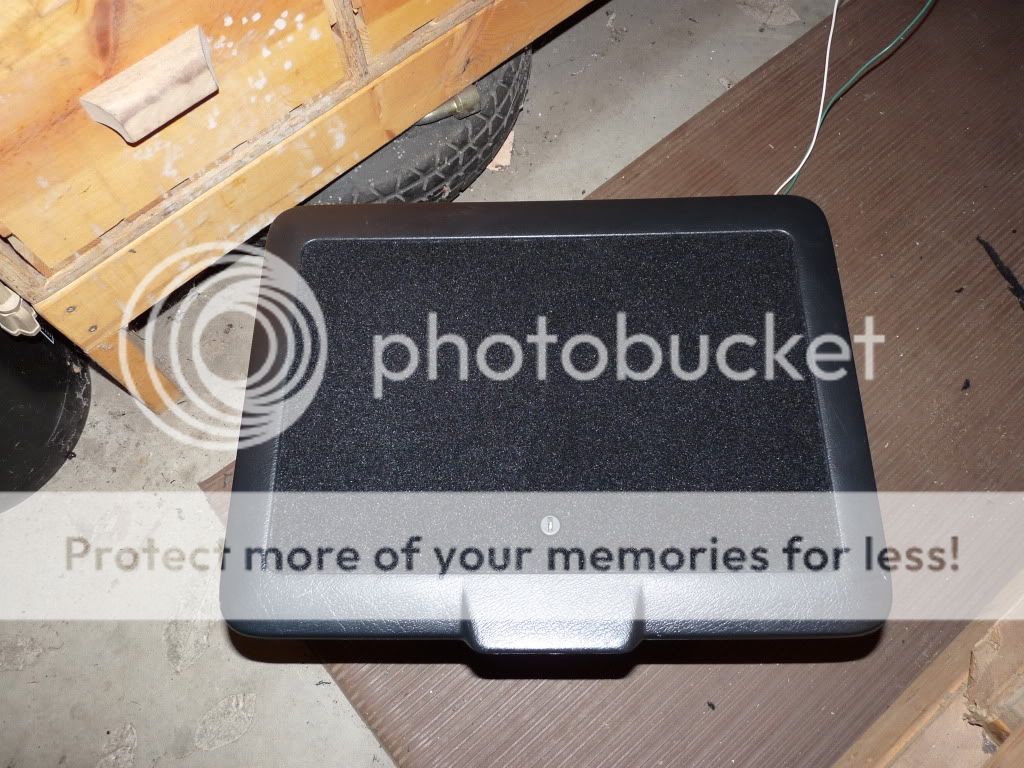
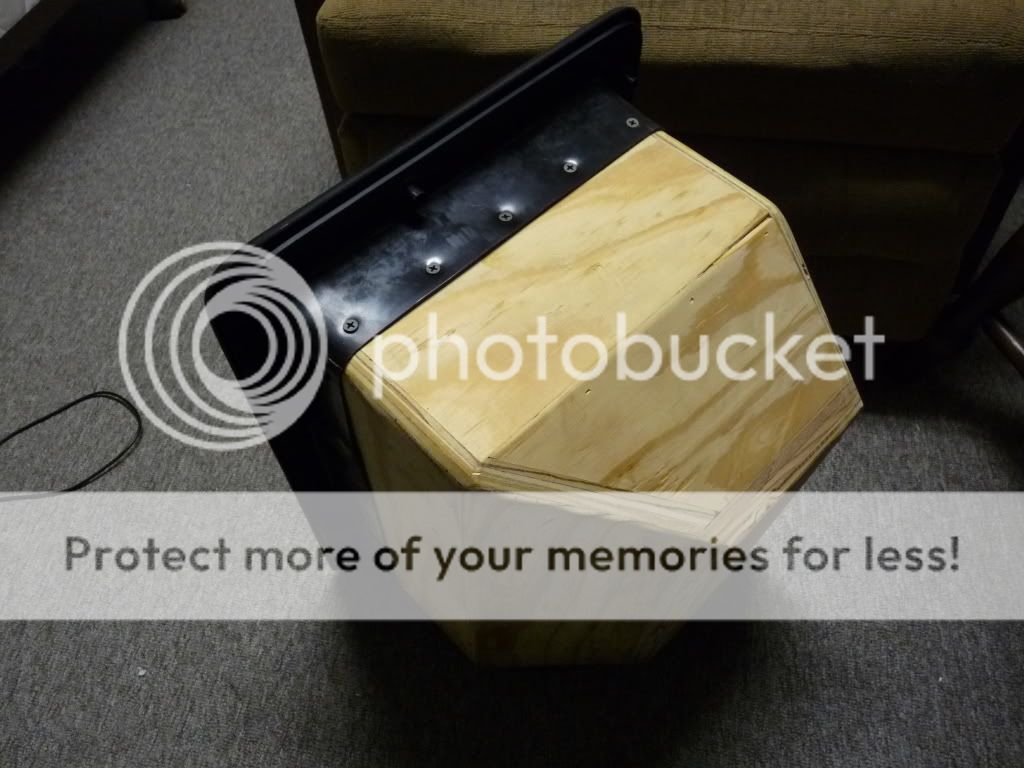
The original subwoofer setup was a big box with two 8" woofers. I wanted more space in the hatch area and I didn't need that much bass, so I built a sub box that could fit inside the driver side storage bin. I cut the lid and re-carpeted it so that bass and air can move through it easily, but still look factory with the lid closed. It sounds really good too, nice deep bass and no rattles. The subwoofer is a MTX T5508 8"
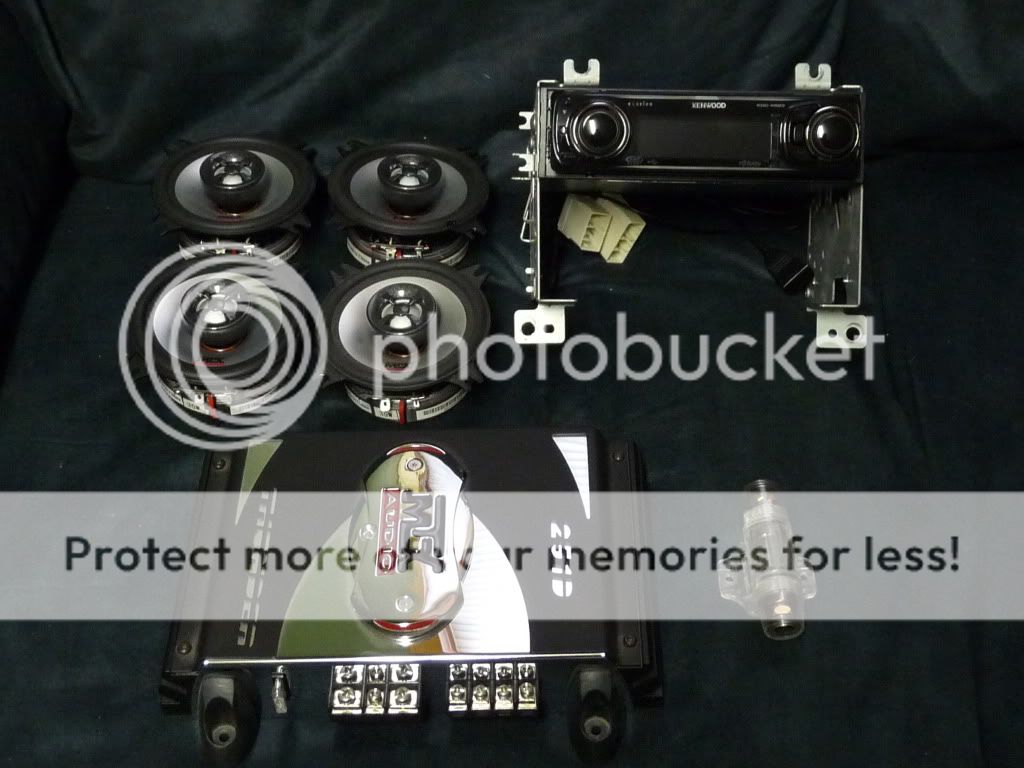
Here is the rest of the audio going into the car: Kenwood Excelon KDC-X693 receiver, MTX Thunder 251D amp, MTX TDX4002 4" speakers. Definitely not the most impressive audio setup, but it should keep me satisfied.
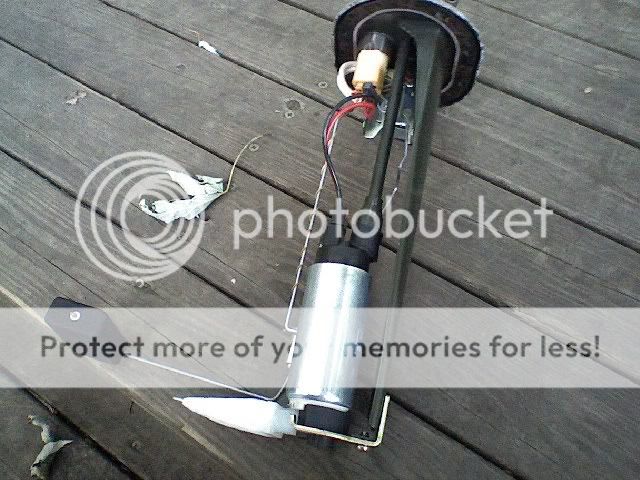
I bought a Walbro 255lph fuel pump and mounted it up. I soldered the wires to the pins (instead of splicing the wires together) for a factory type connection.
I wanted to make sanding and working on the underbody easier, so I built a home made rotisserie.

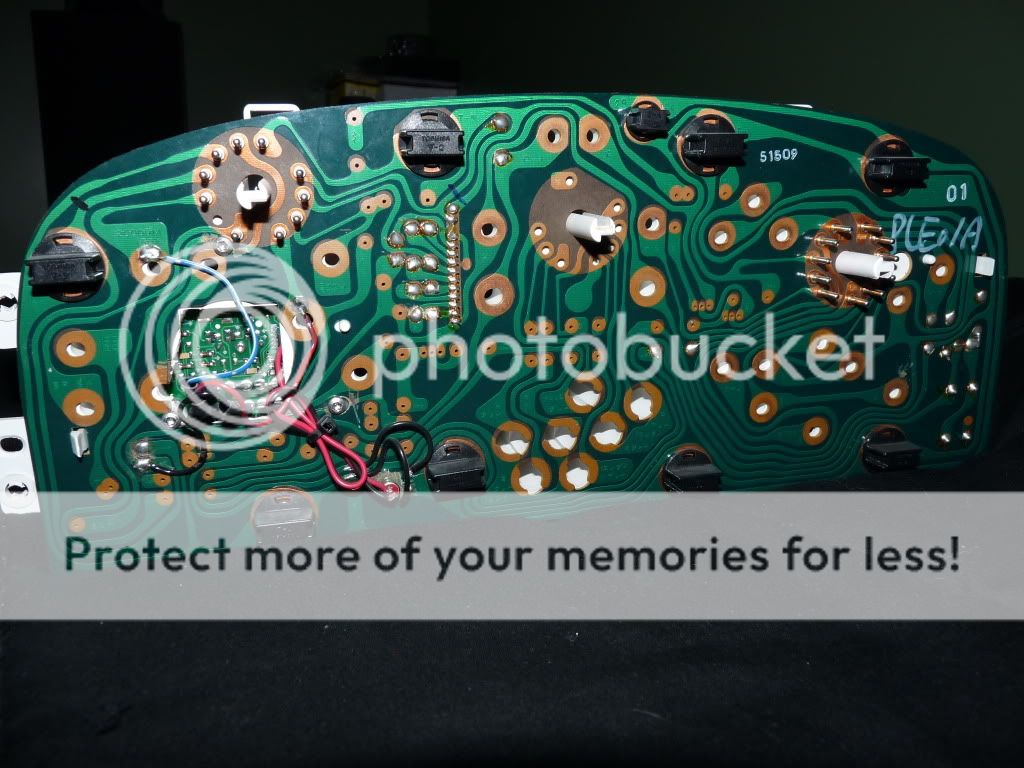
I mounted a VDO speedometer behind the stock gauge face. It turned out all right, but I'm not satisfied, I'm in the process of making green/orange gauge overlays. It will take care of the spot that you can see where I filled in the odometer hole.

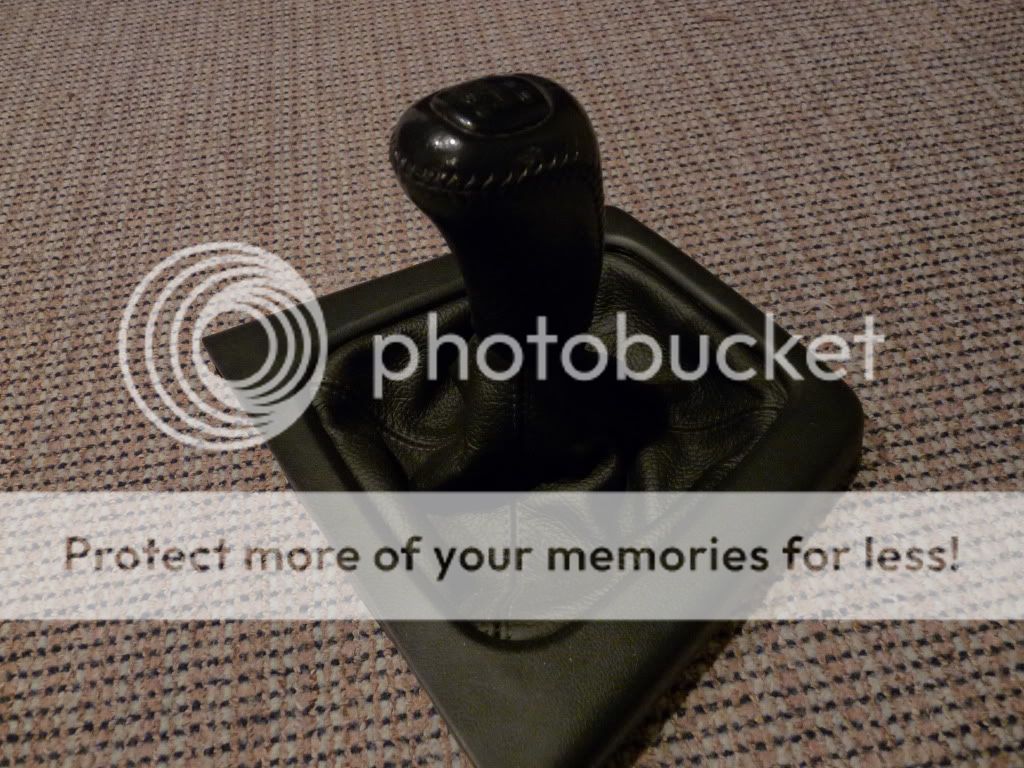
I bought new E-brake and shift boots from Redline goods. They are black with charcoal stitching. If I were to buy them again I would probably get gray stitching or something, because you can't really see the charcoal colored stitches very well.

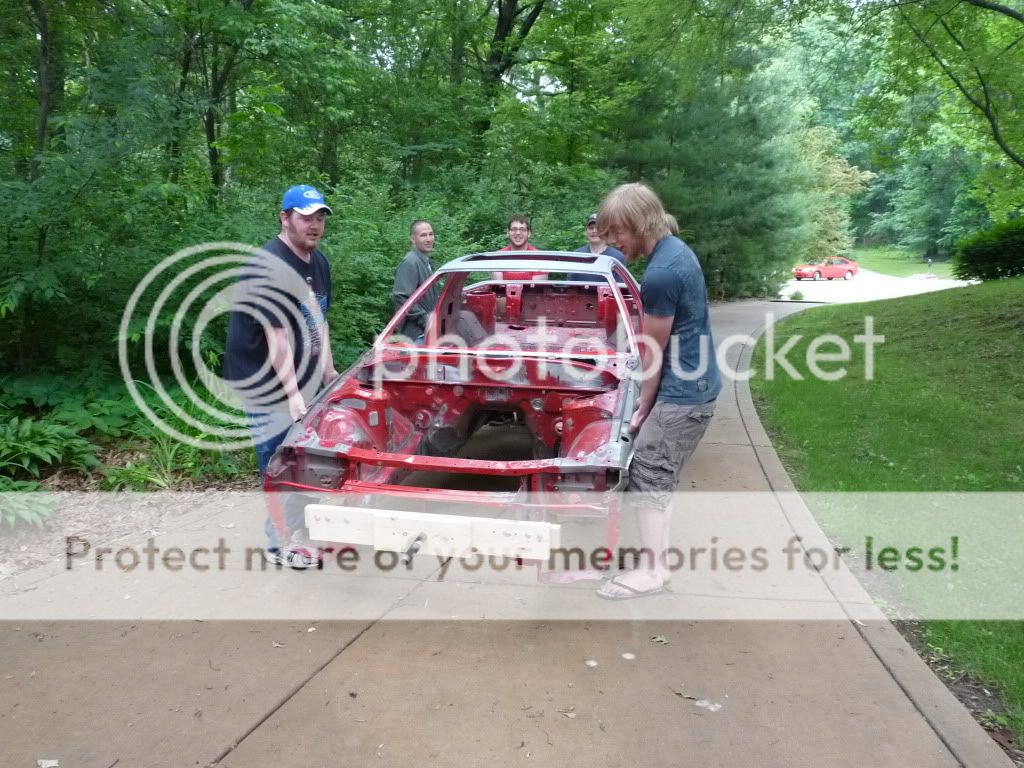
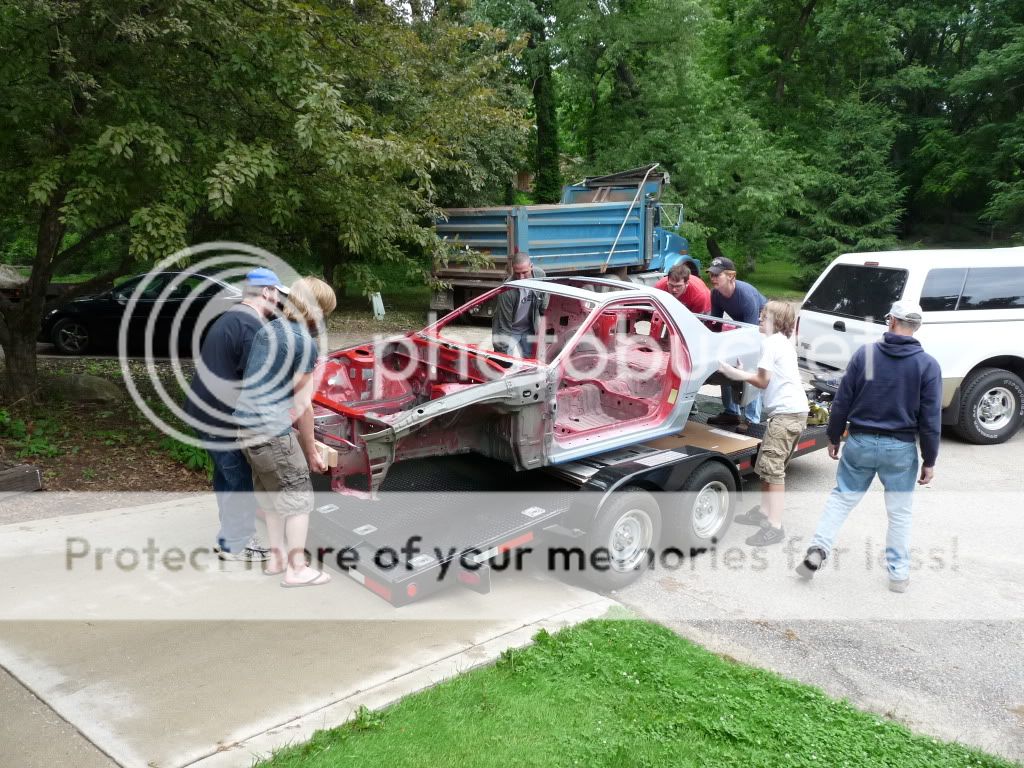
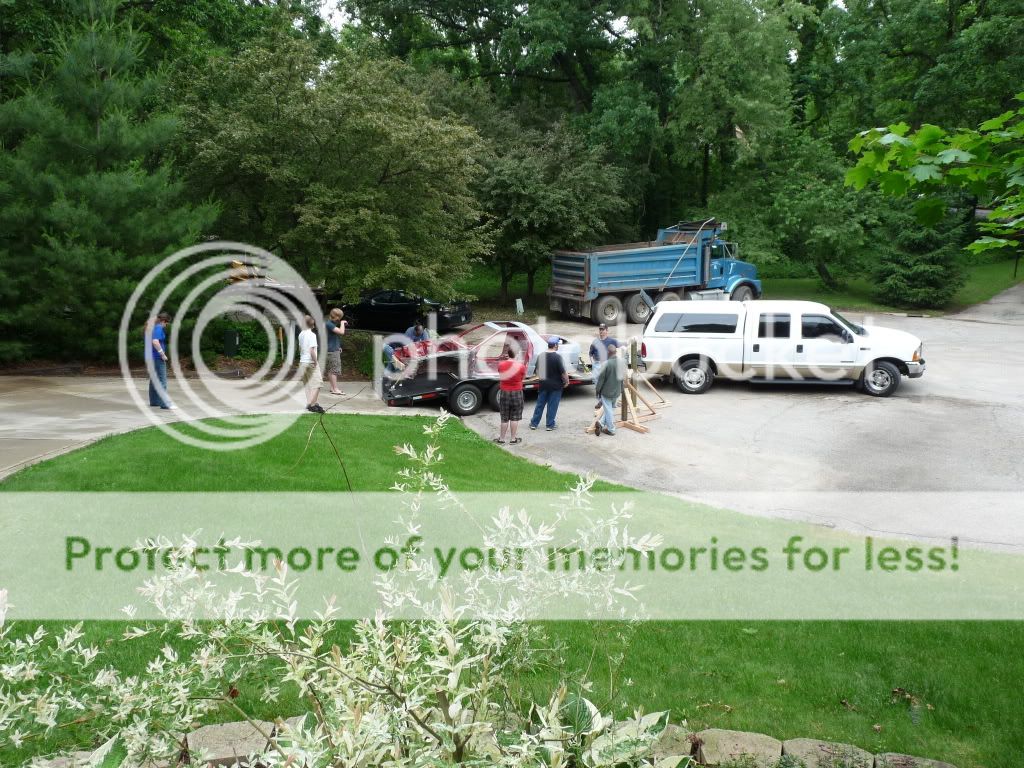
Well the time had come to bring the car to the painter. This was June 2009.
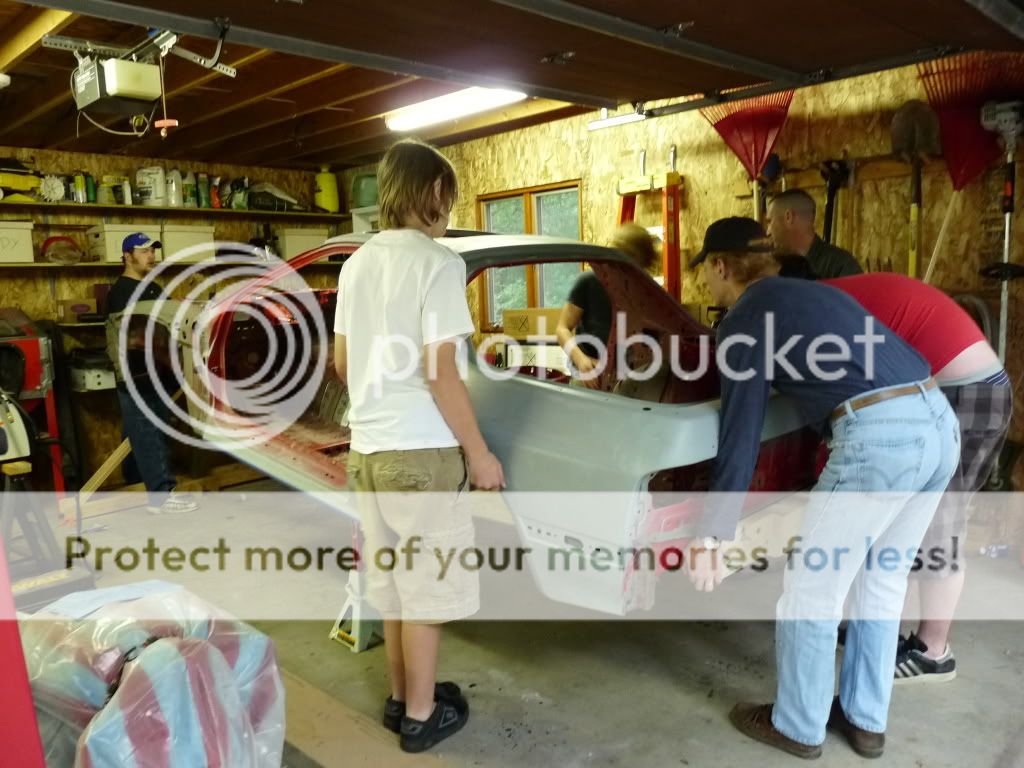
Here was my friend and I carrying the front end almost tripping over our own feet walking sideways to fast. That was scary!
A few weeks after we got the car to the painter, he had the body sprayed with etching and high build primer. I felt confident at this point, it seemed like he was making good progress.
Here it was August, and most of the body was block sanded.

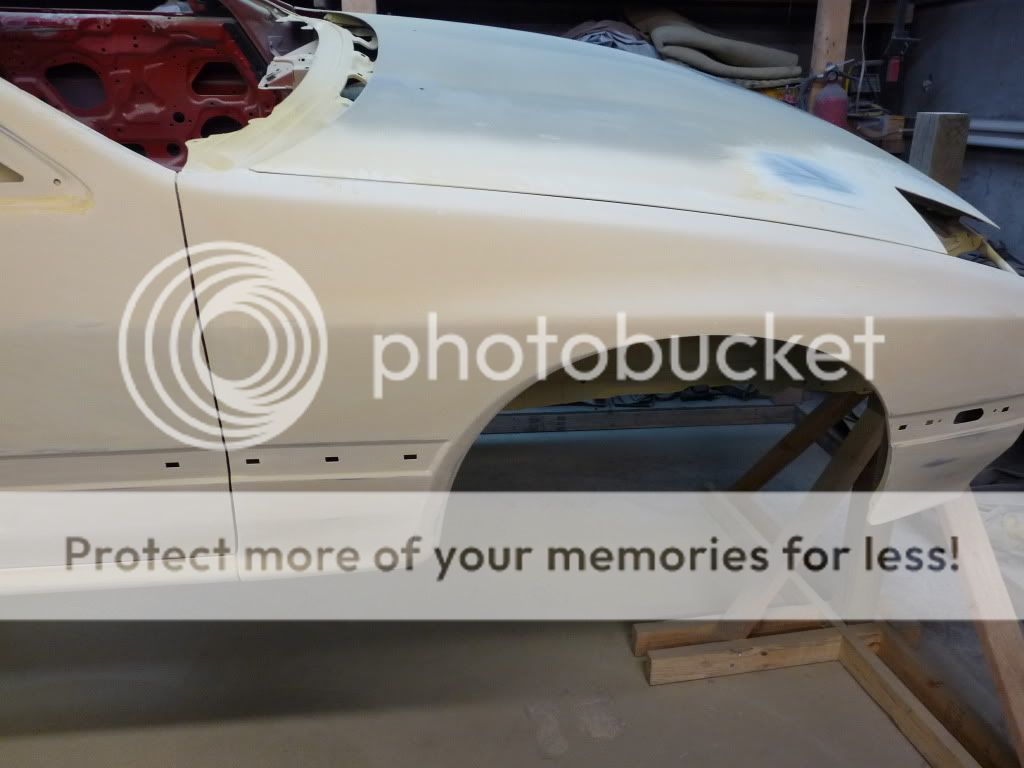
Ugh, now I started getting frustrated. This was two months later, and the only thing he got done was prime and block sand the hood.
My original plan was to repaint it Blaze red again (or some form of red). But I did some thinking and I decided I wanted something different while still looking like the color could be factory. Green has always been one of my favorite colors, and I hadn't seen very many green second gen rx7s (at least this shade green). So I started looking into different greens, I knew I wanted some shade of British racing green, I just wasn't sure exactly which one. I looked at colors from Jaguar, Aston Martin, Mini, and Lotus. I ended up choosing Lotus Racing Green.

The fact that this particular color only came on Lotus Elises from 2004-2005, the chances of being able to see it on a car in person is slim to none, so I had a sample mixed up and sprayed it on a piece of metal. I think the contrast with the silver wheels will look good.

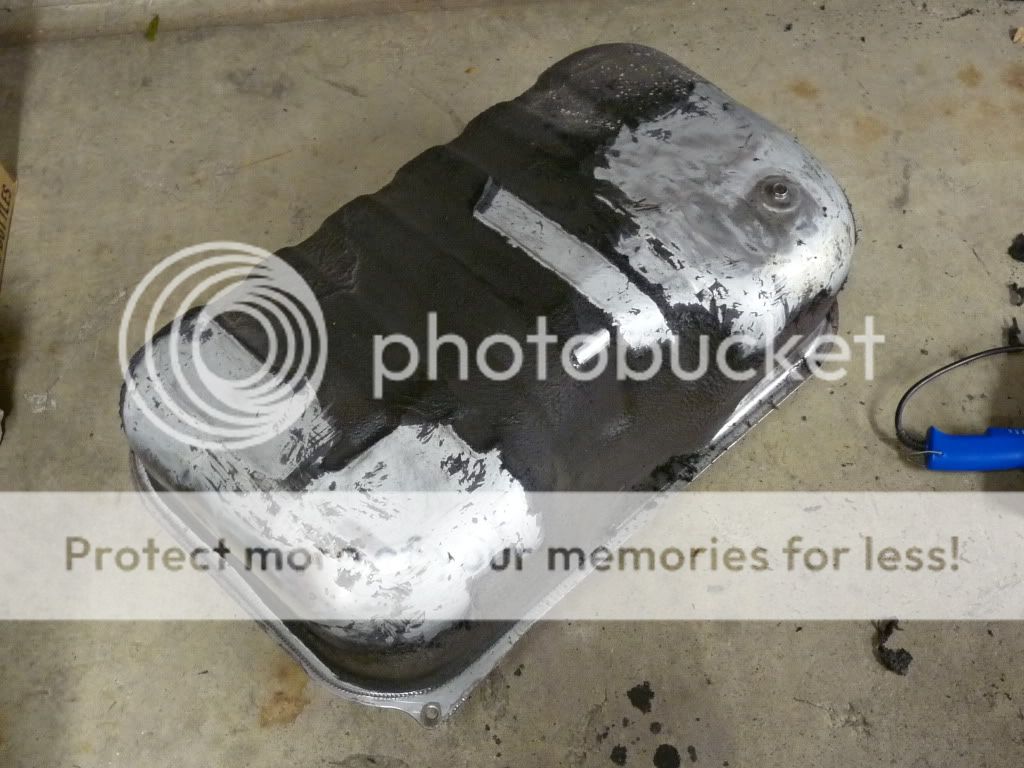
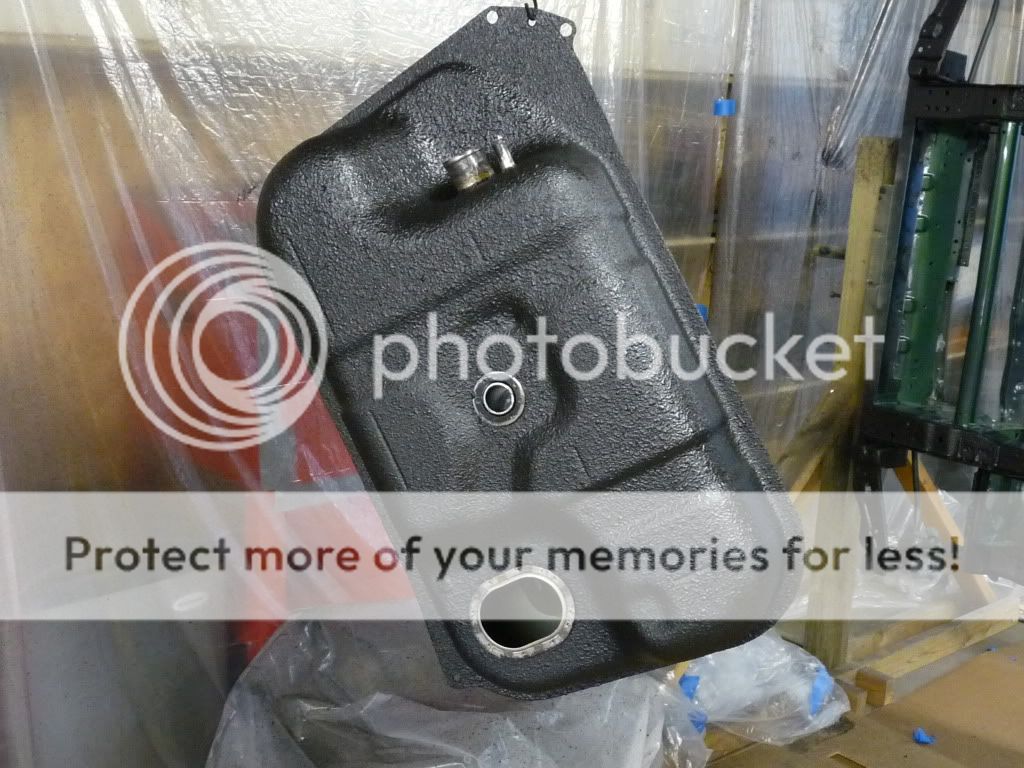
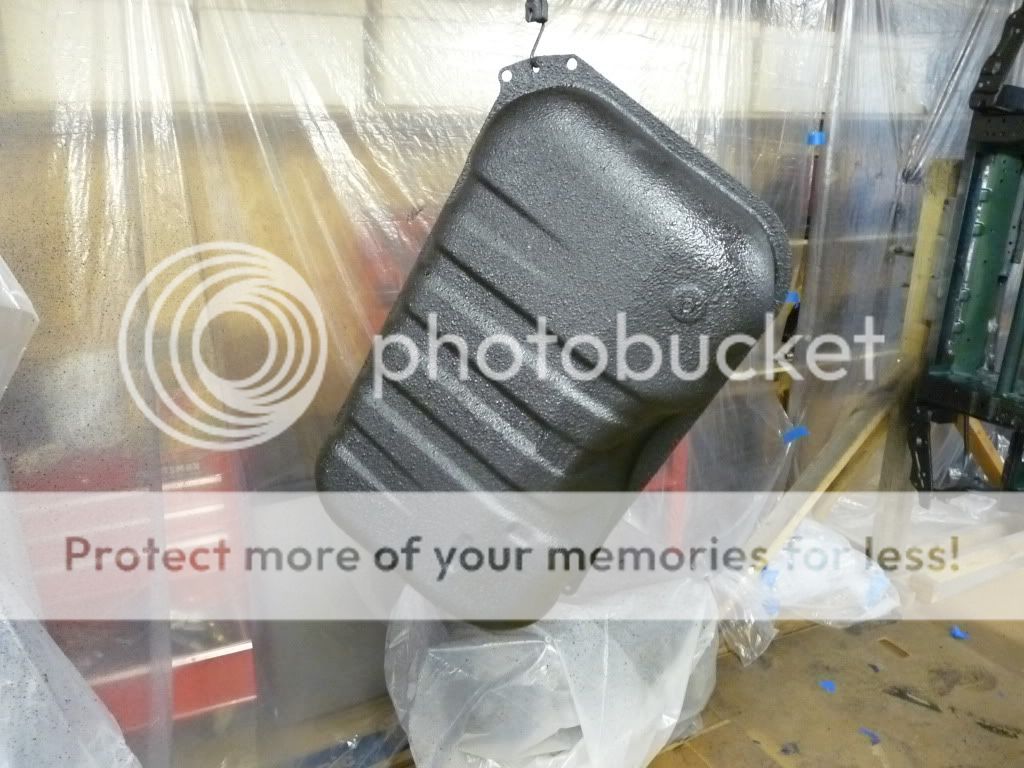
While waiting for the car to get back, one of the things I worked on was the gas tank. First thing was to strip the factory rubber undercoating off. I used a heat gun and plastic putty knife, it worked really well.
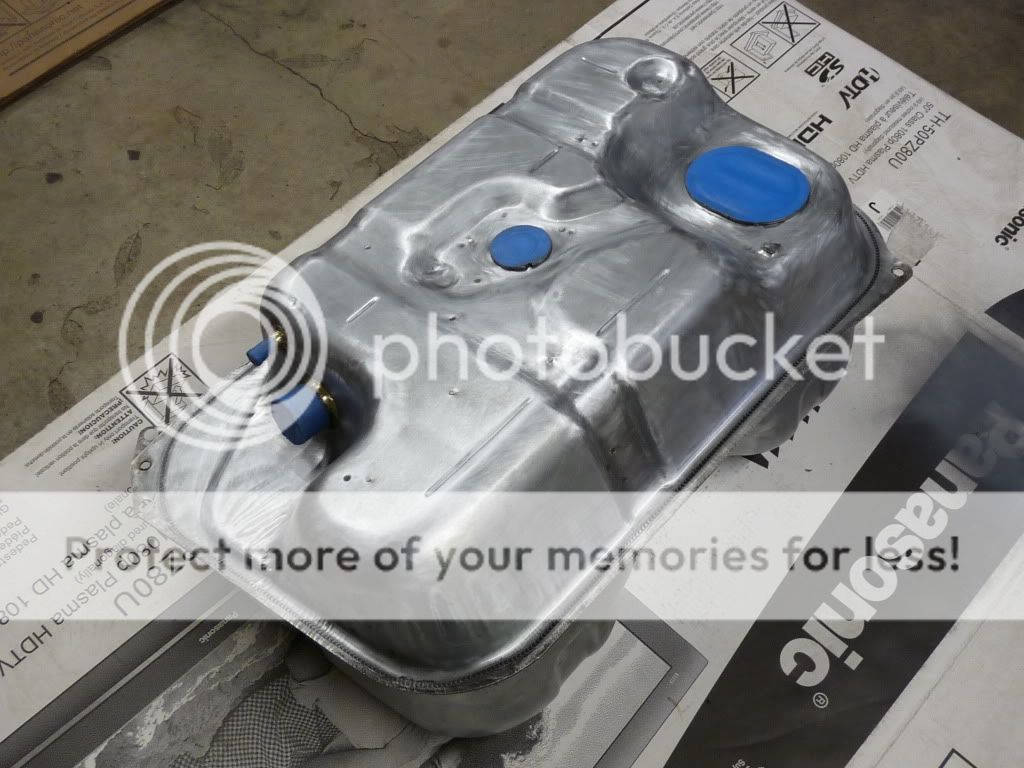
Stripped, sanded, cleaned, and ready for primer.
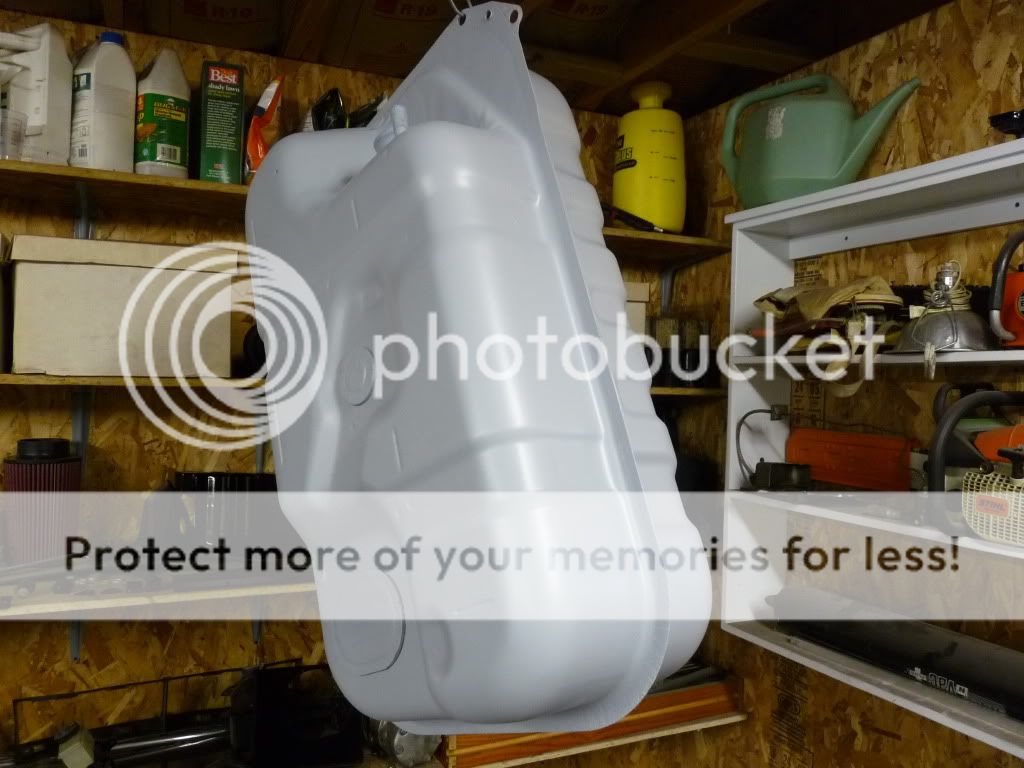
Primed. The tank will be sprayed with the rest of the underbody with Al's bedliner.
Finally, six months after bringing the car to the painter!!! (December 2009 now) I started getting some painted parts back. Some of the parts are a little dusty.
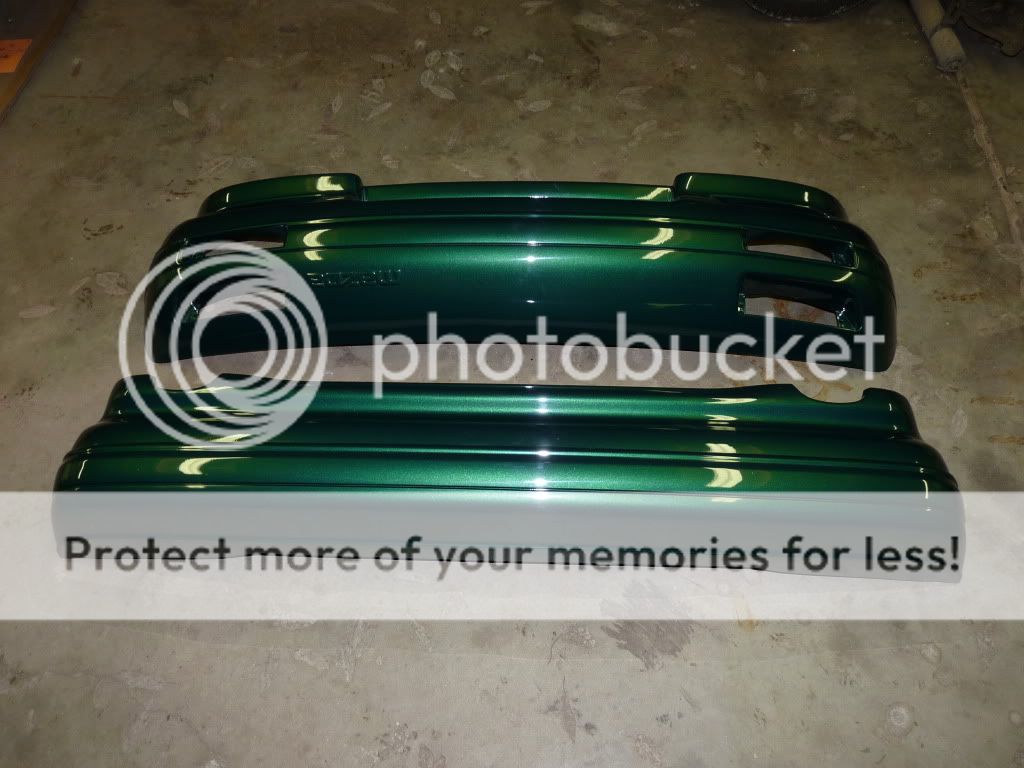
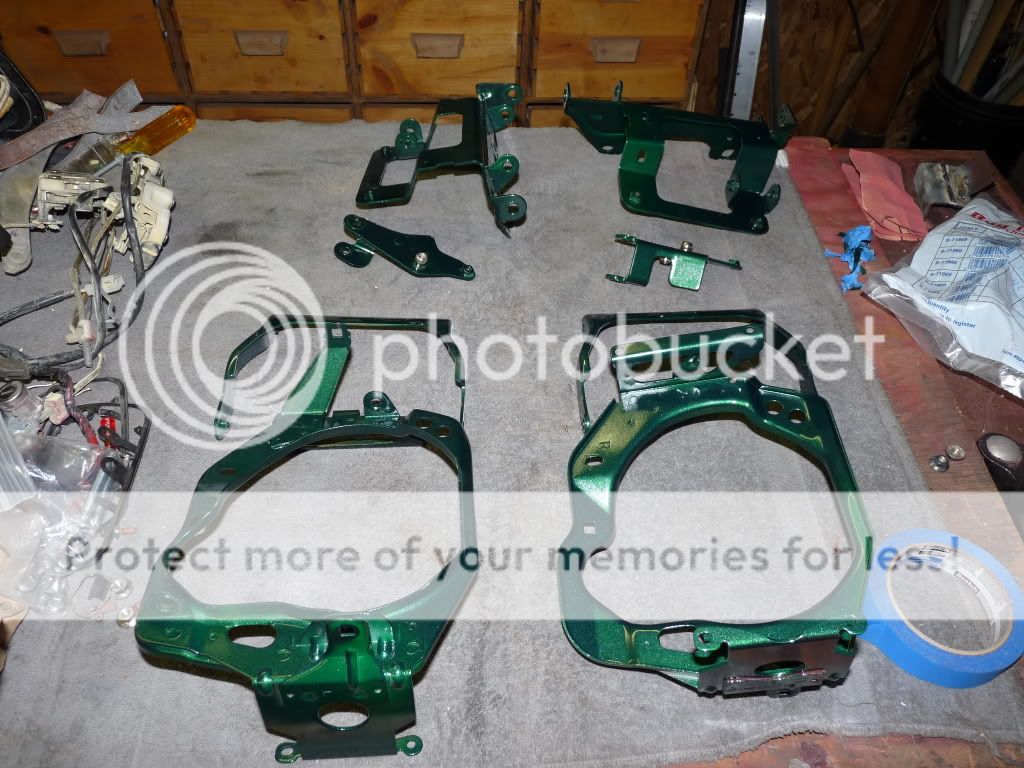
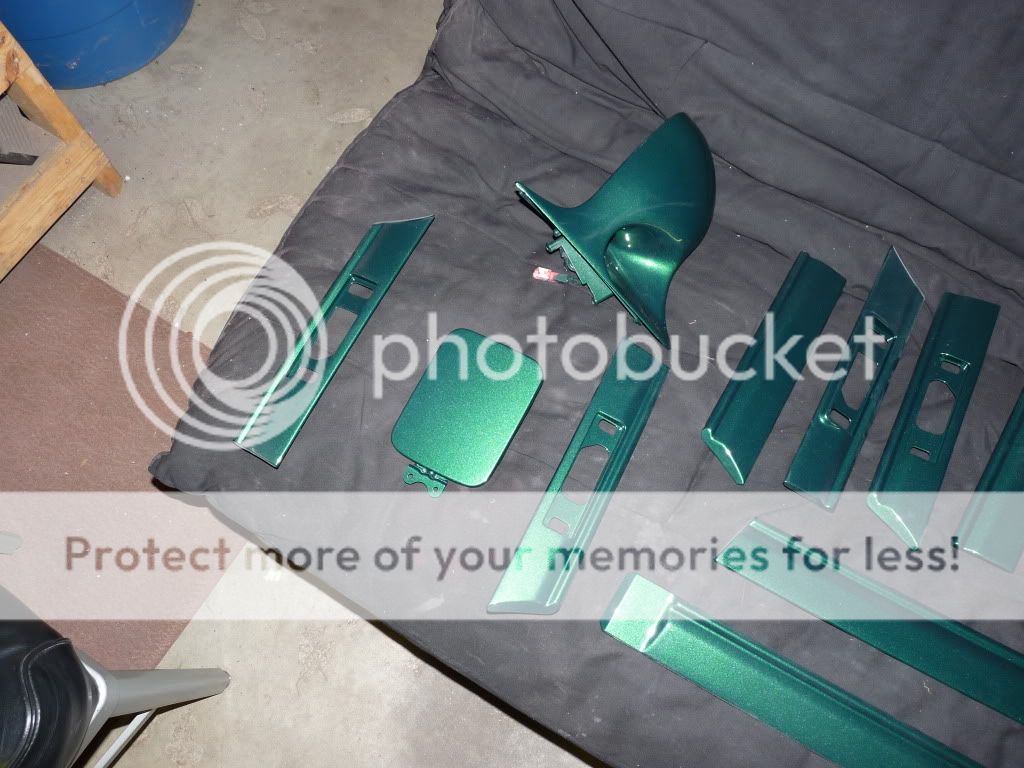
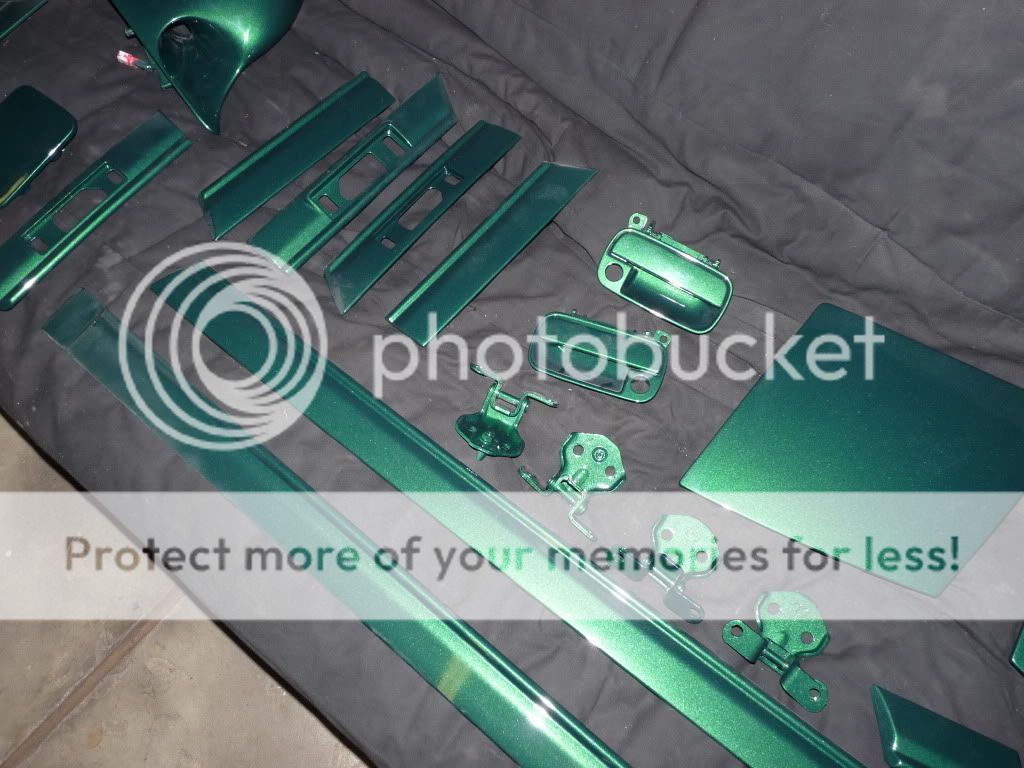
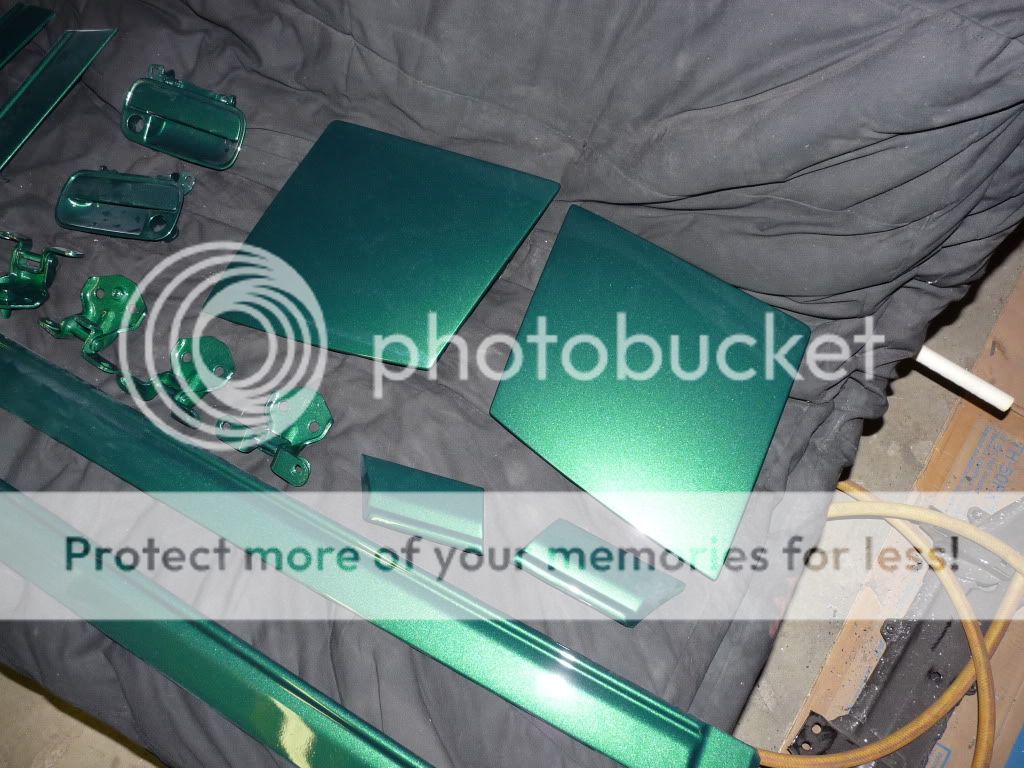
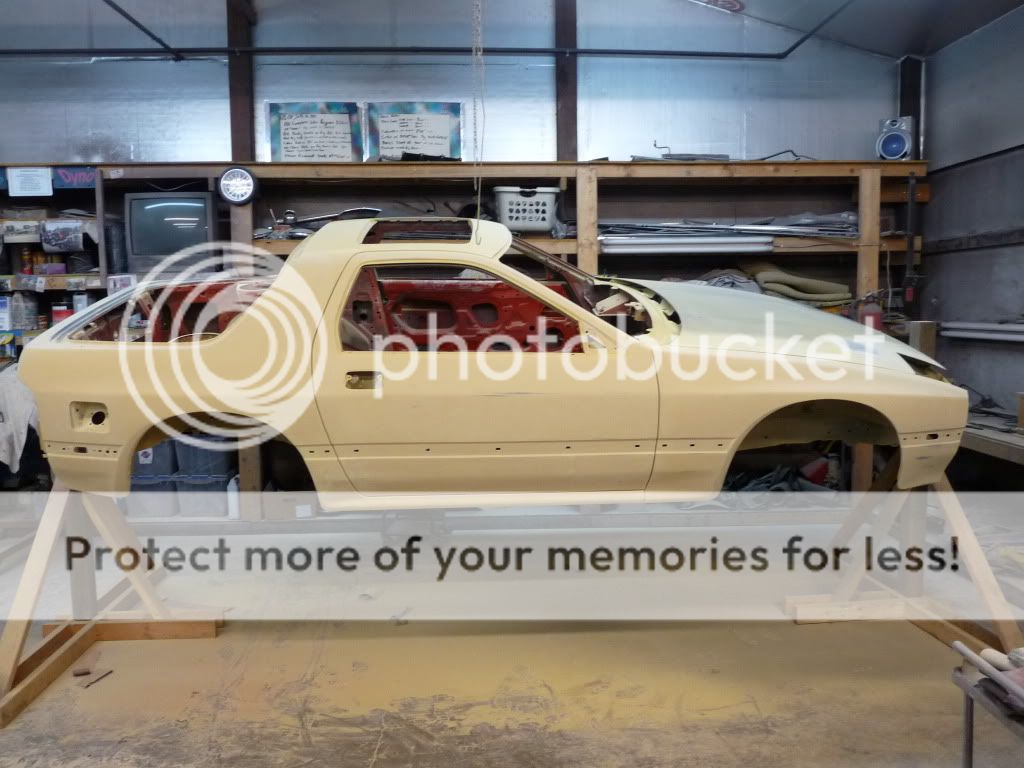
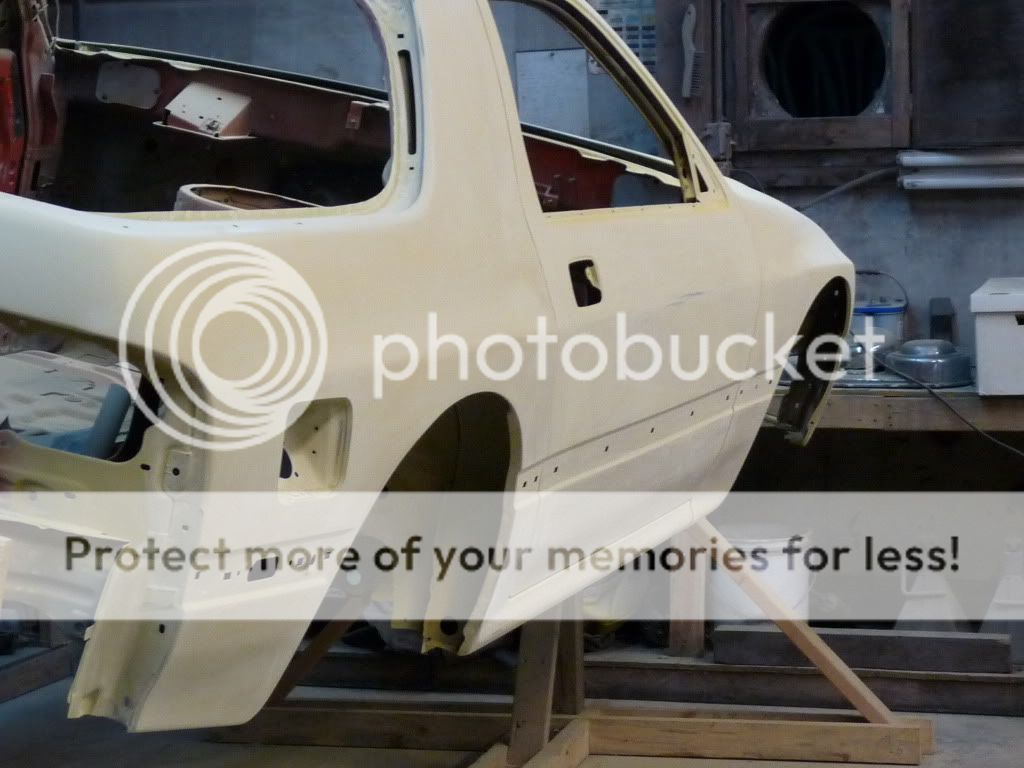
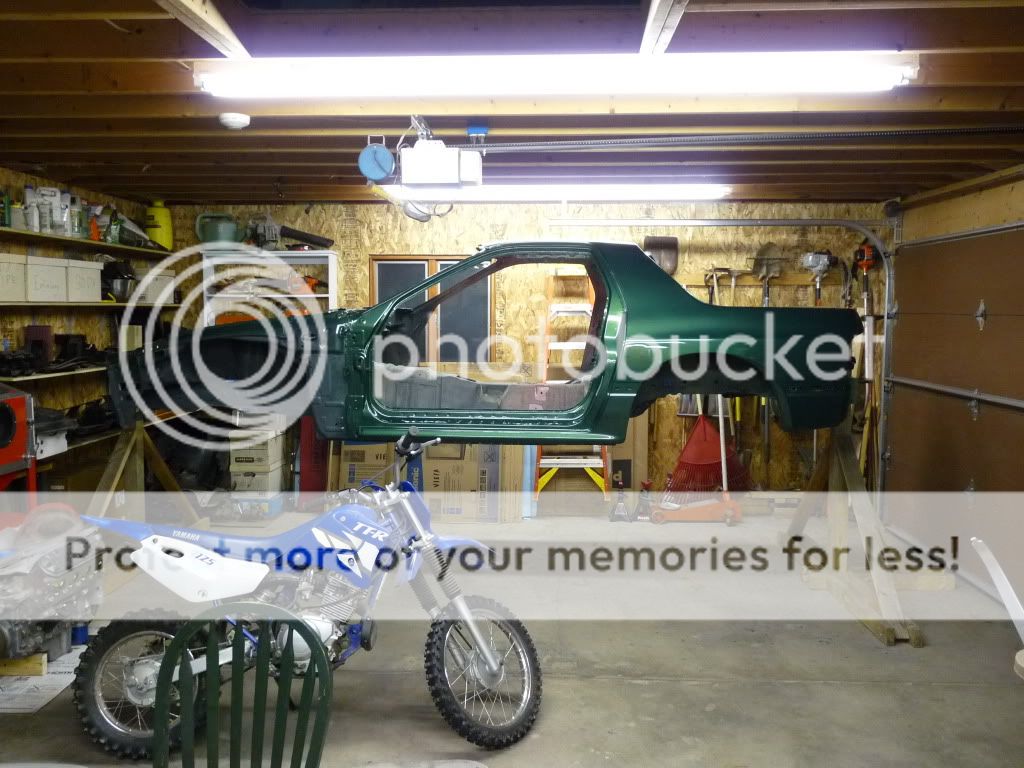
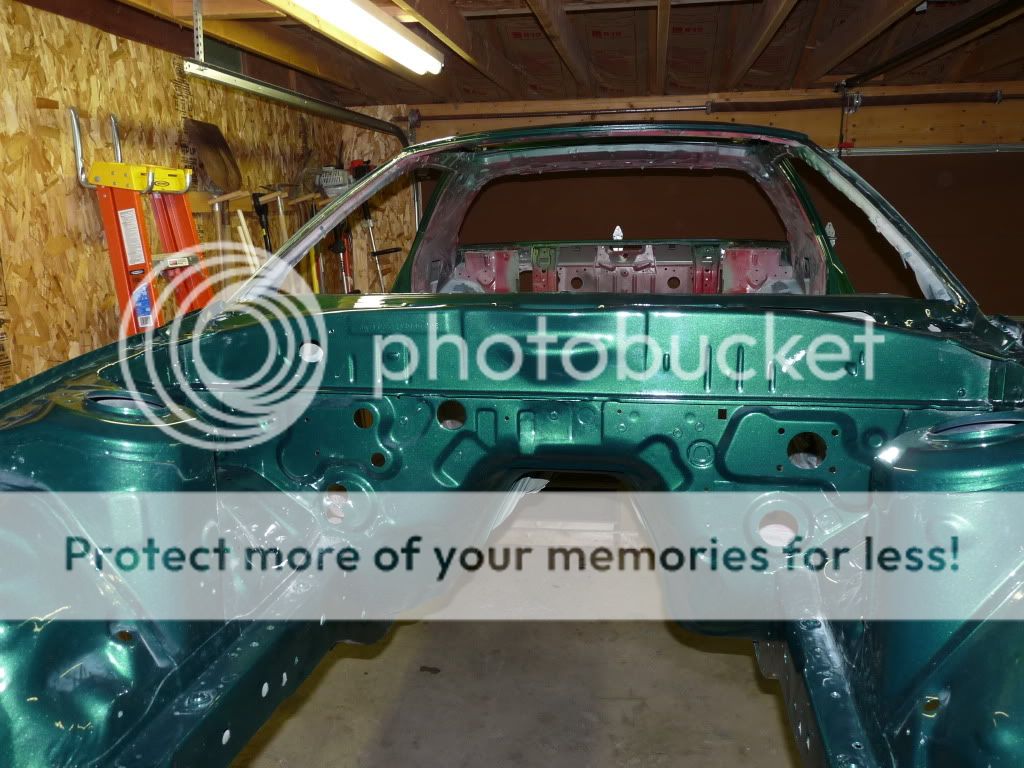
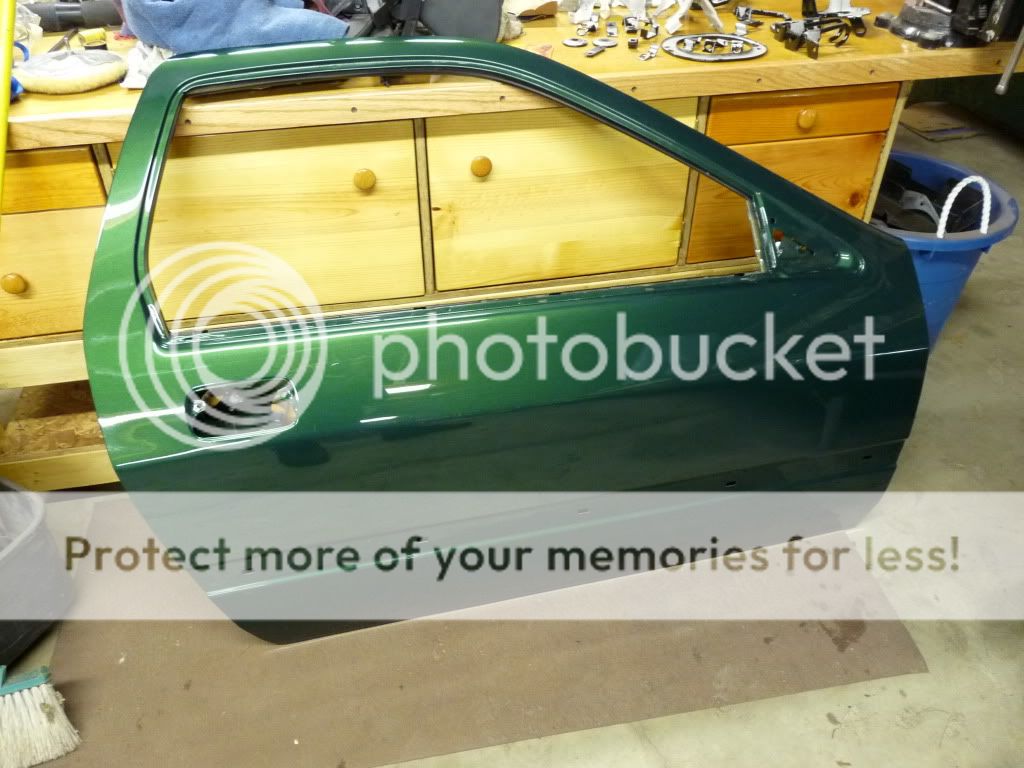
Then one month later (January 2010), I got the body and the rest of the parts back.

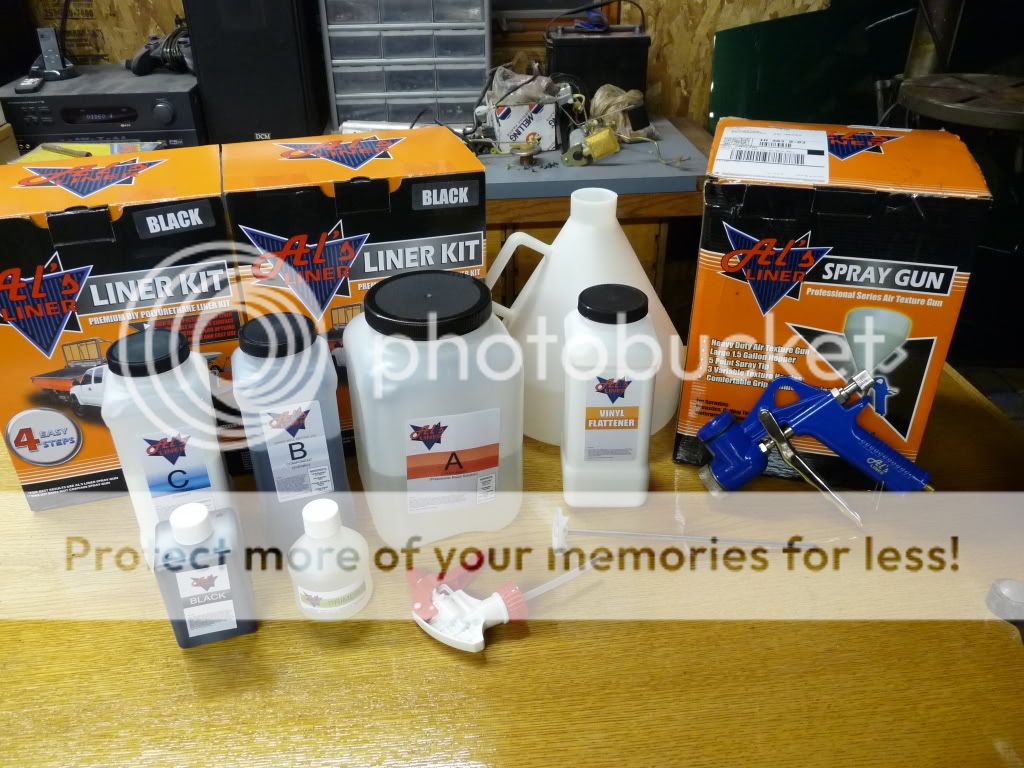
My Al's liner kit came in. This is just two gallons, I ended up having to order another gallon to do some touch up work.
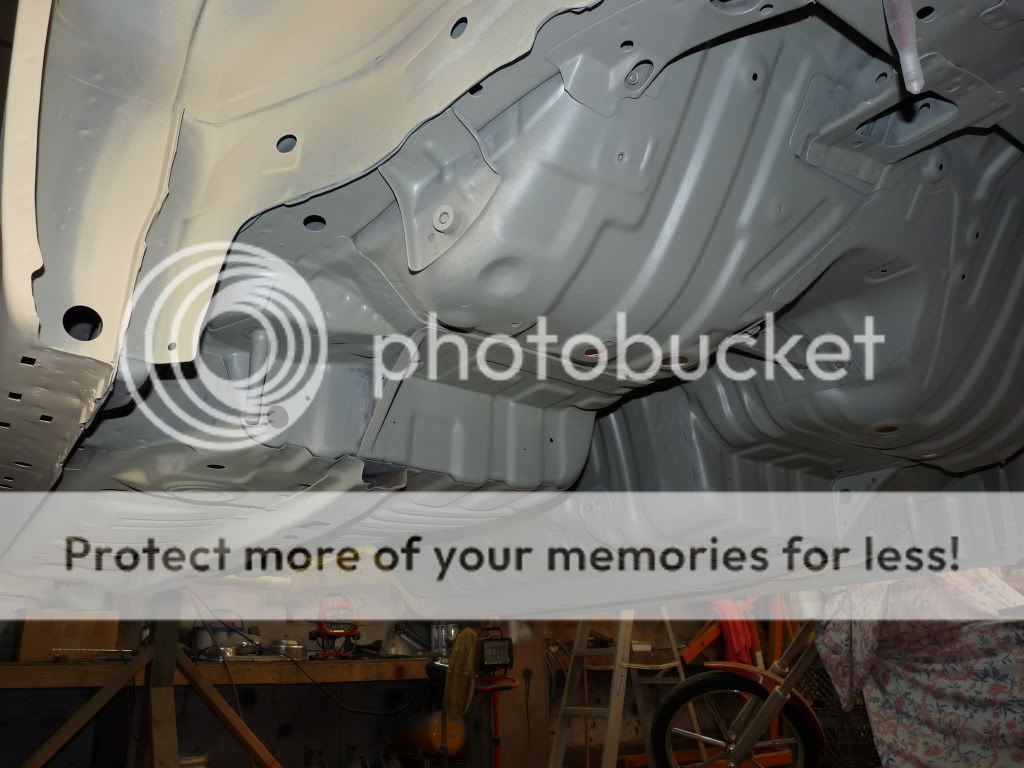
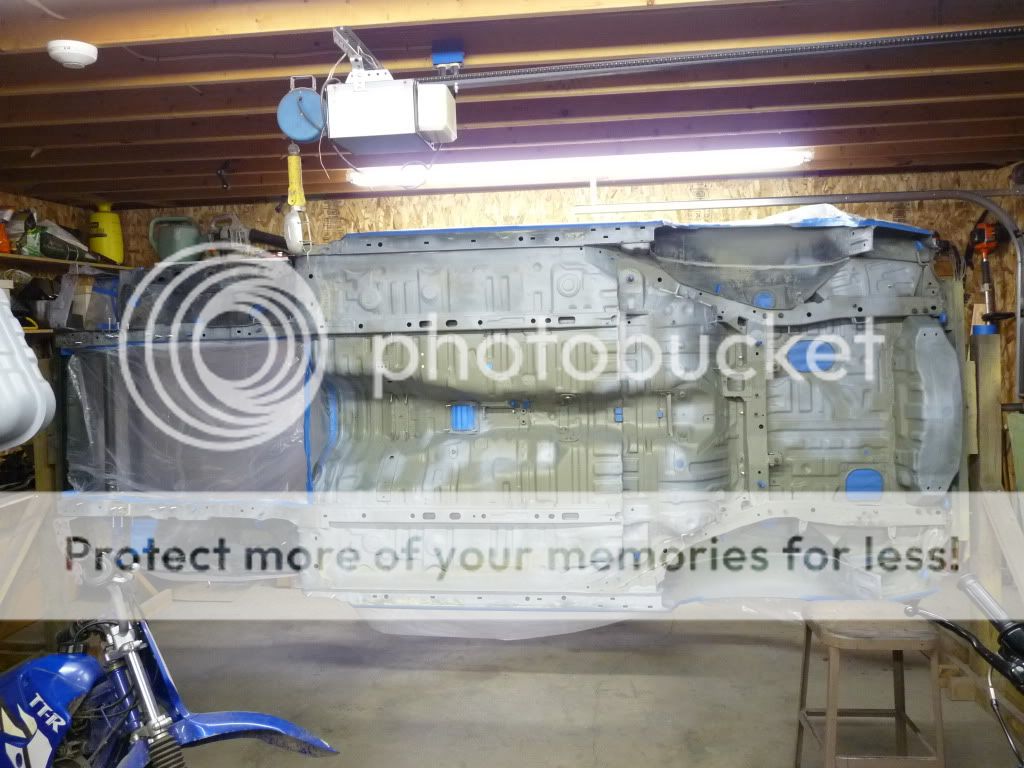
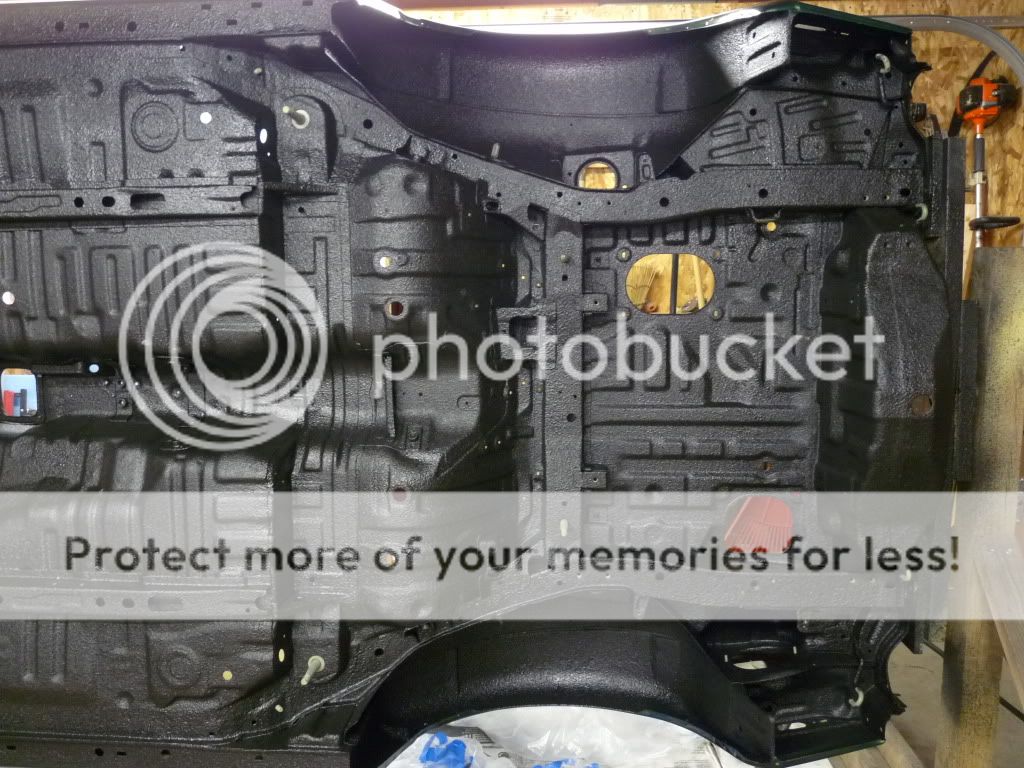
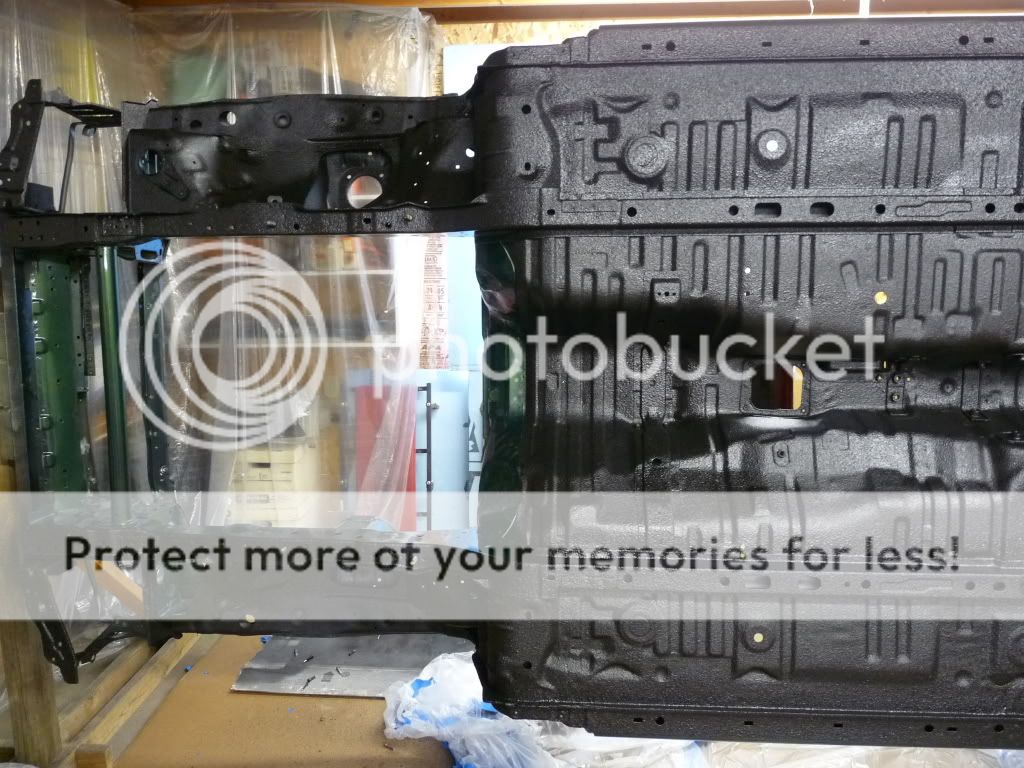
I got the underbody sanded and masked off, and I was ready to spray on the bedliner.
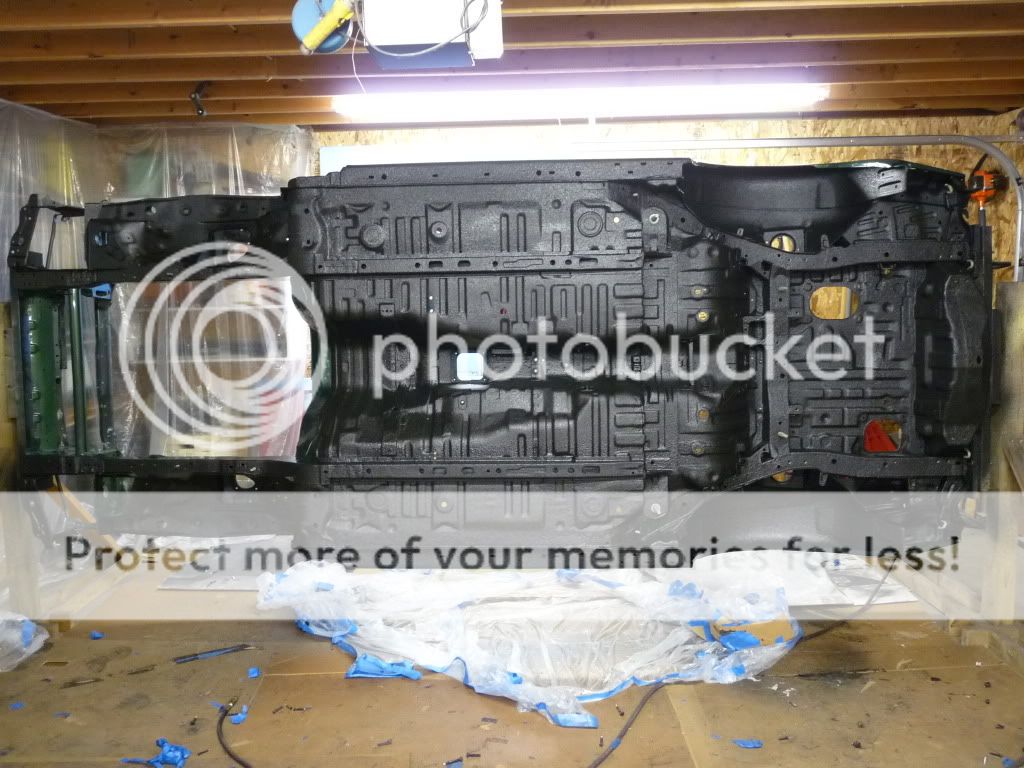
Sprayed. This stuff was very messy going on. Plus you have to work fast, it has only a 20 minute pot life, and I can confirm it's only 20 minutes! It was also extremely sticky, just brushing up against the plastic (that had overspray on it) I had hung up would cause it to stick to your clothes to were you would have to physically peel it off by hand. Anyways, enjoy the pictures.
I bought rebuilt rear calipers and painted them and the front calipers. I also got some Russell speed bleeders.
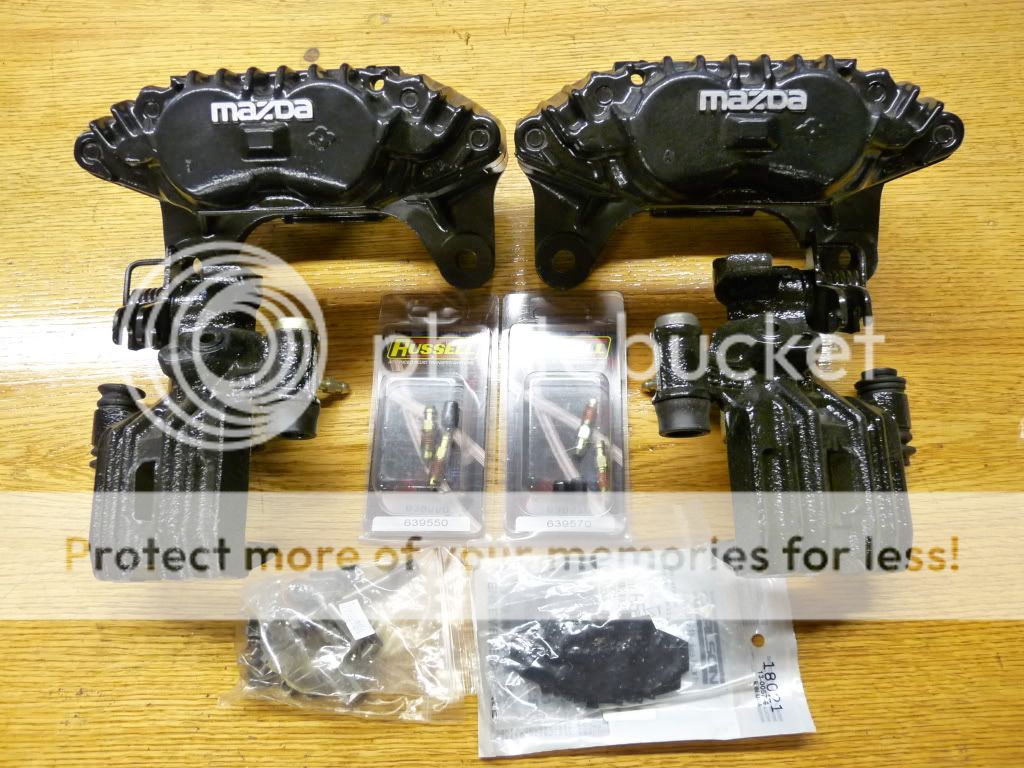
I also replaced the E-brake cable(s)

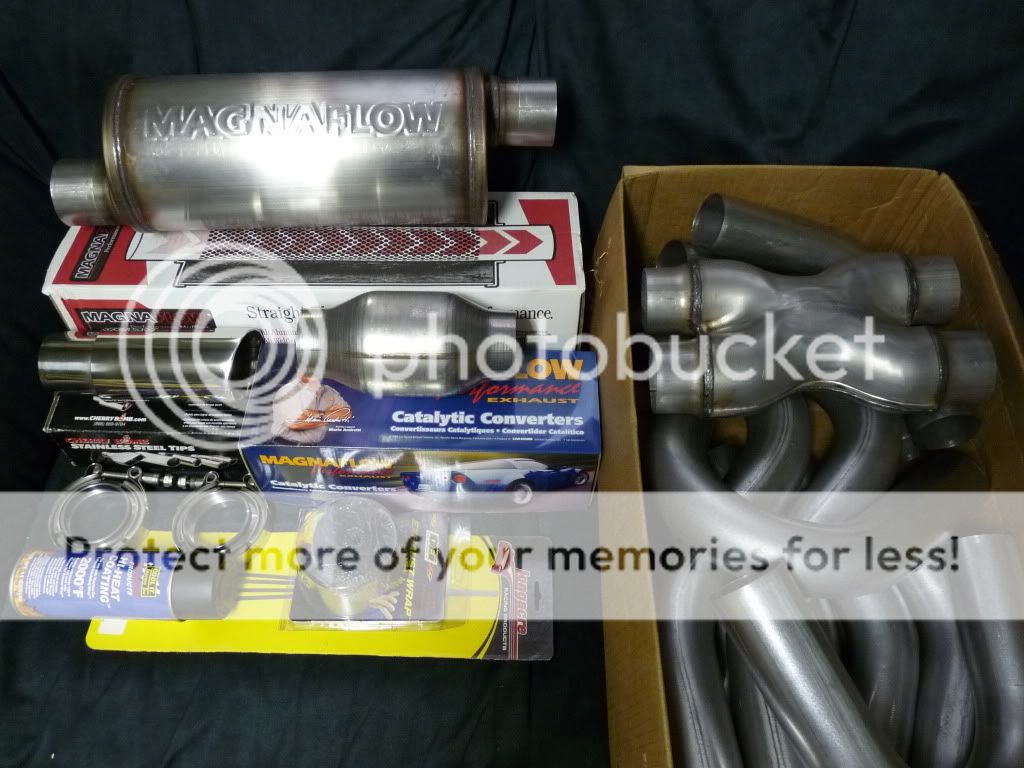
I got some exhaust parts in: Magnaflow 2-1/2" in/out 6" round mufflers, Magnaflow 2-1/2" Spun Metallic Cats, Dynatech 2-1/2" V-band clamps, Cherry Bomb double-wall stainless steel tips, exhaust wrap, various aluminized mandrel bends and X-pipe, and two straight 48" aluminized exhaust pipes (not pictured).
I also bought: Wilwood 7/8" clutch master cylinder, Speedway motors 30" AN4 to T56 quick disconnect clutch line w/banjo bolt kit, Speedway motors 18" remote bleeder, new hydraulic throw-out bearing. I also built an adapter plate to mount the clutch master cylinder upright.

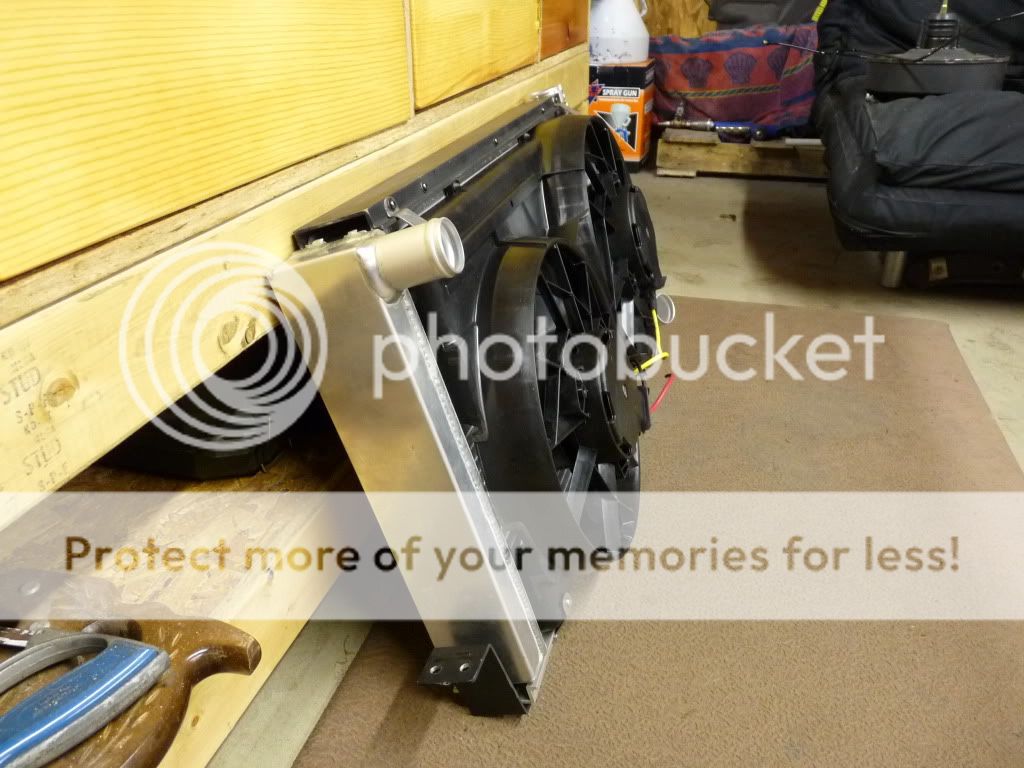
I finished up my radiator/fan setup. It consists of: Howe racing 27.5x16" aluminum radiator, Ford Focus 01-04 electric fans, and I made some isolated radiator and fan mounting brackets. This is just a mockup; I still need to paint the top plate and fan brackets.
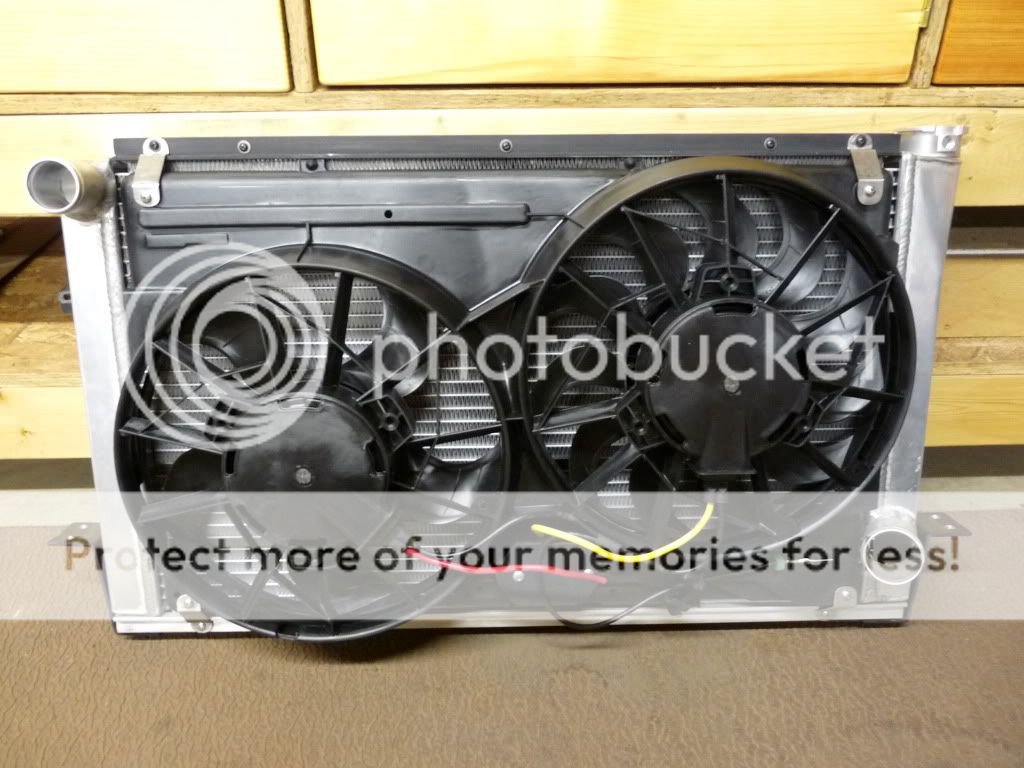
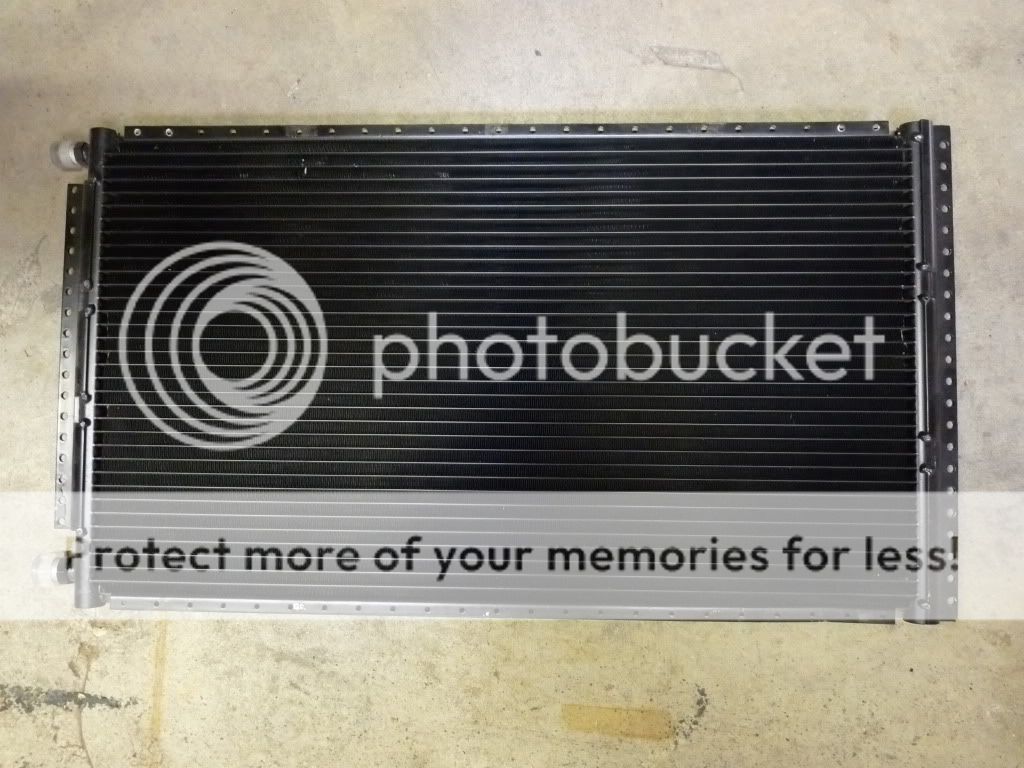
Since A/C is going back in it, I got a large universal A/C condenser from Ebay and I made some isolated mounts for it. Unfortunately, I don?t have any good pictures of the radiator or condenser mounted, but I will have some soon when I'm putting the car back together.
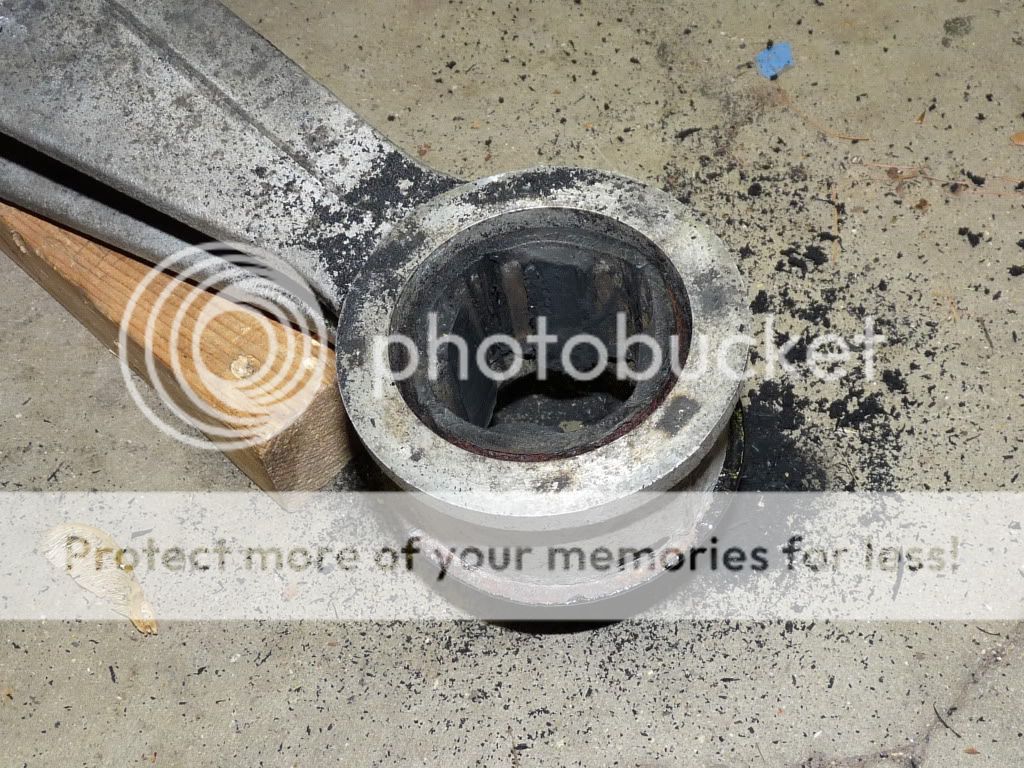
I got around to changing out the factory differential mounts for the MMR ones. If your mounts were frozen in like mine, here is a nice easy way to remove them:
First, cut the center portion of the mount out. I used a reciprocating saw for this, but you could probably use a hacksaw if you had to.
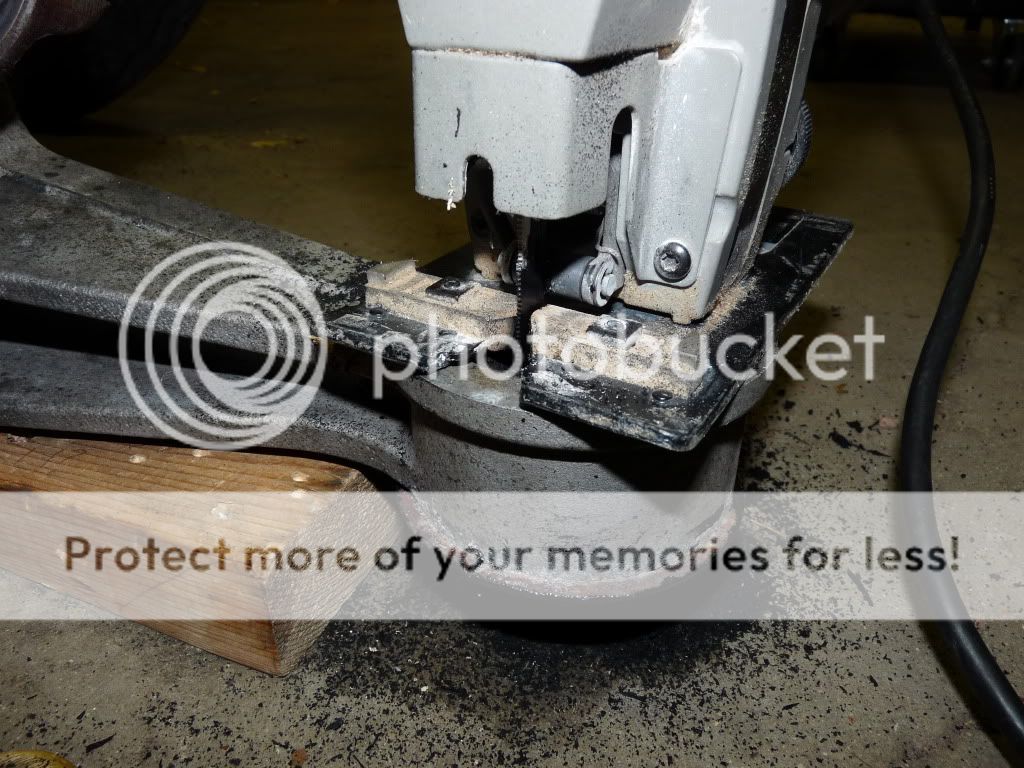
Second, make two relief cuts in the mount opposite of each other. Cut where the two halves of the mounts were fused together. You can see where to cut by looking at the top of the mount, you will see two slits in the metal portion of it. Again, I used a reciprocating saw for this.
Third, just use a hammer and punch to pound the two halves out.
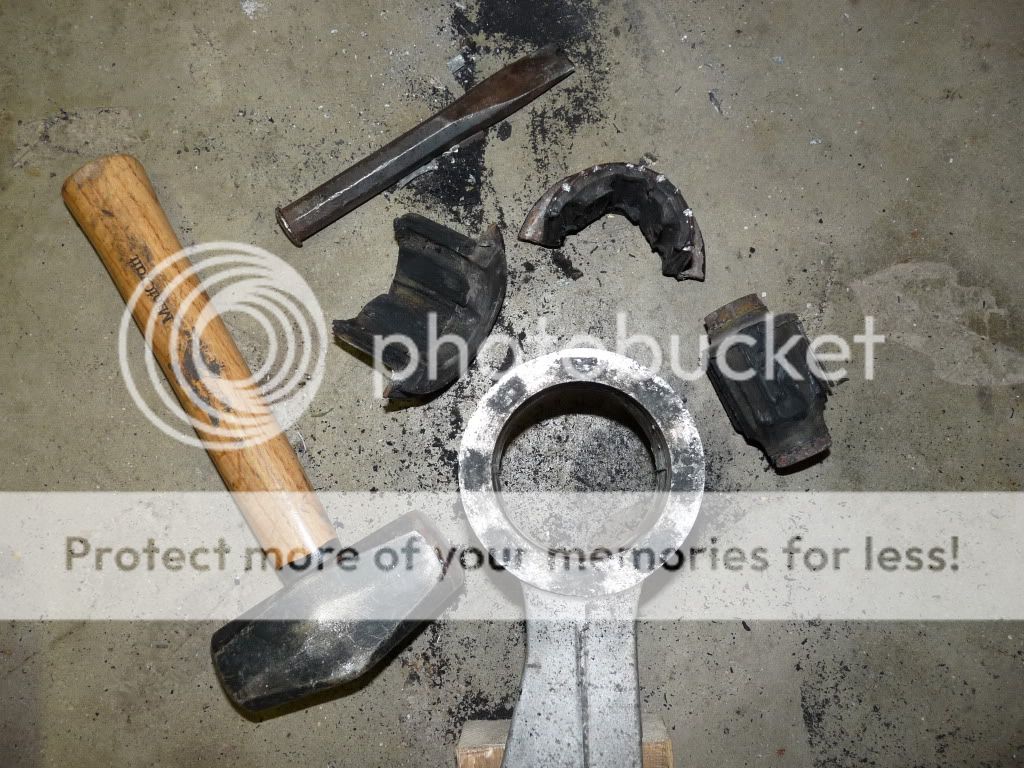
Oh yeah, install the new mounts. Use a dead-blow hammer or a hammer and a block of wood to pound them in and you're done.

And that's it for now, I hope you enjoyed it.
