Background:
I purchased my FD in 1999 while in college, bone stock with 42K. I really had no idea at the time what I was getting myself into. I drove the car and did a few reliability mods for about three years. I did my first autocross in 2001 and really enjoyed it. I did a few events but still didnt fell that satisfied and wanted more track time. Thats when I decided to do my first track tack, and I was hooked. After about two years of track days, my stock rotary let go, infamous coolant seal.
I decided I wanted to build the rotary and eventually go single. I bought a pineapple street ported motor with all the goodies, M2 intercooler, intake, full exhaust, bigger injectors and a Power FC. Got the thing tuned and at my first track event the motor let go. Still to this day I dont know why, I was done. Car then sat for two years in storage while I contemplated my next move.
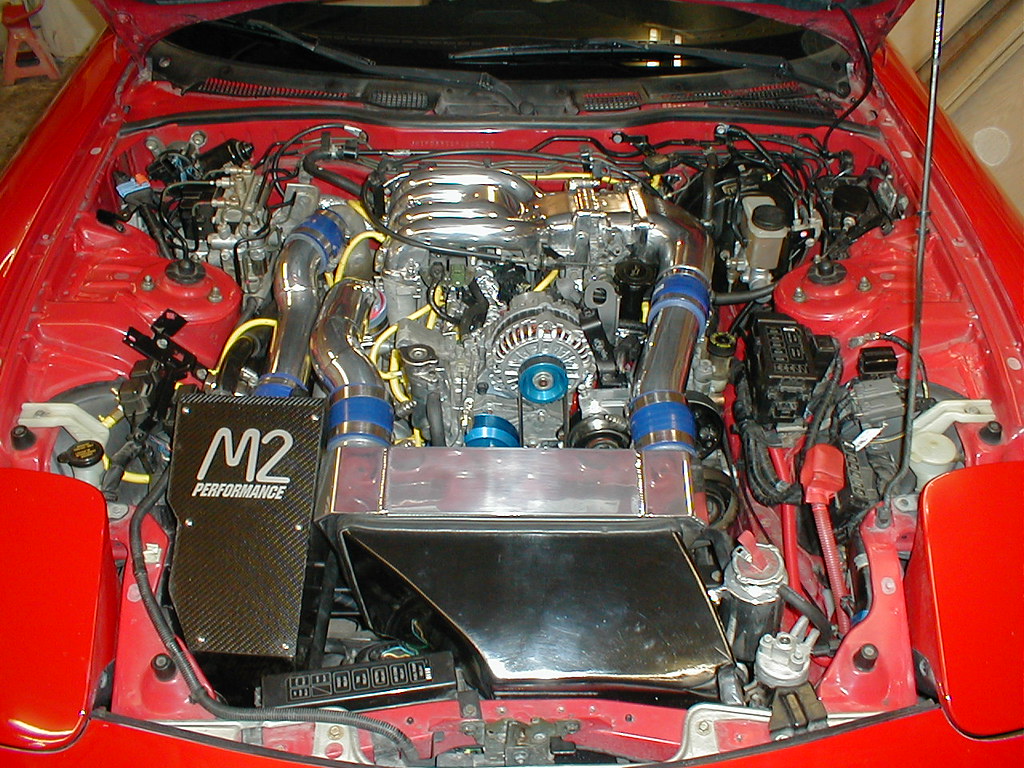
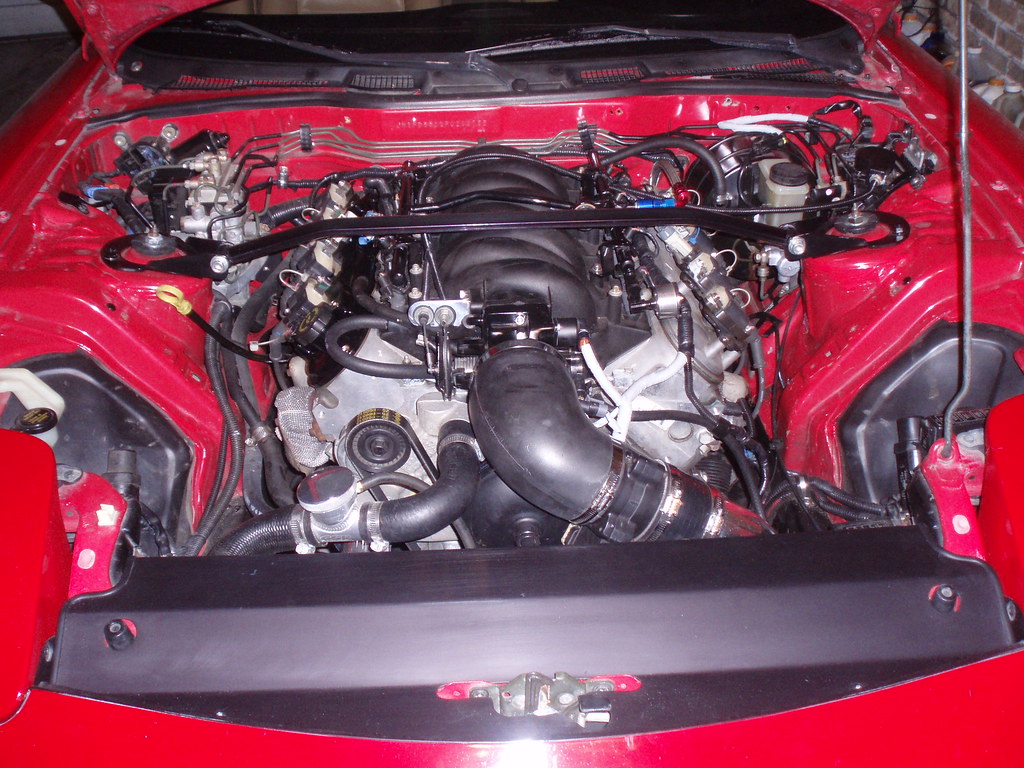
2006-I had been watching a couple of the pioneers do the LS1 swaps and then Hinson came out with his original kit. I made the decision to jump head first. I did my own fuel system, wiring, cooling system and intake. The swap took me every weekend for about two months, most time spent waiting on parts. I slowly added a few things like oil cooler, upgraded brakes, suspension, wheels and tires.
So this brings us to toady. I wanted to redo the car, fix a lot of things that annoyed me and build up the engine.
Here is the laundry list for the new build:
4K mile L99 from 2012 Camaro
Cam and tune
Rebuilt T56
Samburg radiator and intake setup
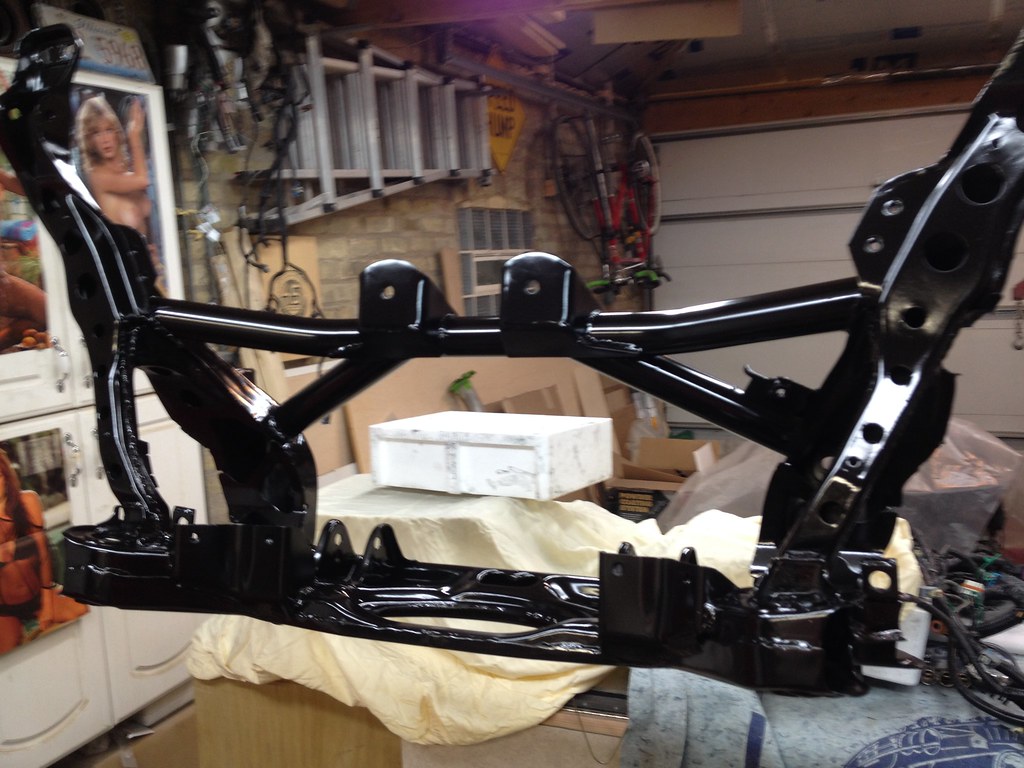
Samburg subframe
Ronnin Explorer 8.8 swap
Aluminum Drive shaft
Mocal oil cooler setup with Improved thermostat
Improved Racing Baffle
Accusump
JTR 1 3/4 long tubes, 3 single exhaust
AC-Halfspec
Wickeds custom FD power steering
Shaved and repaint engine bay
Insulate tunnel
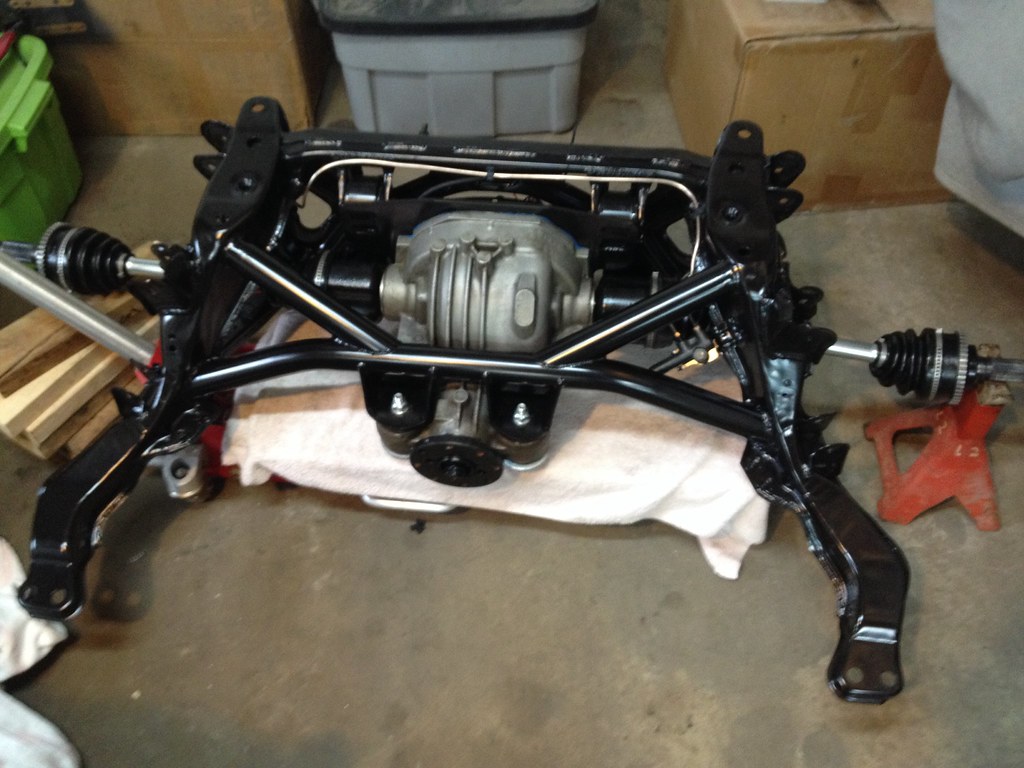
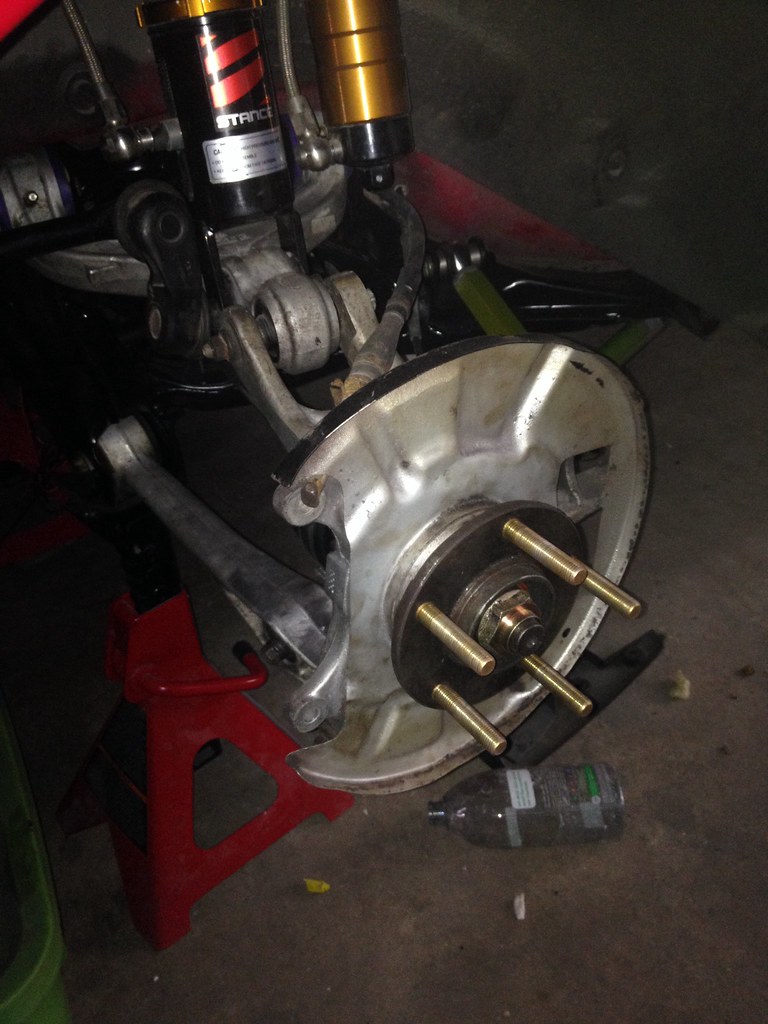
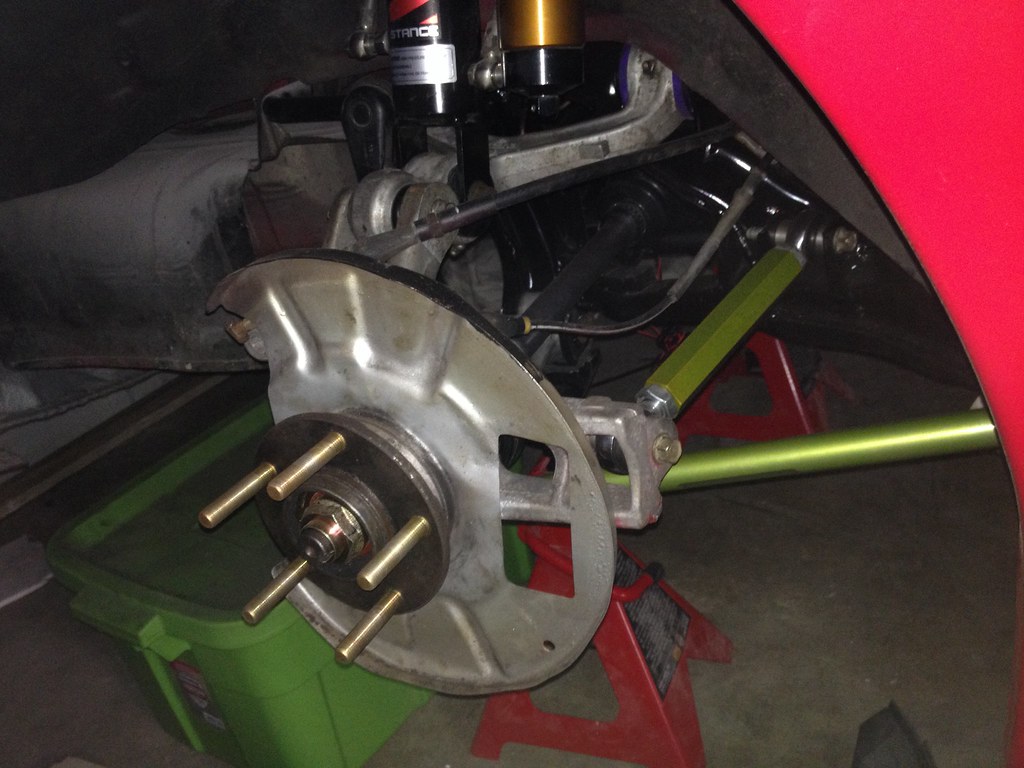
Rear End-
I had the stock 411 gears and they just really werent that good on the track. I would spend most of the time in 3rd, 4th and 5th gear. I had wanted to put 373s in the stock dif but decided to go all out and step up to the ronnin Explorer kit. Dif Specifics include:
Low mile 2008 Explore dif
Detroit True Trac locker
Ronin weld in kit review and more infor can be seen here:
http://www.norotors.com/index.php?topic=15911.180 Pictures:

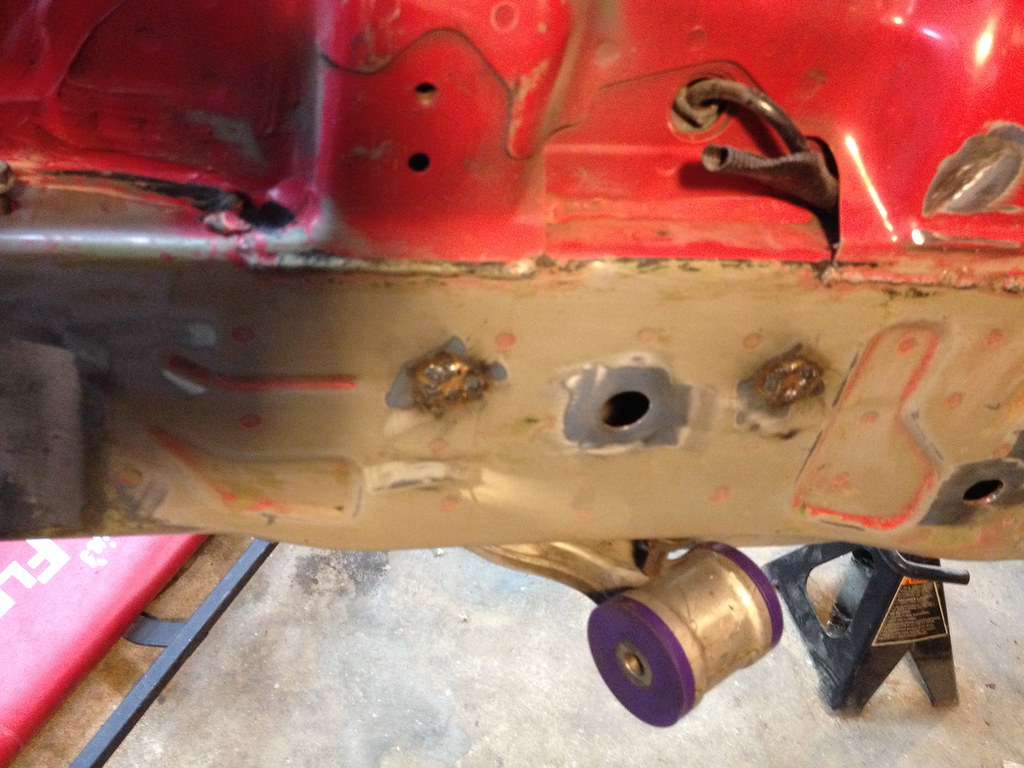
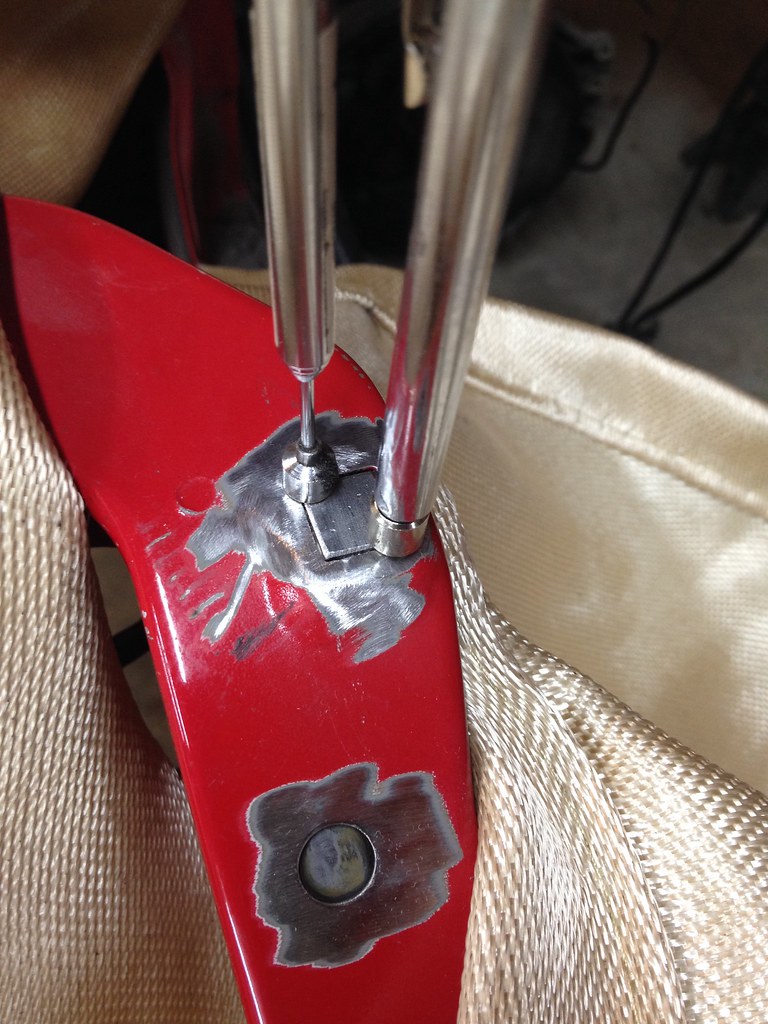
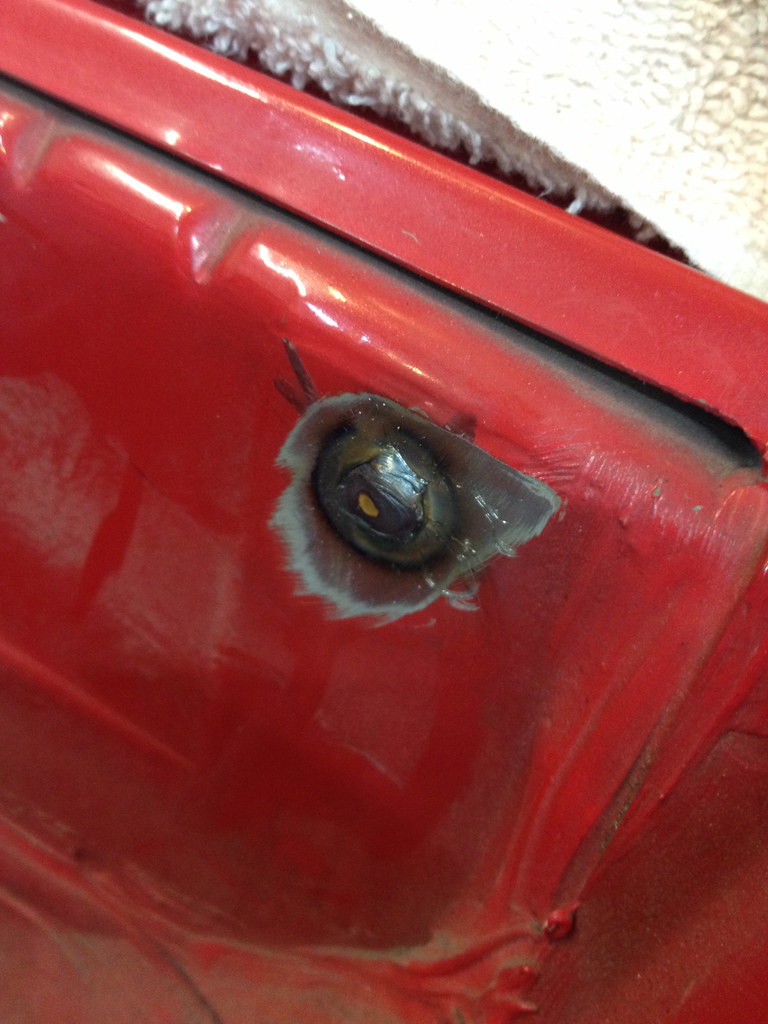
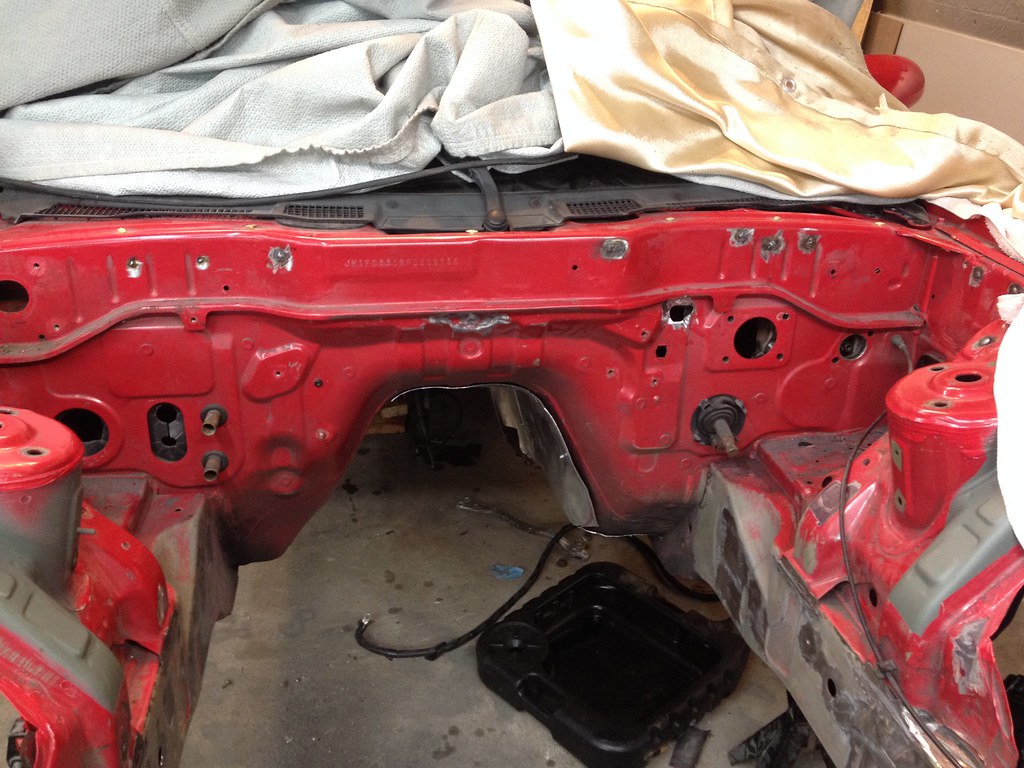
Engine Bay Shave and repaint-
I had relocated my fuse boxes to the lower frame rails to give a cleaner look. I was still not that happy with the paint quality of the engine bay and all the unused holes drove me nuts. It started out that I was just going to fill in the holes on the strut towers and repaint them using rattle cans
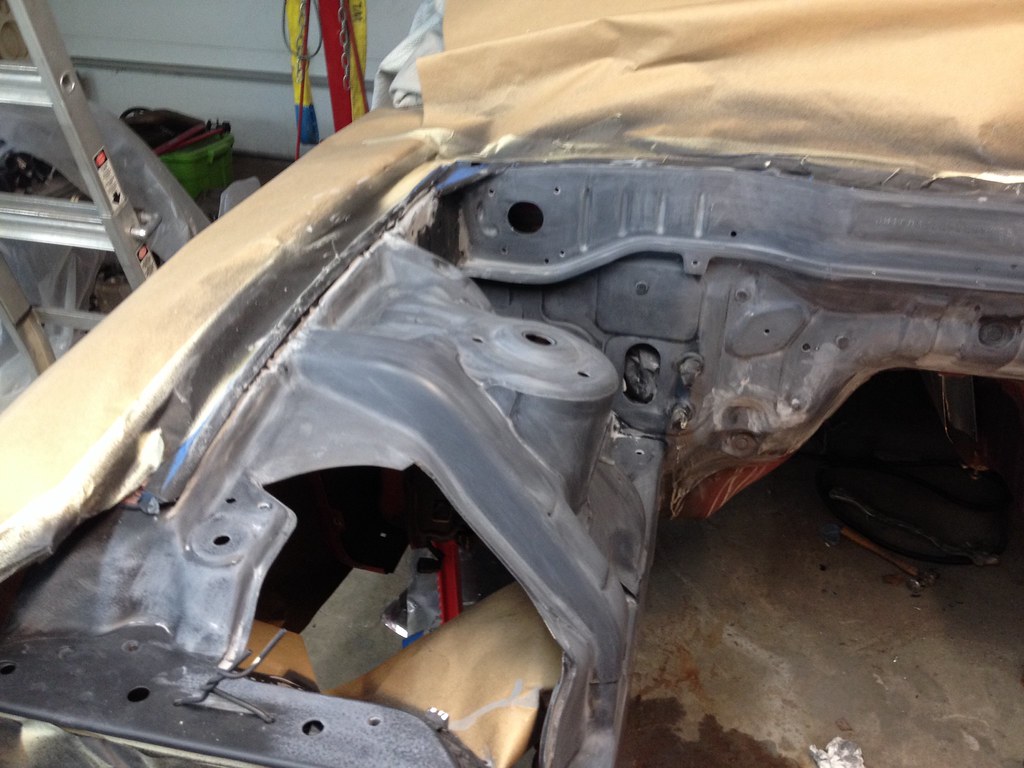
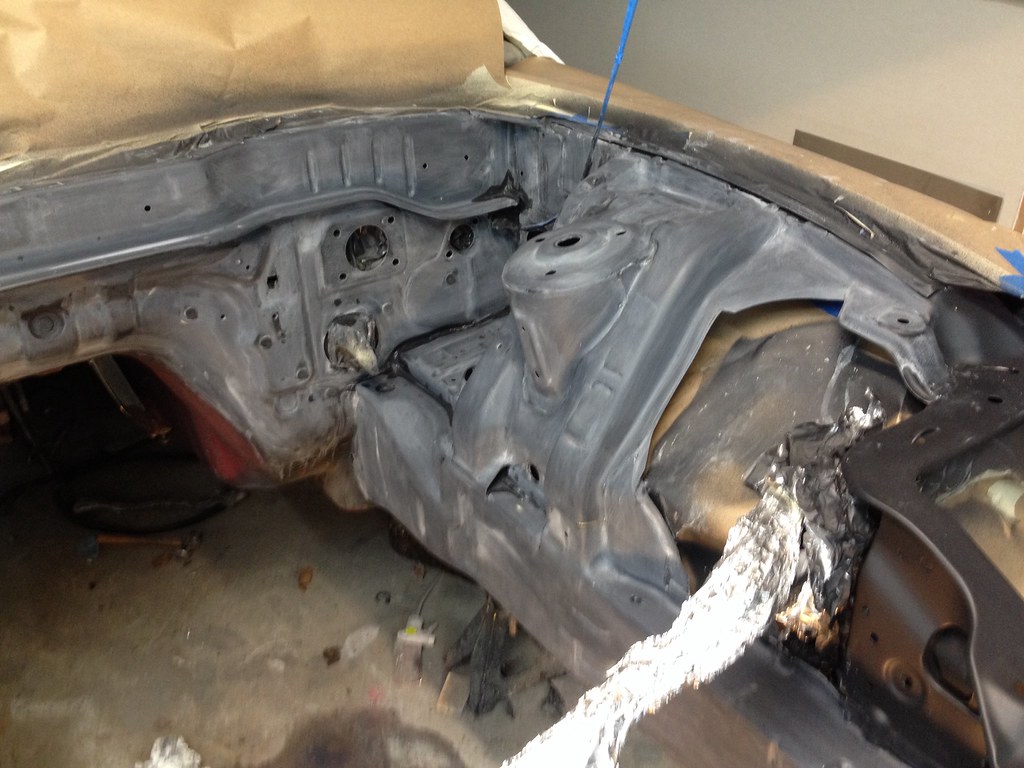
Well this turned into filling most of the holes and repainting the proper way. After welding, sanding, evercoat, sanding, new seam sealer, sanding, epoxy primer, sanding and Acrylic enamel single stage, this is what I got:
Grinding and welding in patches:
I smoothed all the welded patches. Used some evercoat filler and new seam sealer for all the seams around the strut bars. Primed and sanded with 400 grit, ready for top coat:
And finished product. I am pretty happy with the final result. Had a couple runs little dust in it but overall I am very happy with the finished product:

Next up is is my LS3 pedal mount-
I decided to fabricate a mount that would locate the Camaro DBW pedal in the same location as the factory FD mount. After a decent amount of cutting and welding, I think it turned out pretty well. It will be powder coated shortly, check out the pictures:

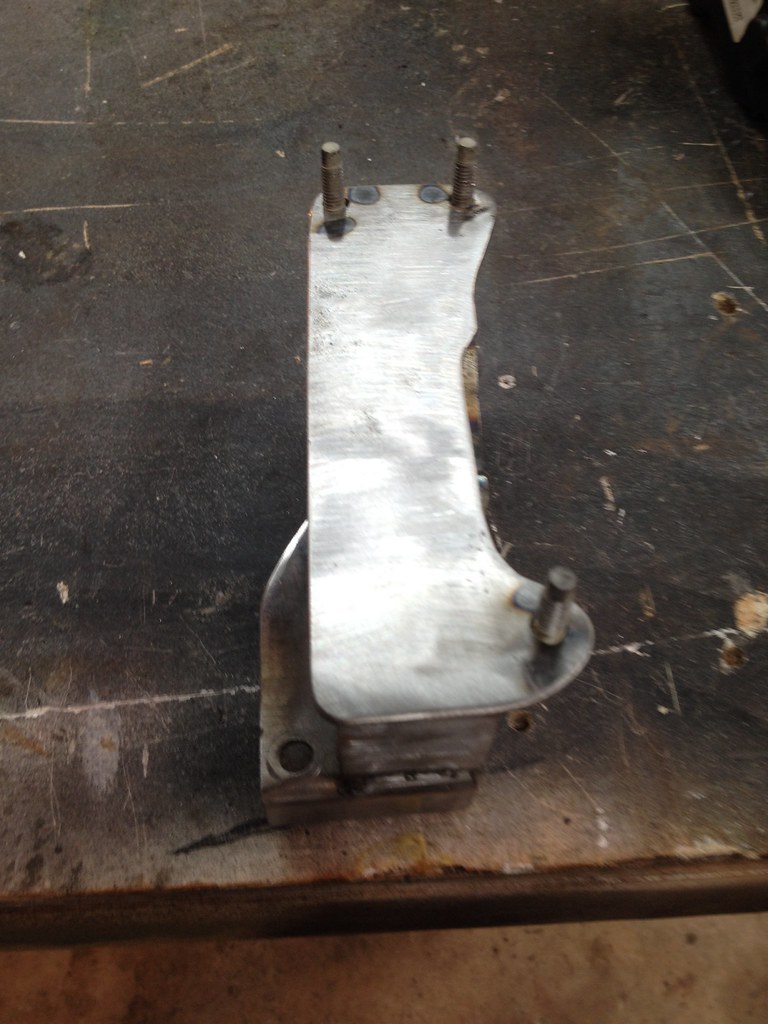
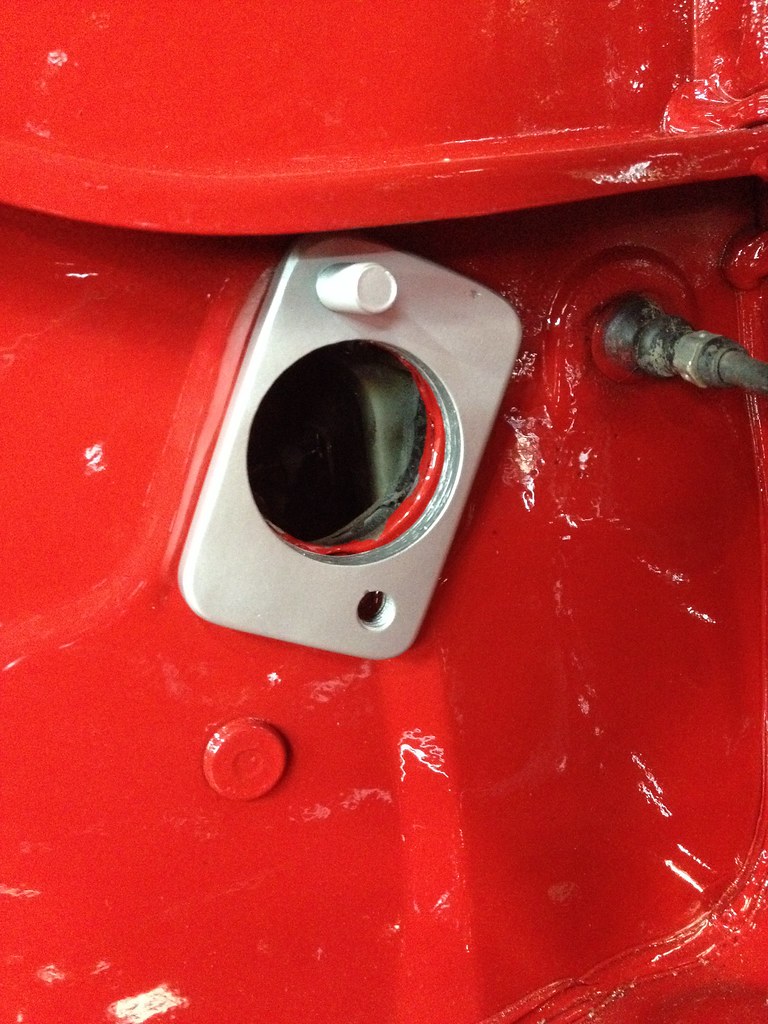
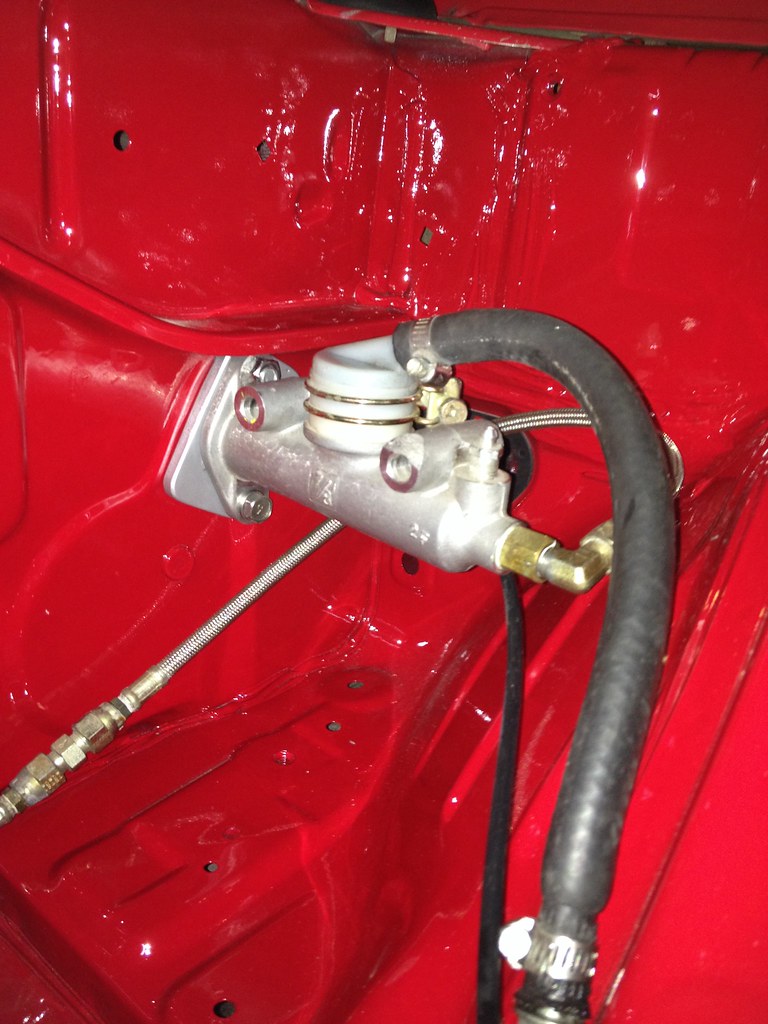
New mount for clutch master cylinder-
I always had the clutch master cylinder mounted at an angle. Being that I now have a welder and some new fabrication skills, I decided to make a mount to clock it straight up and down. I welded in studs on the back and top bolt. Check it out:
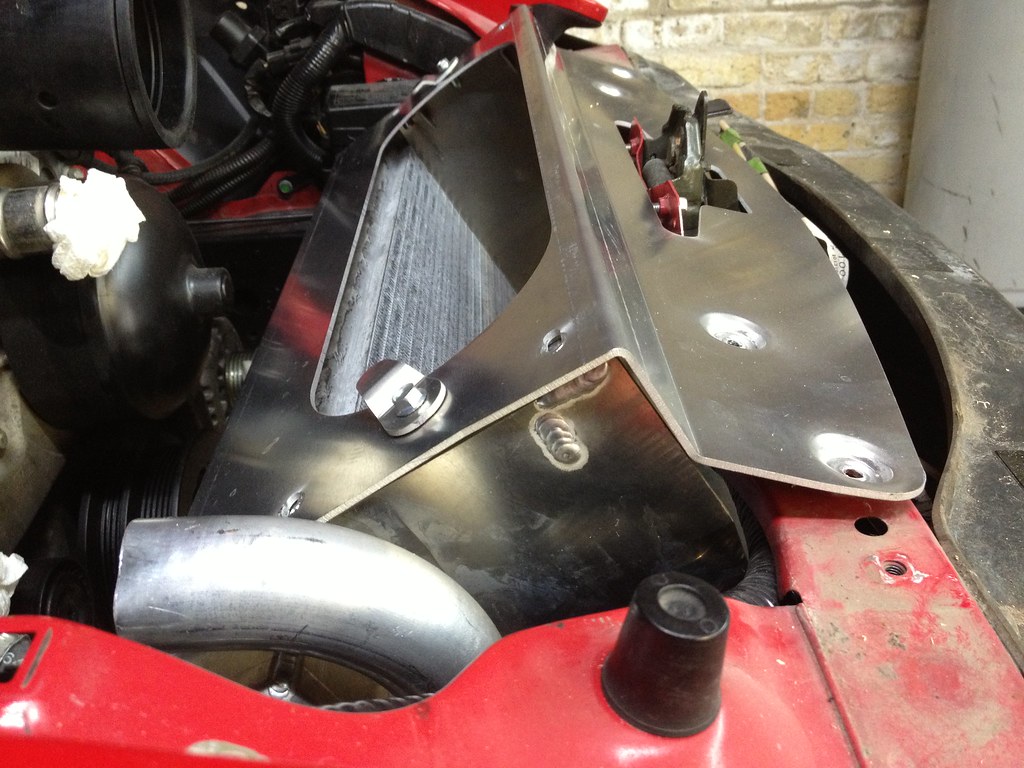
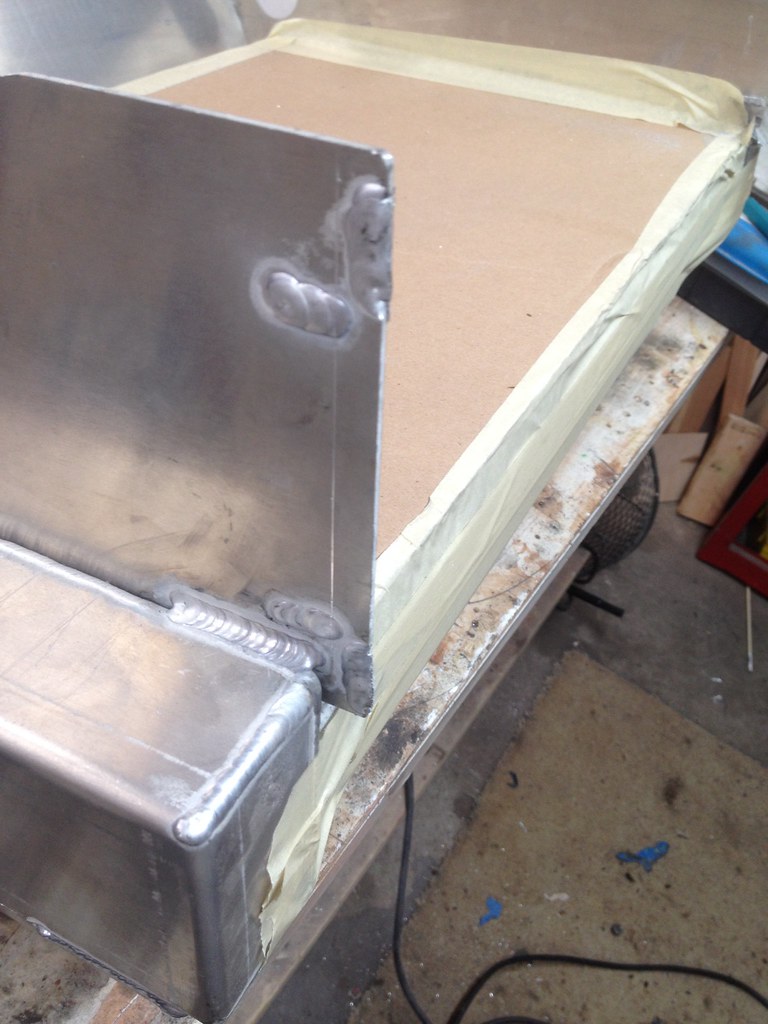
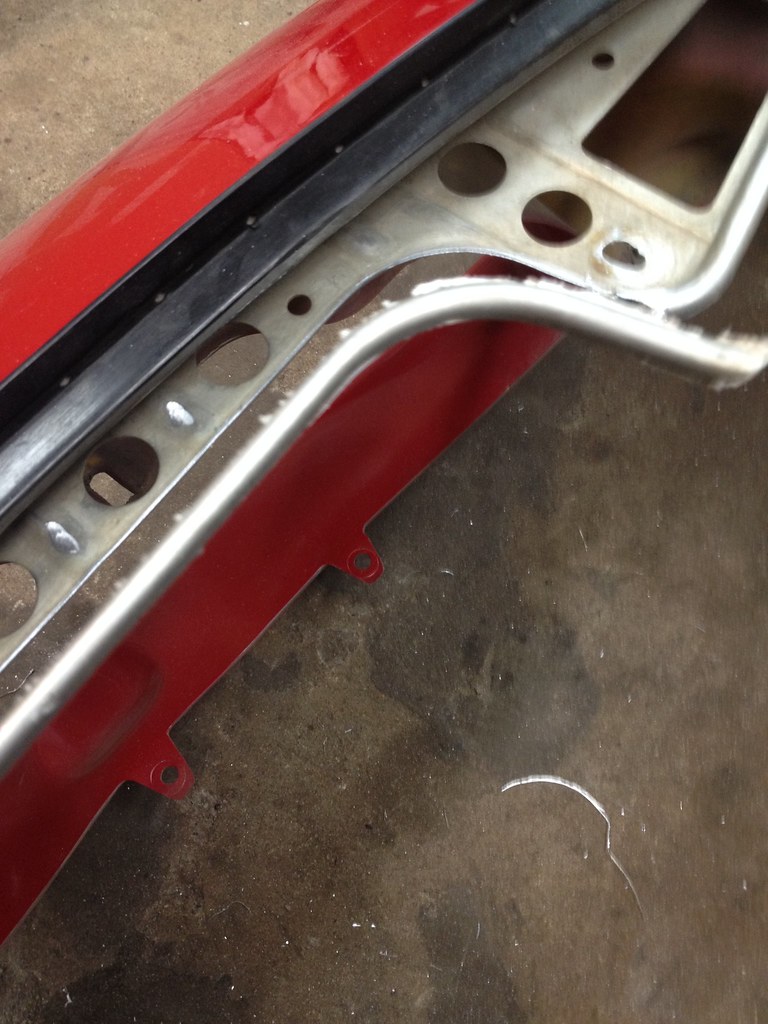
Next up, Samberg radiator fix-
I posted this in a thread by itself but think I will add here.
There have been a few threads lately complaining about Sambergs radiator fitment lately. I decided to address this with some modifications.
Disclaimer: This is not to bash Sambergs product or design but just to give honest feedback and option of what I did to improve on the fitment. Modify at your own risk.
I believe there are two issues that people have with the kit. First is the hood gap issue and 2nd is the intake pipe hitting the hood.
I will address the hood gap and overall fitment issue first:
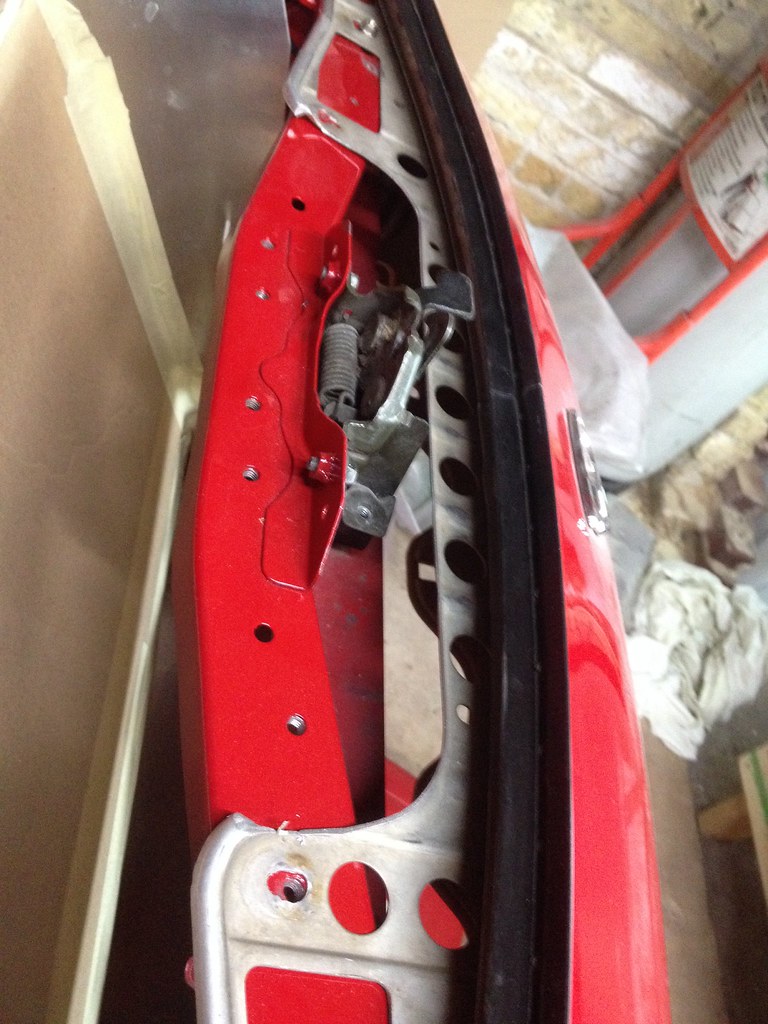
When I first received my kit, I noticed that the front of the cover was not parallel with front hood support. I initially contacted Samberg and he just told me to bend it up. Well I tried doing this, tightening everything down and it just moved everything around and caused a huge gap between the bumper and hood. I tried making a makeshift brake to try to put more bend in the cover and was unsuccessful.
Notice the angle:
After messing with it for awhile I noticed that there was about a 1/4 on the top of the sides that could be trimmed off which would lower the upper plate and improve the angle. (as an added benefit, the intake would clear the hood perfectly, more to come on that) I tested this by lowering the entire radiator setup by about 1/4. This really helped with fitment so time to cut.
Cut line scribed, I used my 5 cutoff wheel on grinder.
Result:
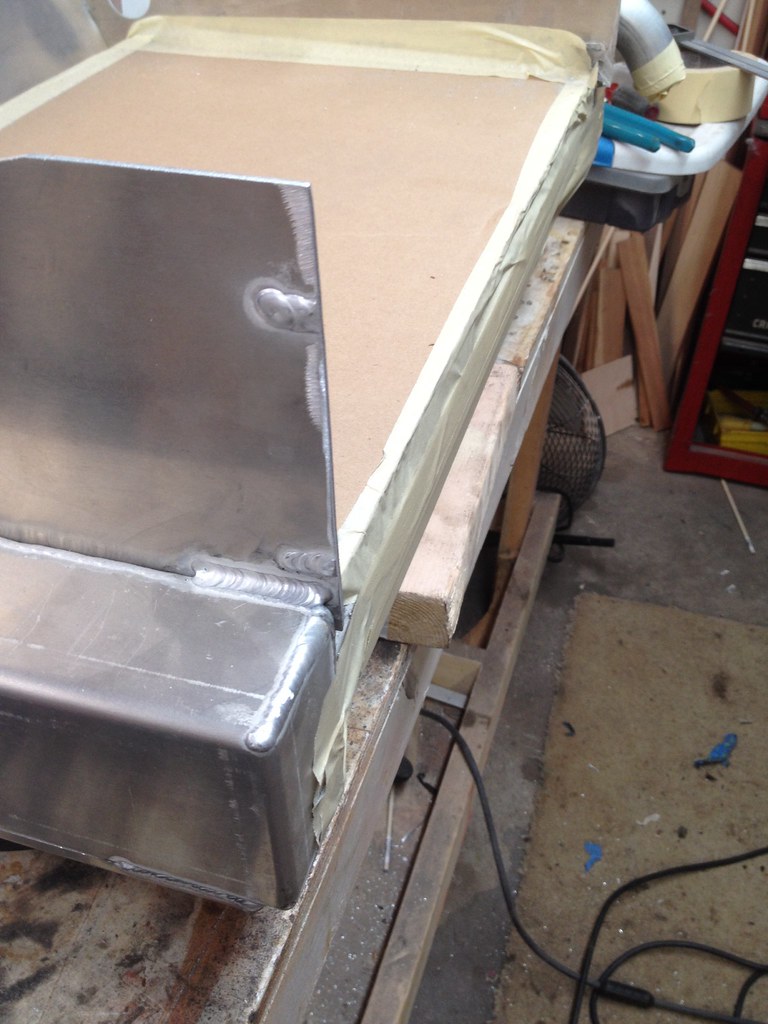
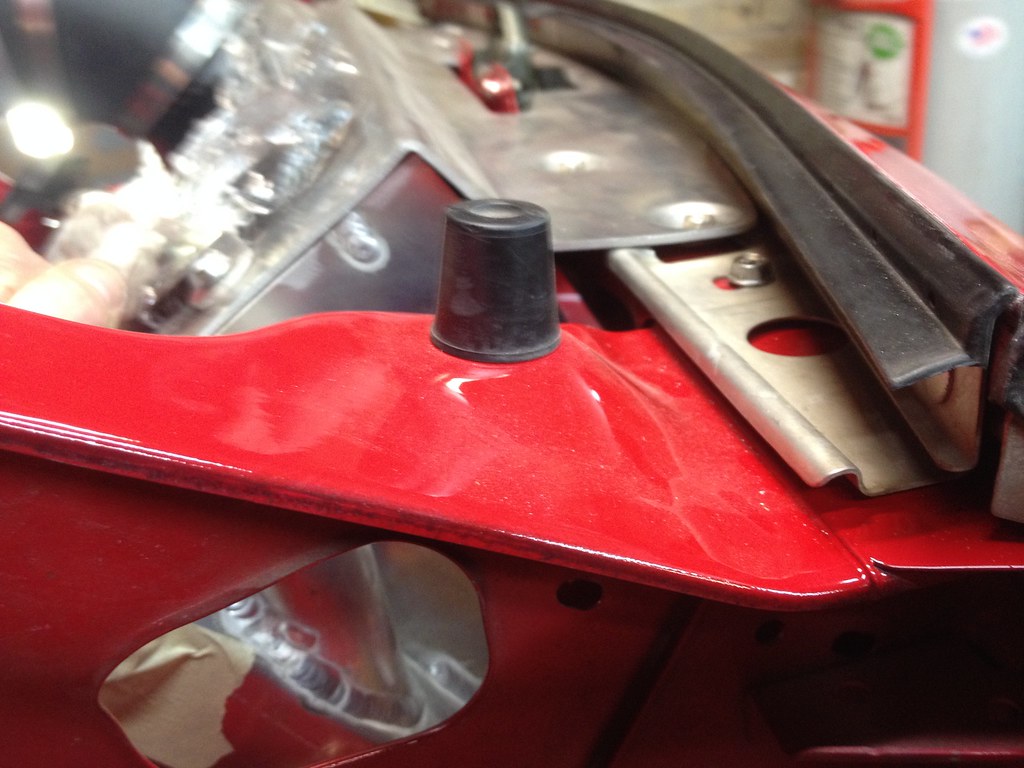
After cutting both sides I did a test fit. Without the bumper, the overall angle and fitment looked better:
I had to trim about 3/16 from the under lip, was able to us my table saw to get a nice straight cut:
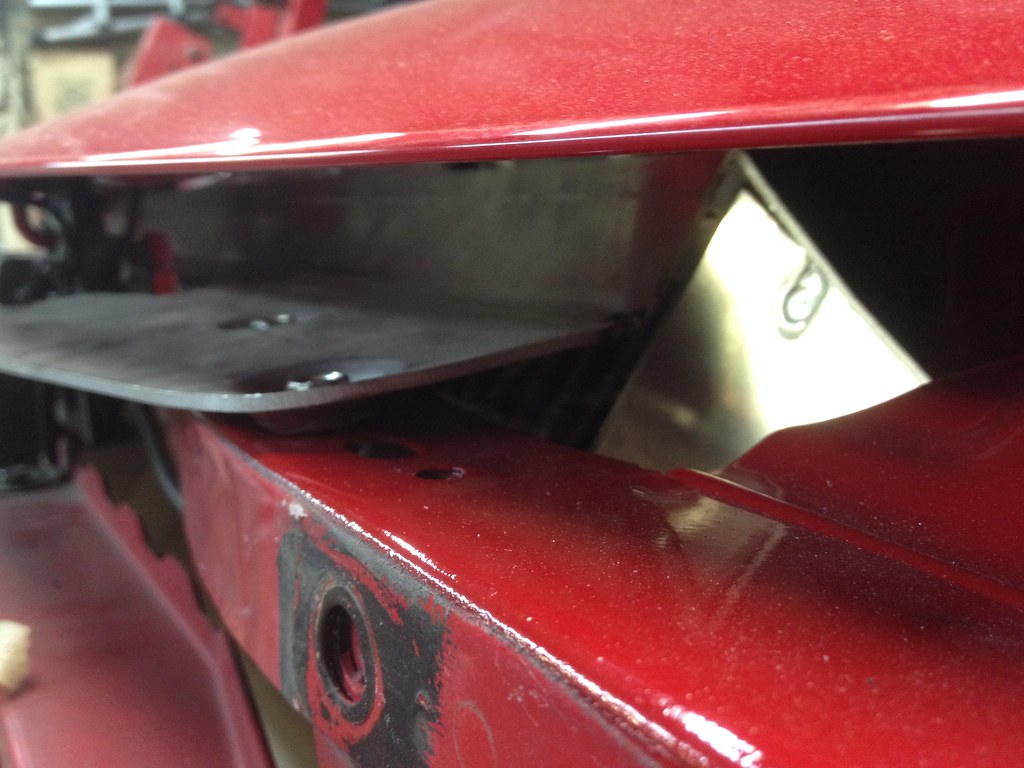
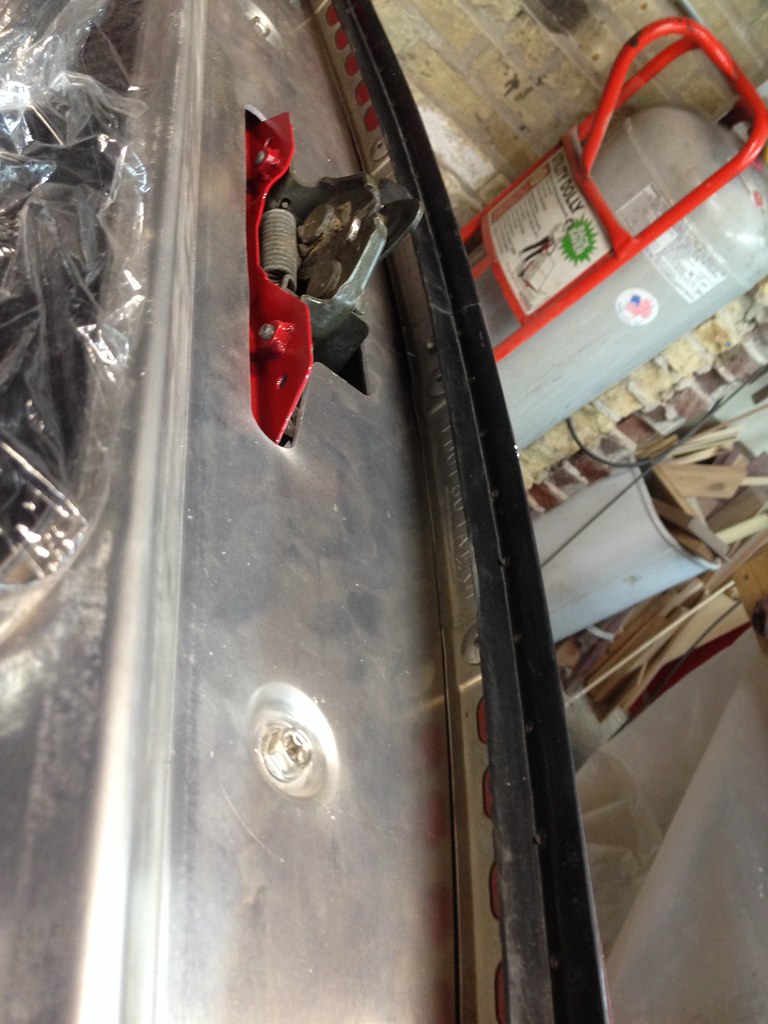
I installed the bumper and discovered some more issues. First was the front of the top plate hitting on the rib on the bumper support. More cutting:
And then the front of the top plate was not allowing my bumper to pull back all the way. (Side note, I had slotted my holes in order to get a tighter gap on my hood, so some people might no have this issue) I ended up grinding about 3/16 off the from curve of the top plate.
It is close but fits nicely:

Some more pics:

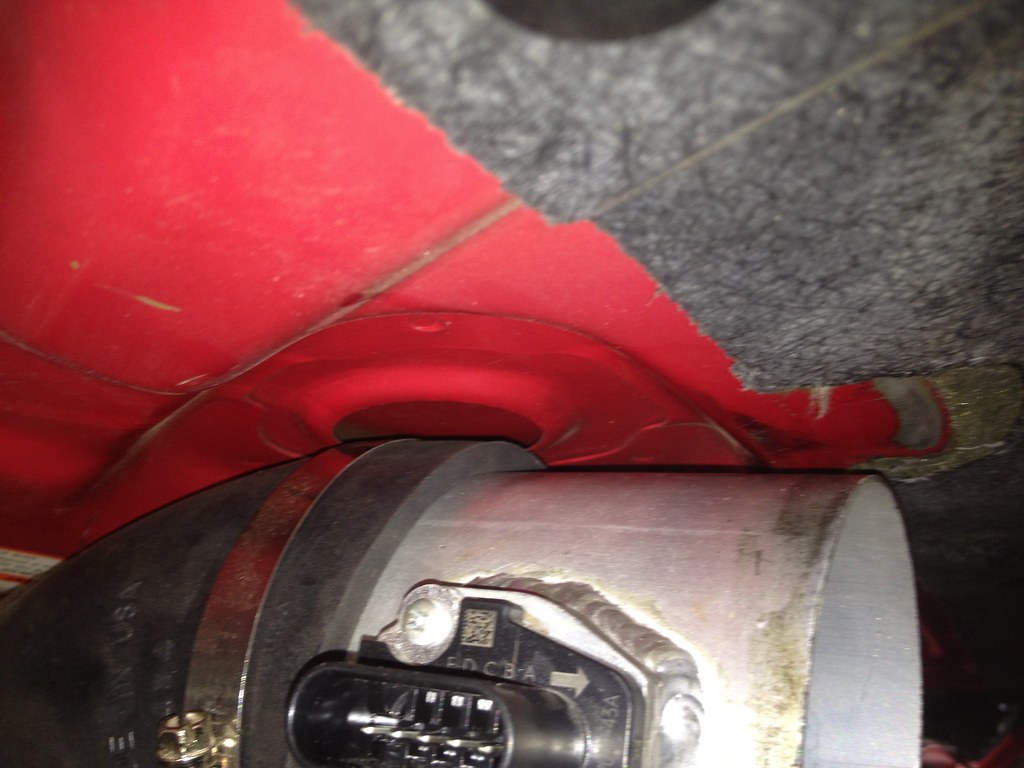
I will only be able to touch on the upper intake hose issue in limited capacity cause my motor is out at the moment. I am running a little different setup from most people as my MAF is a straight pipe with honeycomb installed. By moving the top plate down, I have added the perfect amount of clearance with the hood. I thing the back support will still rub which I am okay with. I might trim but not sure.
One more note: It was mentioned that Samberg now offers a two-piece upper plate. This might be a better solution for most but I still think it will fit better by removing that extra 1/4.
Engine:
2012 Camaro L99-
My plans for the engine are as follows:
Delete AFM/DOD
Replace lifters, valve springs, push rods cam
At this point I am having a hard time figuring out which cam/tuner to go with. There are a few guys doing some pretty cool stuff with VVT cams, mainly GPI. I am leaning towards his SS1 cam but having a hard time nailing him down on everything. This has me searching for other options. So this is the big road block I need to get around at this point.
More updates to come!
